
Hi Friends!
As promised in my previous post, I have a mini tutorial about sewing with waterproof breathable fabrics.
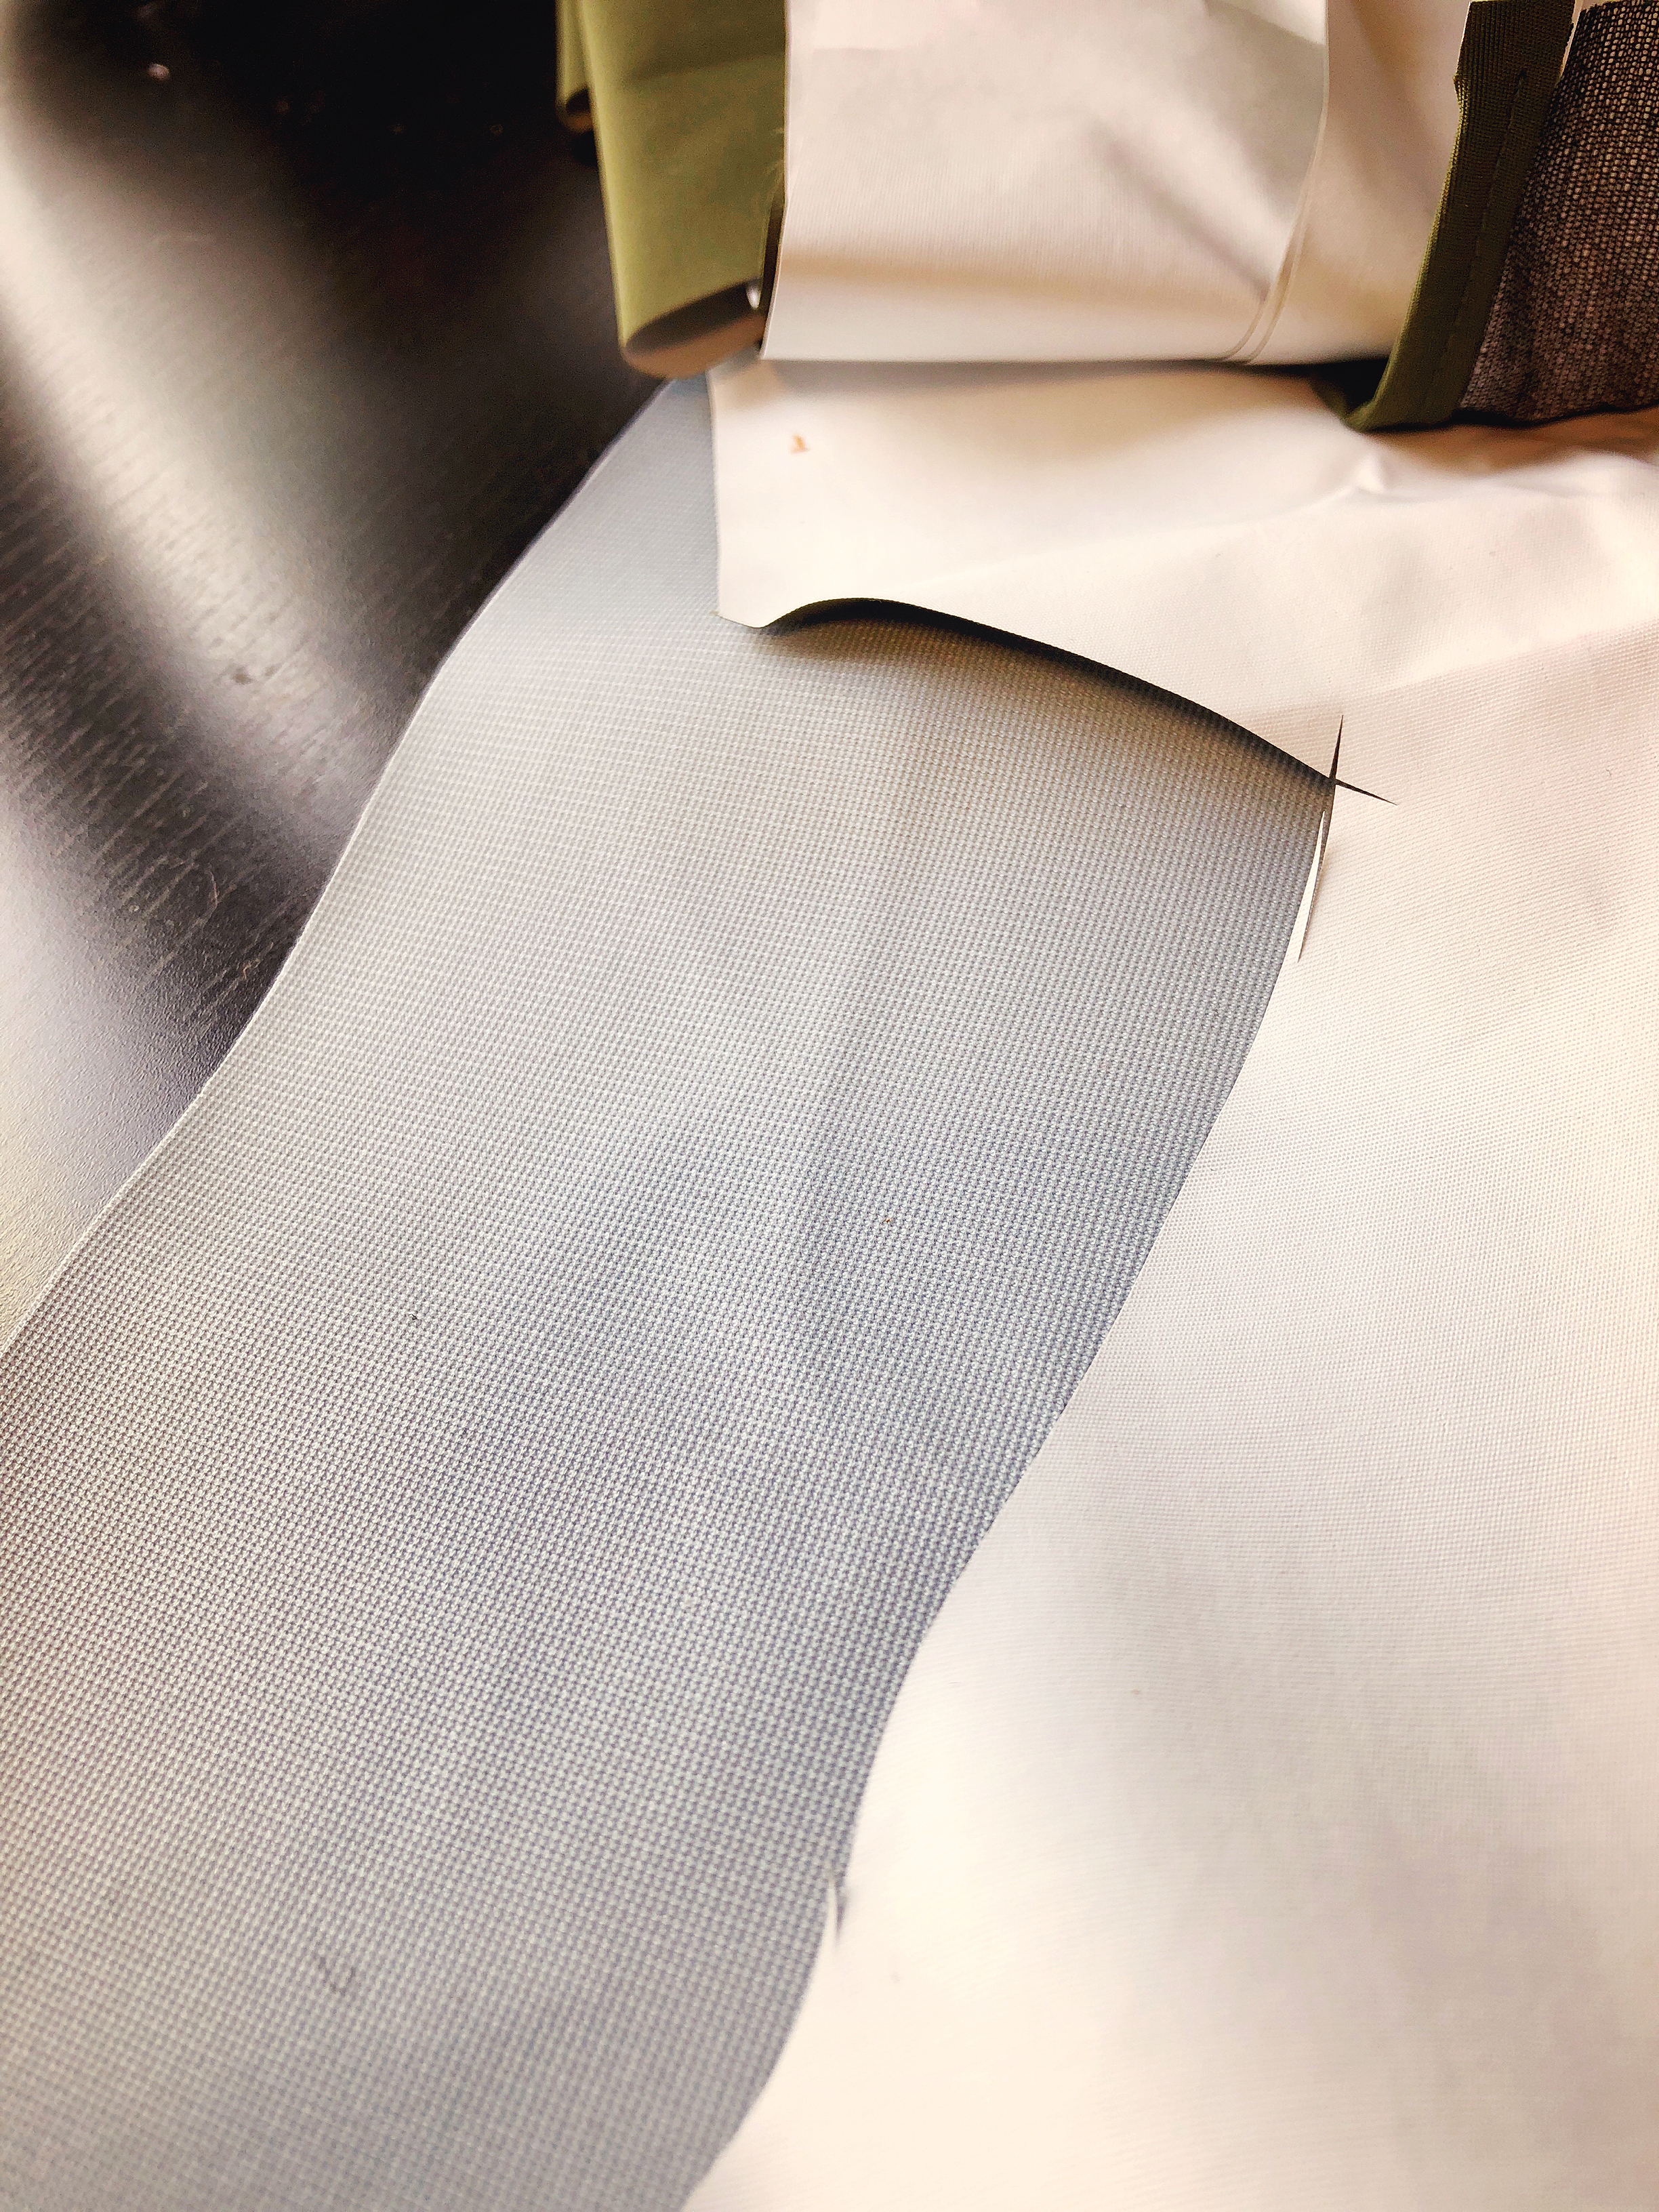
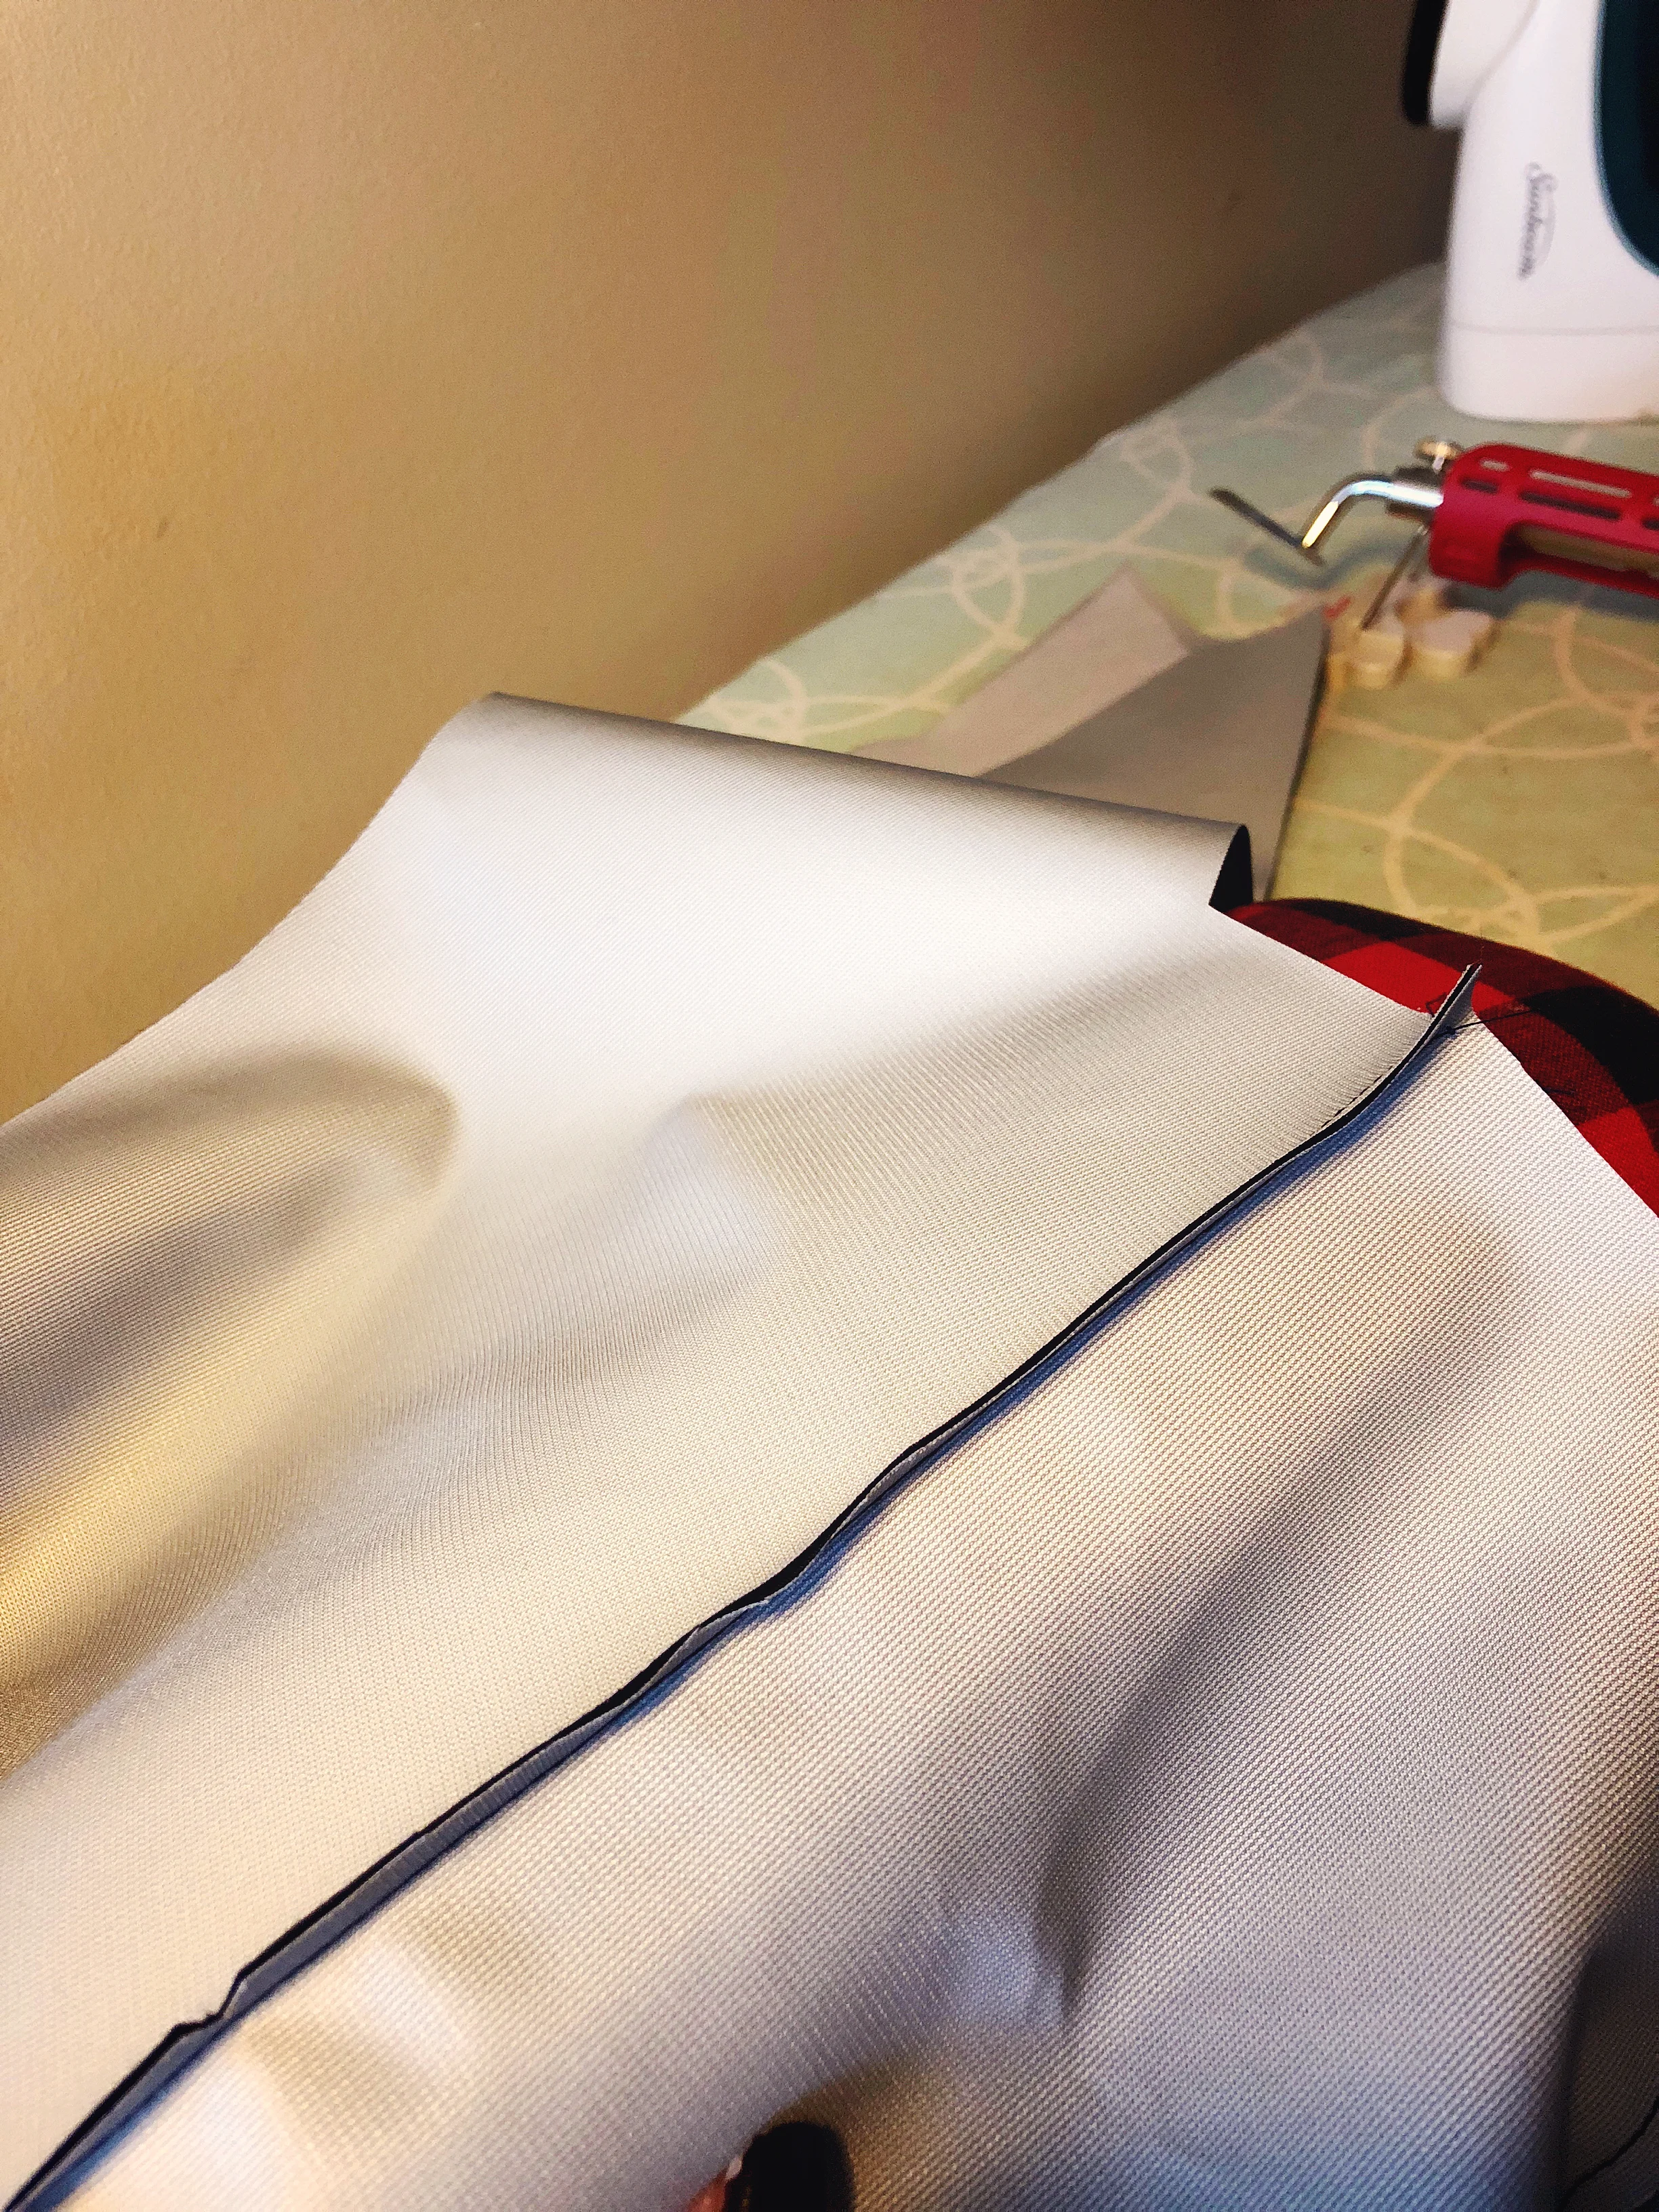
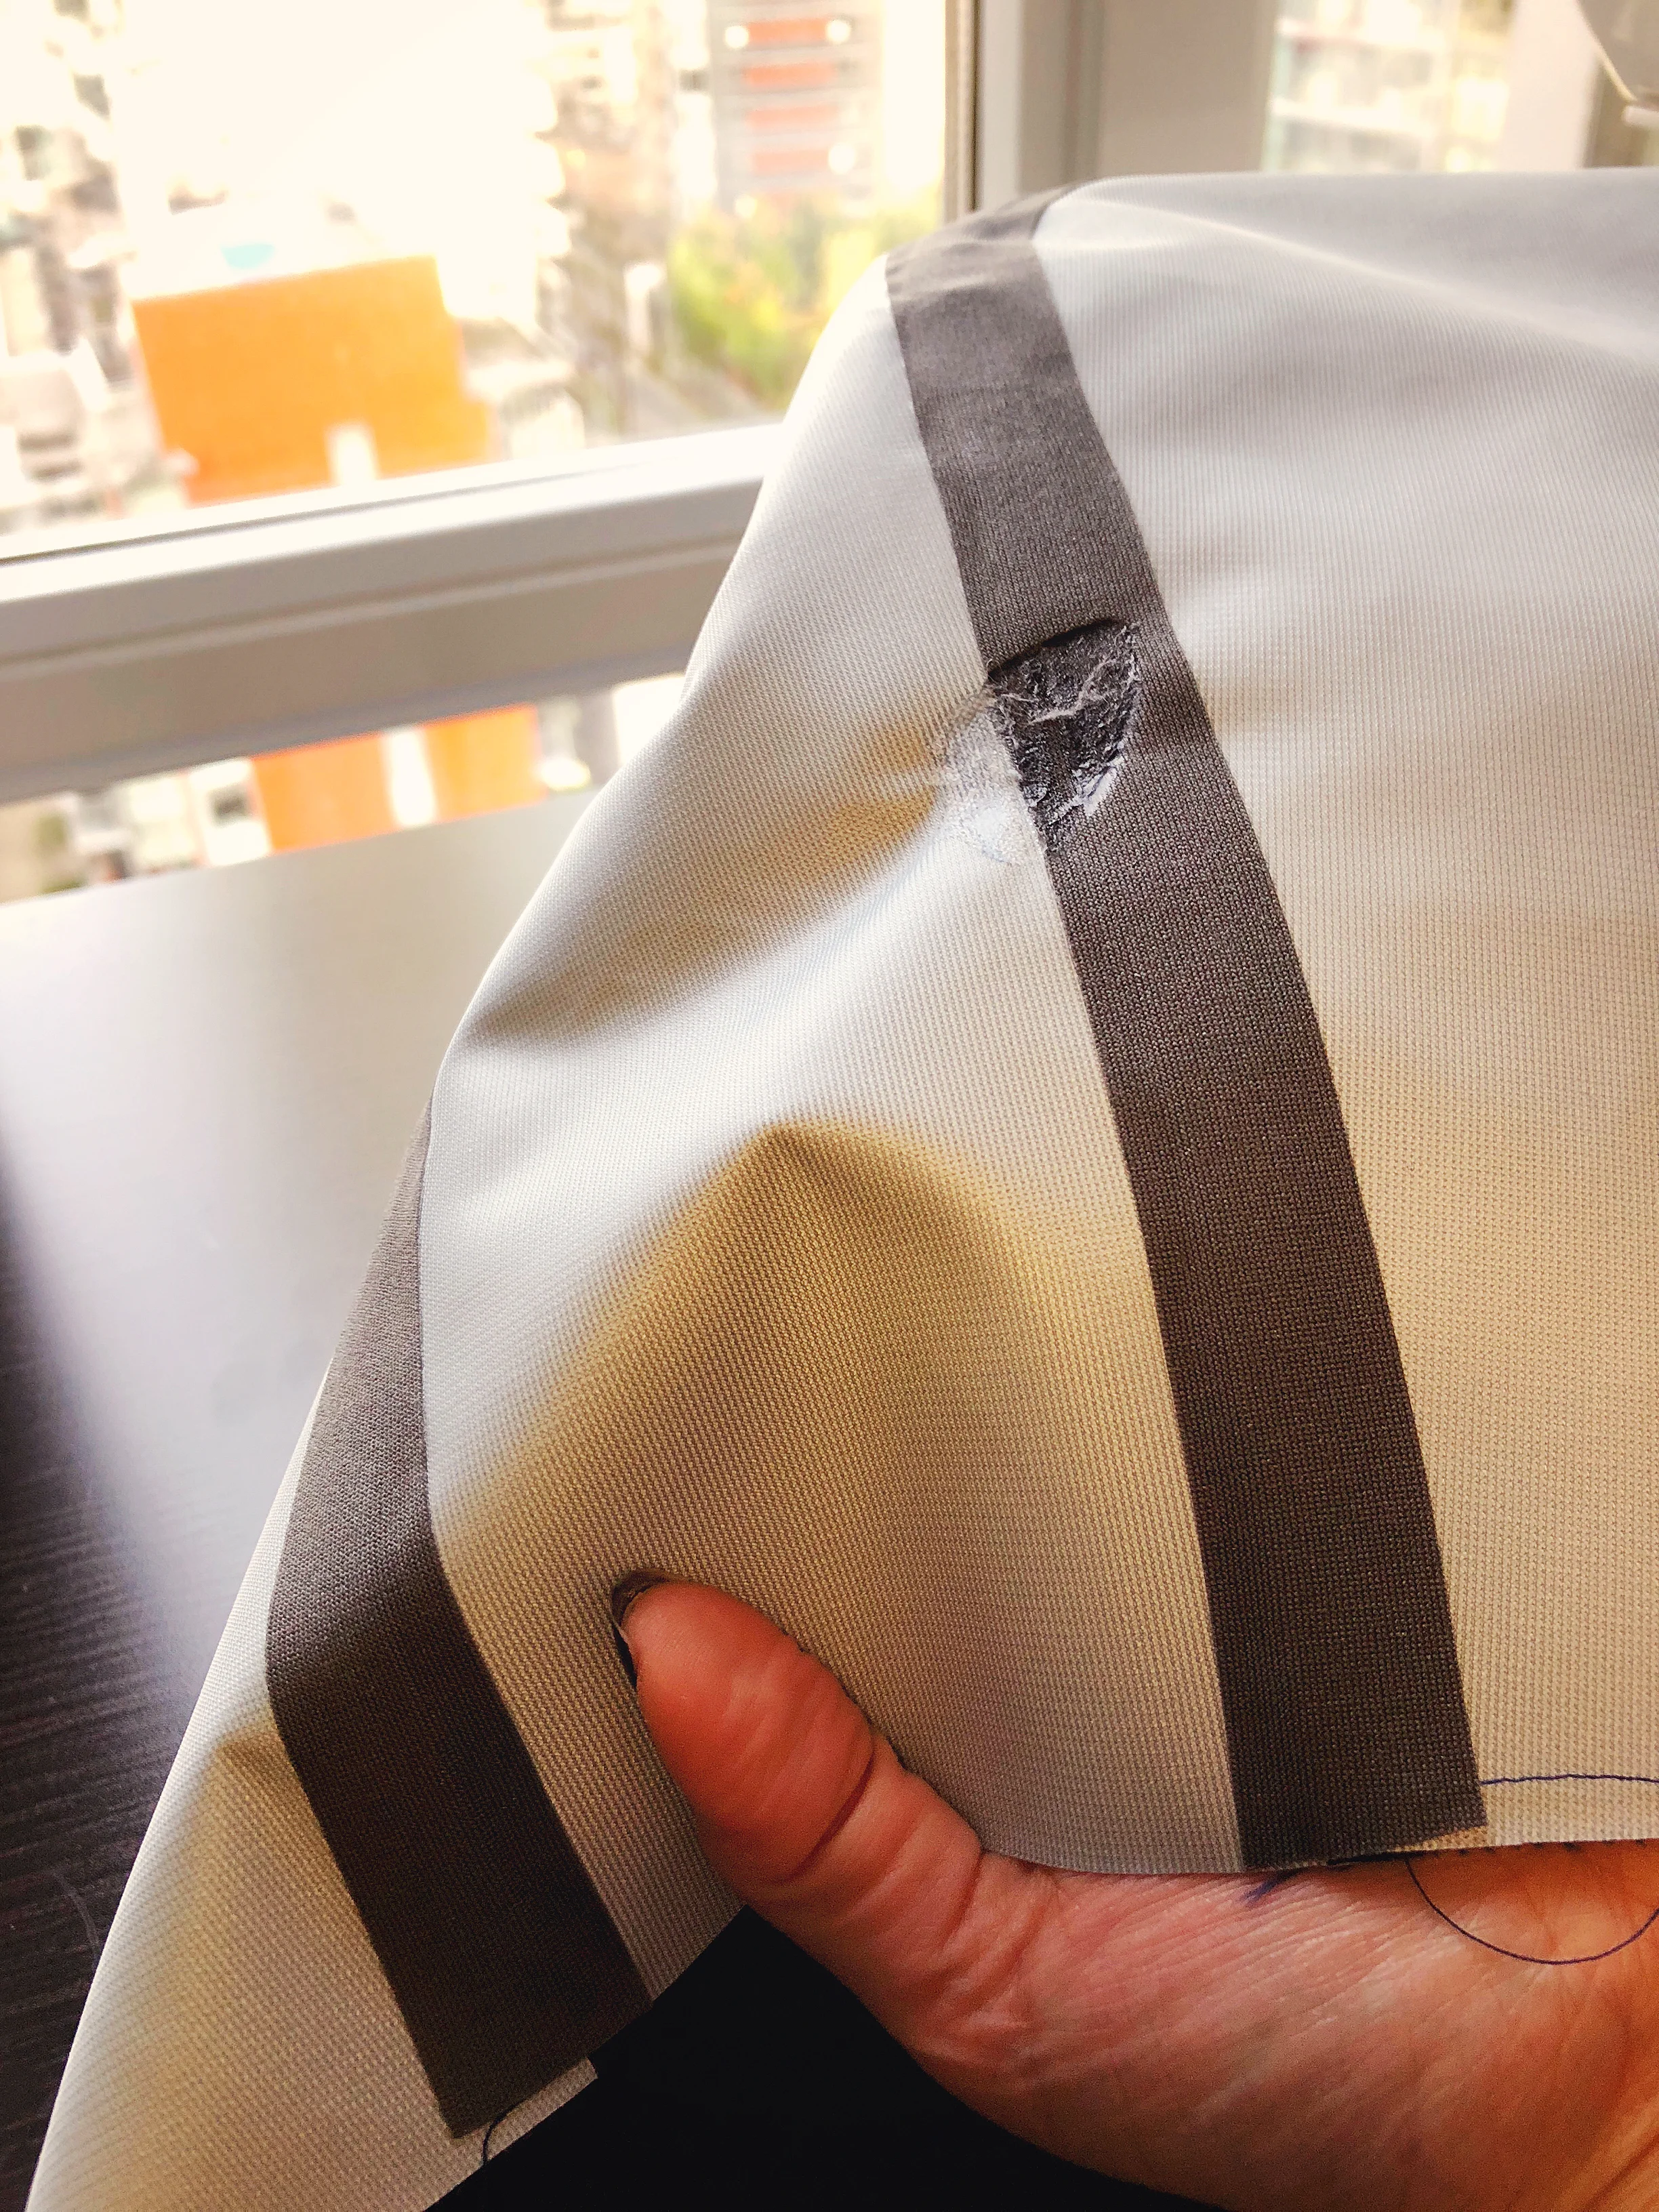
Let's start with a visual representation of 2ply vs 3ply fabrics. As I wrote about previously, the main difference between 2 and 3 ply is the addition of a fused mesh backing to breathable membrane of the waterproof breathable fabric. In the image above you can see the grey mesh of the fused tricot on the 3ply fabric for the jacket I'm making for the Fluffy Blonde Monster. On the right is a scrap of 2ply from my jacket. As you can imagine from the image the 2ply has a very smooth and slippery feel which does present unique challenges when you are sewing with it.
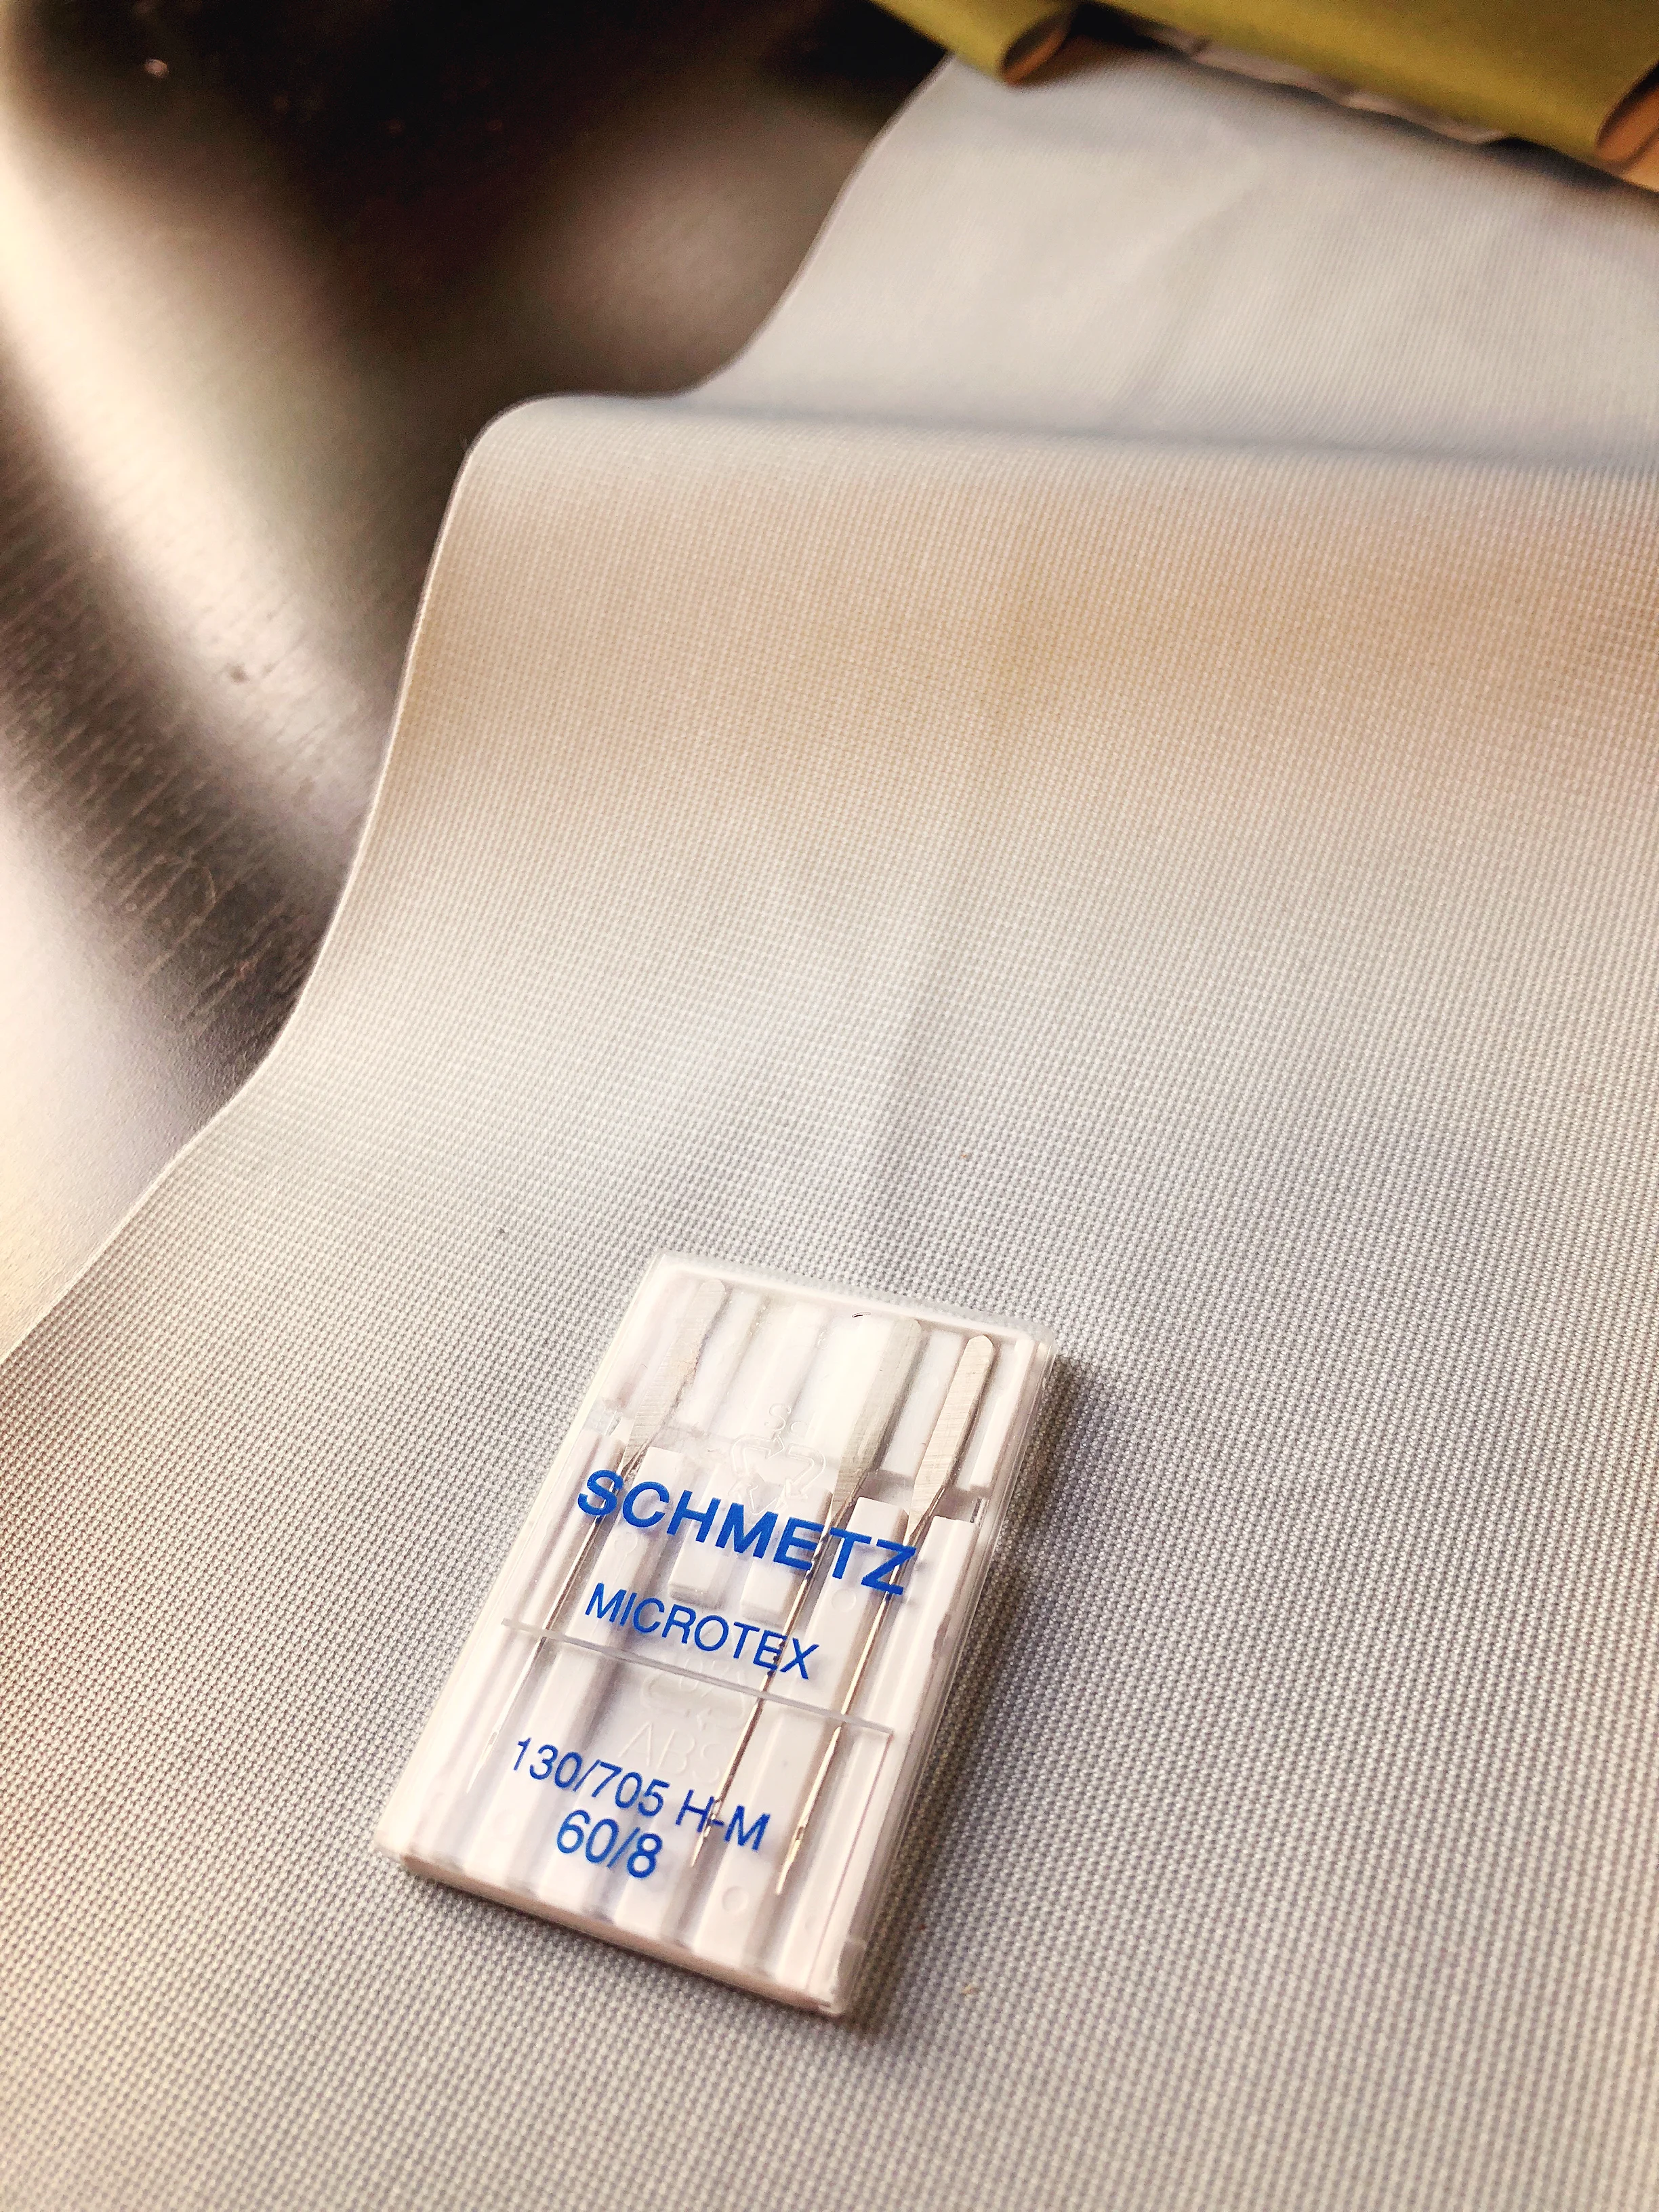
For a sewing needle I opted to use a microtex needle in order to make the smallest holes possible in the fabric (smaller holes = less water dripping in with the chance to leak in my opinion). Because of the thinner needles I lengthened my stitch length a smidgen, of course your results will vary depending on your machine. I think it would be perfectly fine to sew with a thin universal needle but since I had microtex needles from a previous project I decided to go with them.
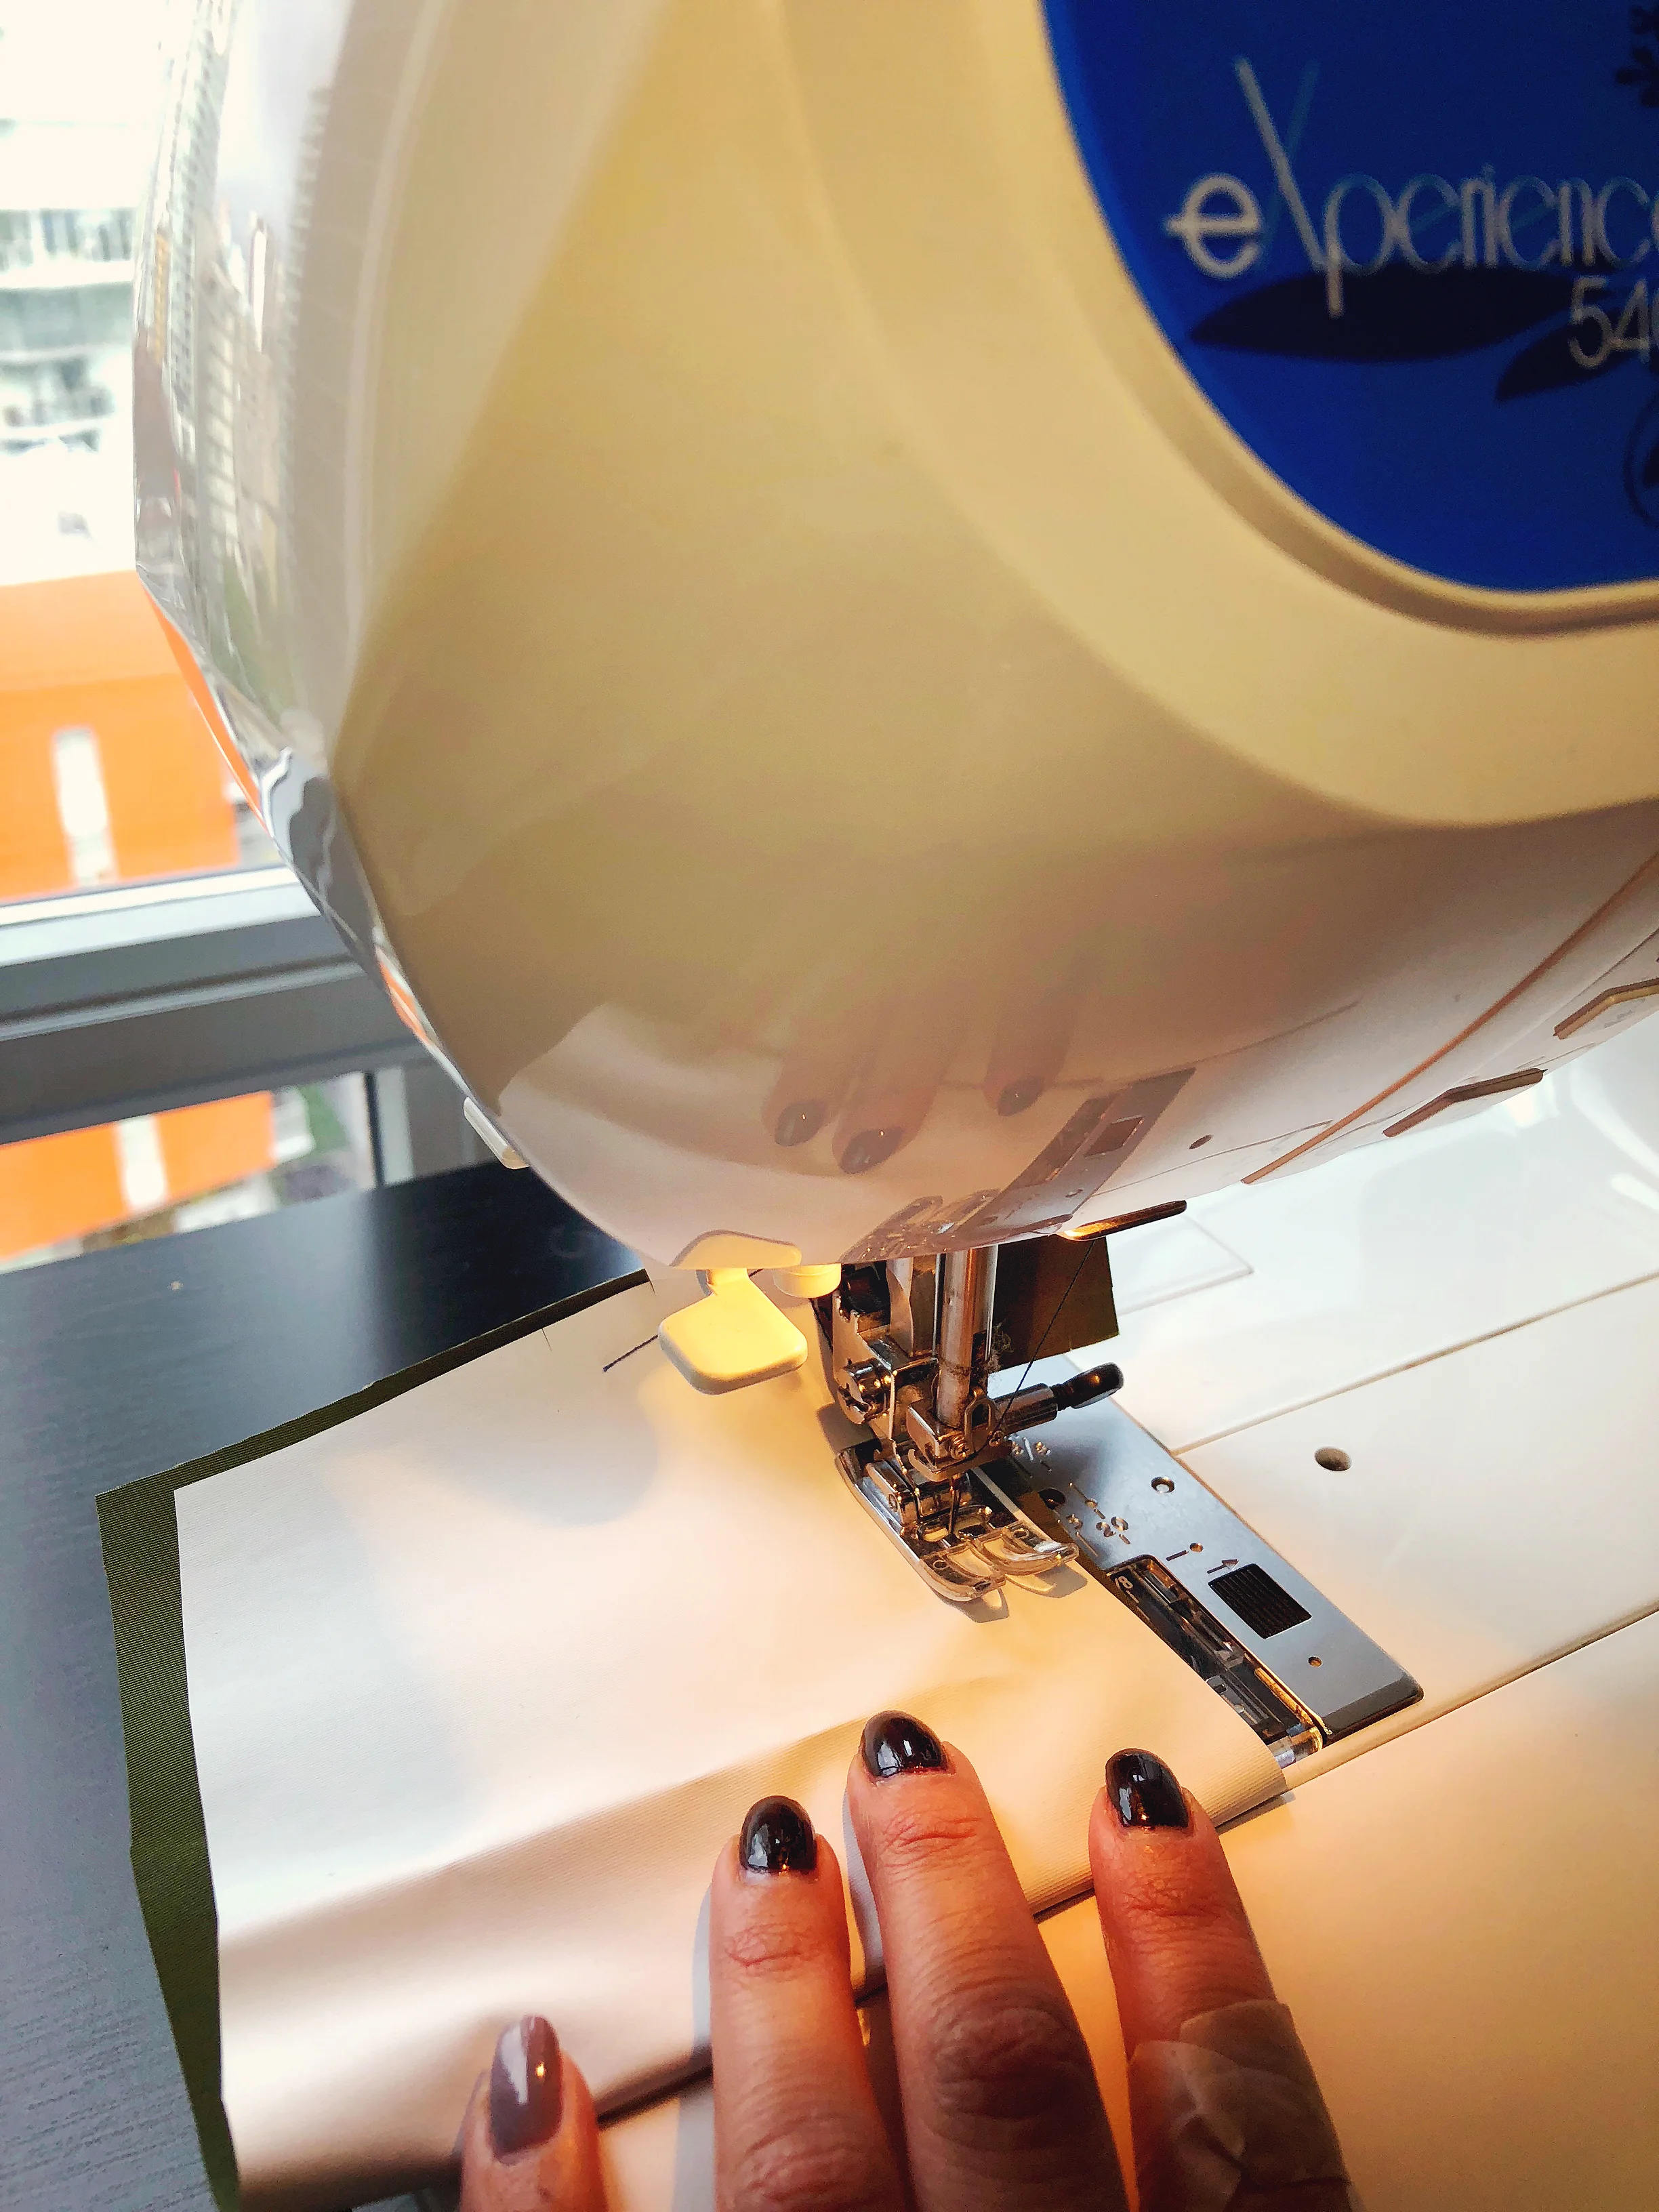
Starting with the 2ply fabric, which again I made my waterproof Kelly anorak out of, sewing with the microtex needled with the slightly larger stitch length resulted in a fairly ripply seam as you see on the right. I was able to improve on the ripples by playing with the tension but it was still very finicky to work with. I also had a lot of slippage since both sides of the 2ply are fairly slippery so I consistently had to start my seams a fair distance in and keep a pin at back, behind the presser foot to stop seams from becoming uneven. I also reduced the pressure of my presser foot to the mid pressure and put tape on the bottom of of the foot to increase glide. All in all, while it's not impossible, I would HIGHLY suggest buying the 3ply fabric if you can. It is slightly more expensive but your machine will react better to it as it will have more grip over the 2ply version. It also gives you the option of lining your garment instead unlike 2ply where adding an additional lining is a must to help preserve the life of the breathable membrane.

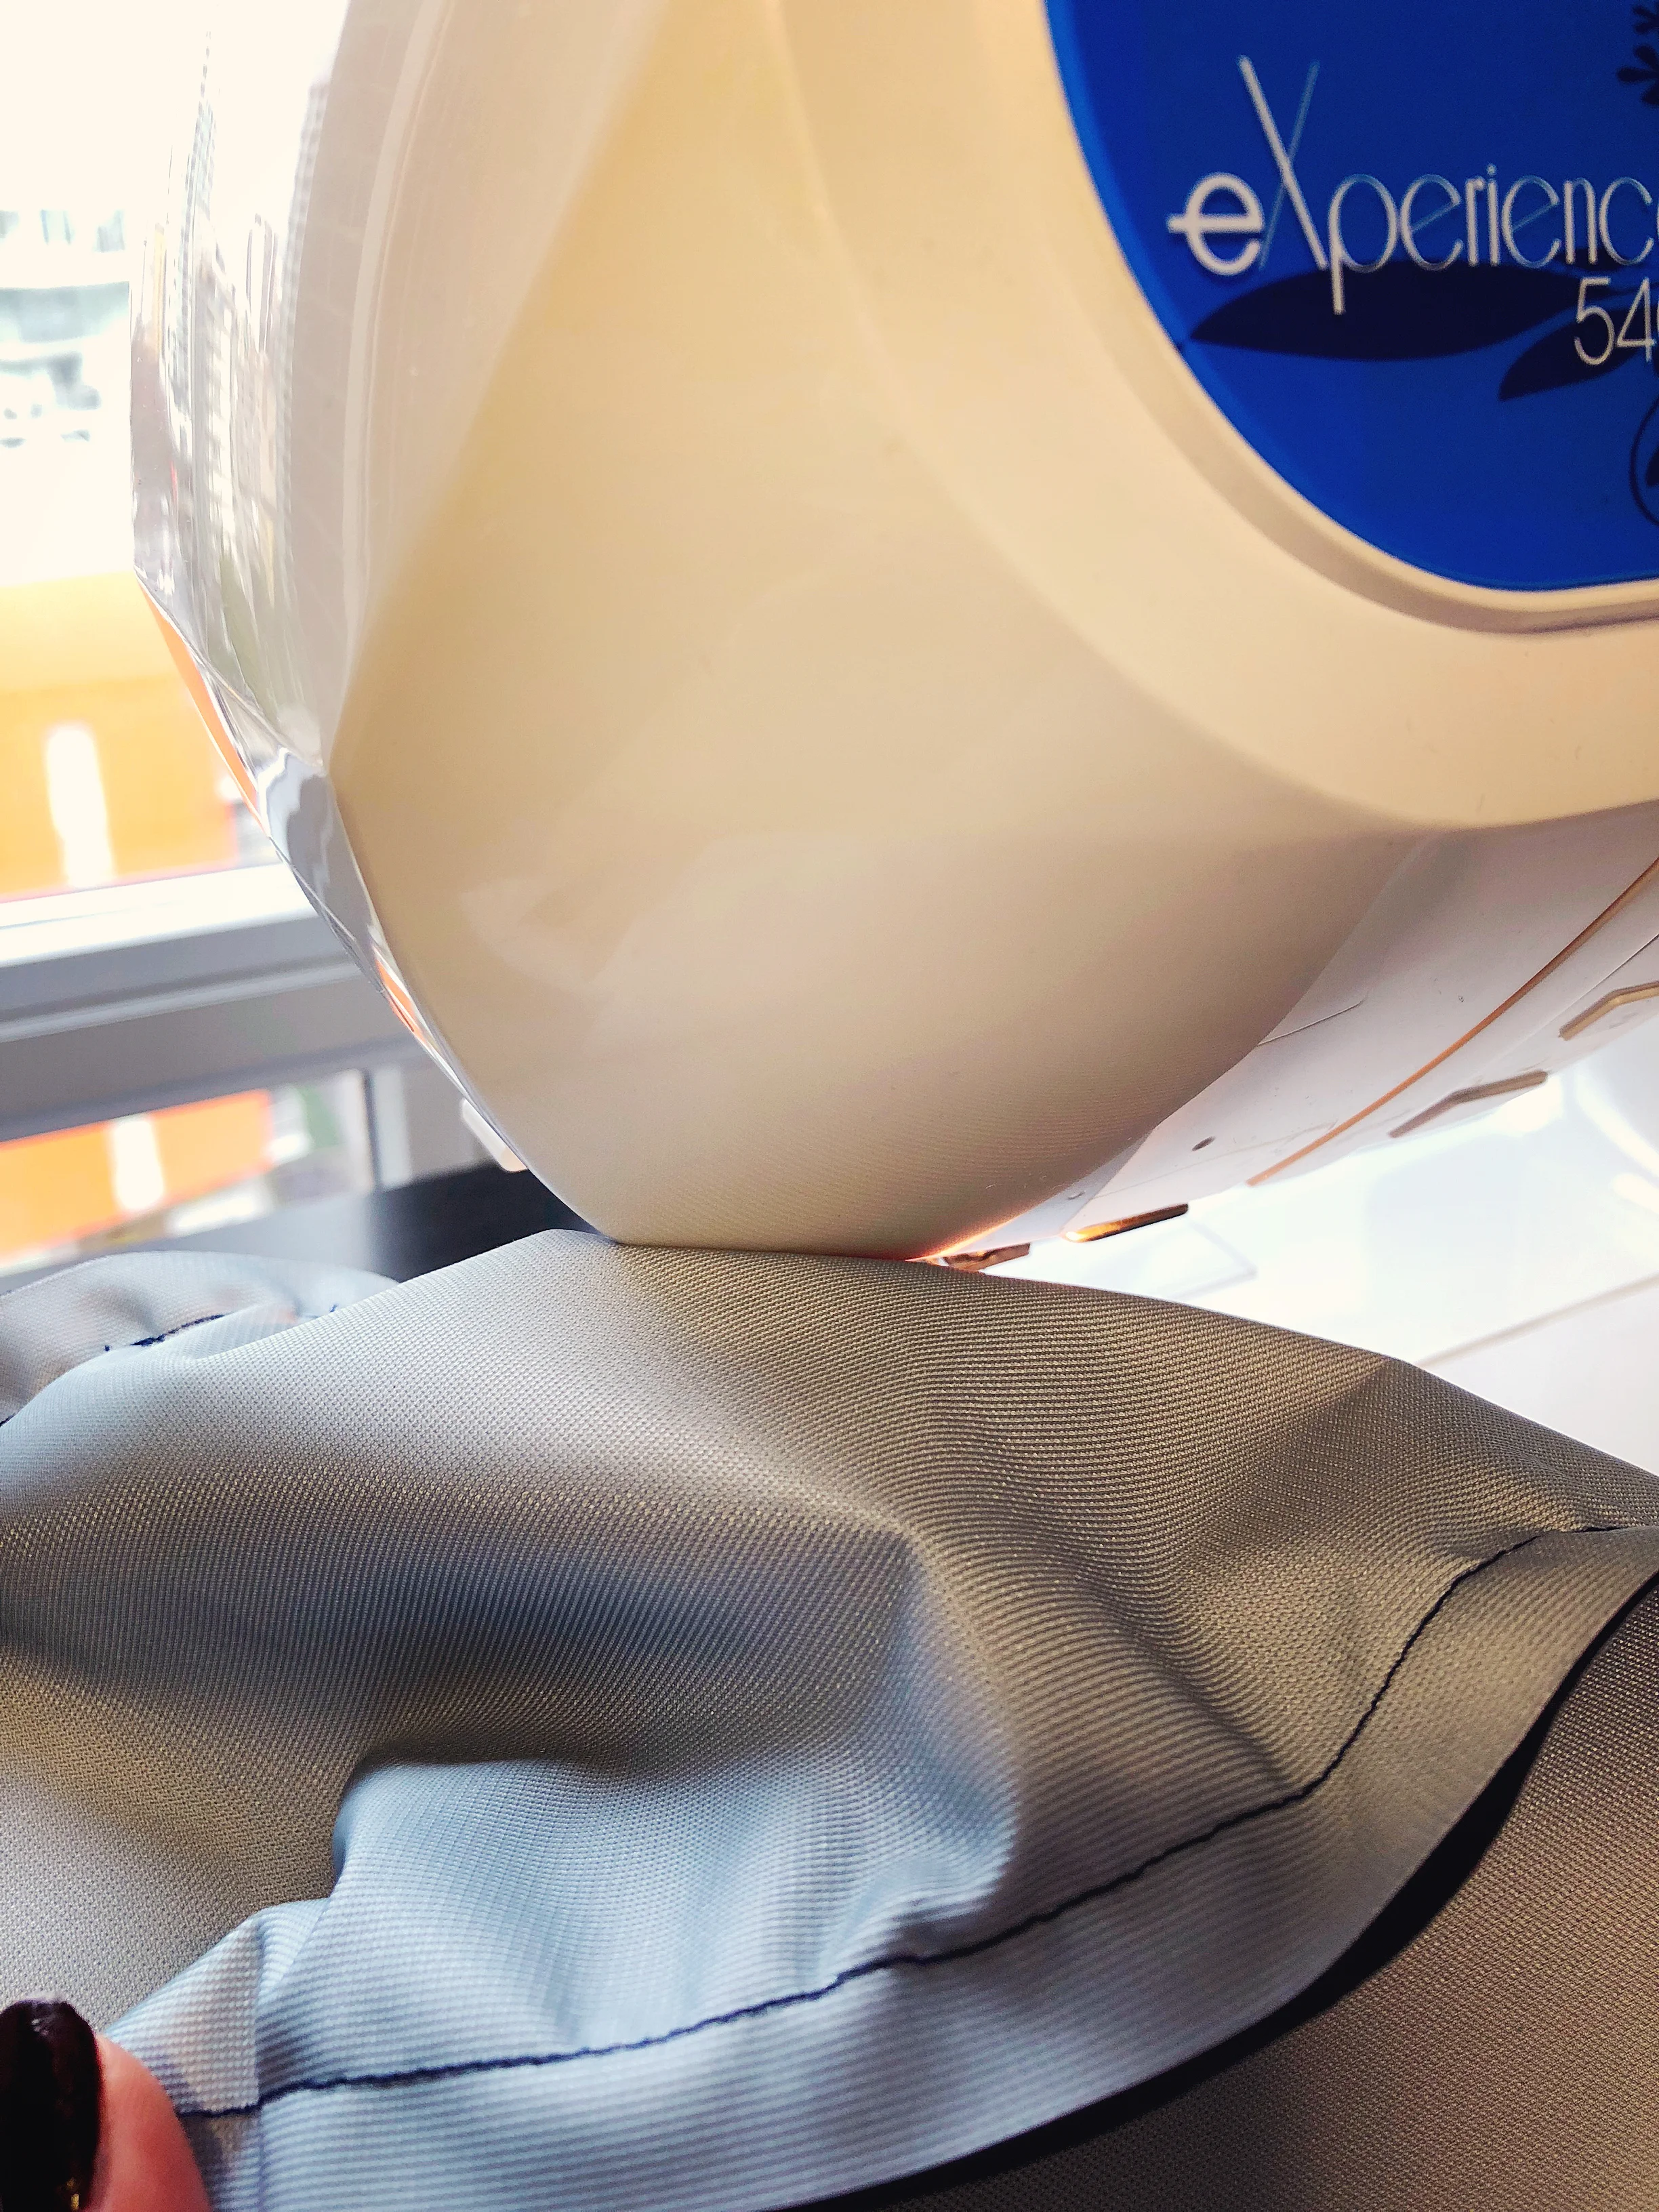
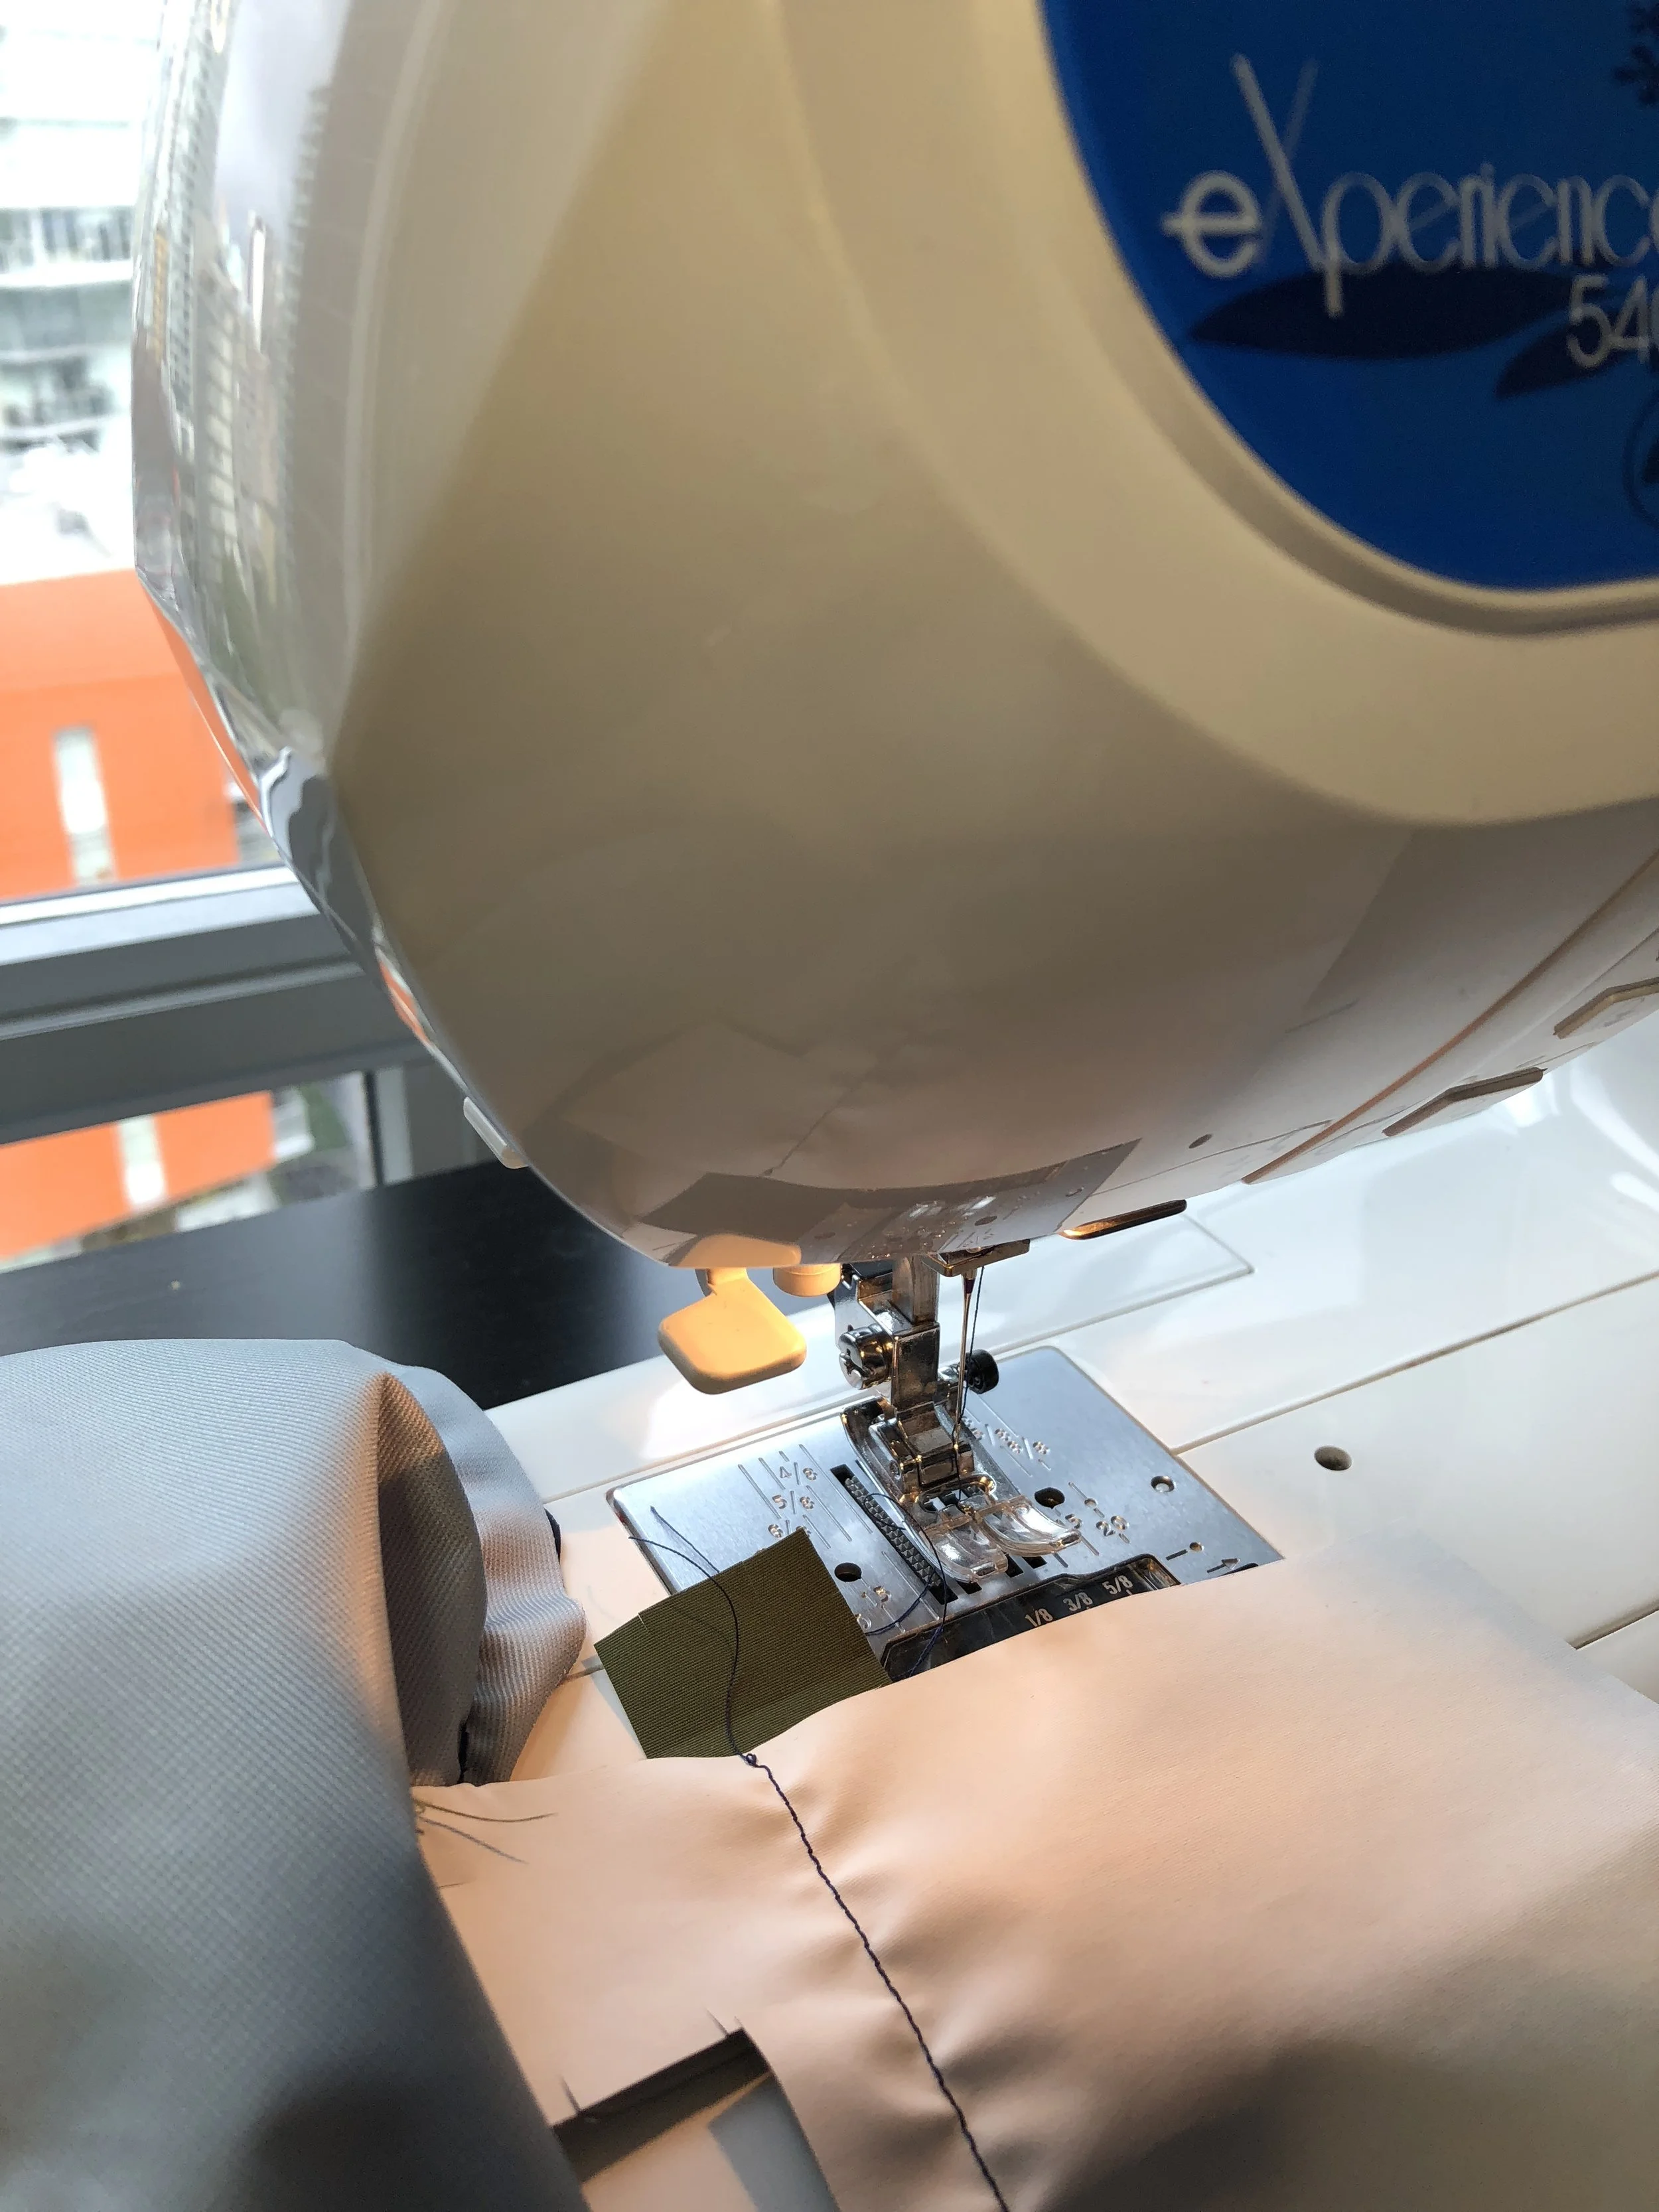
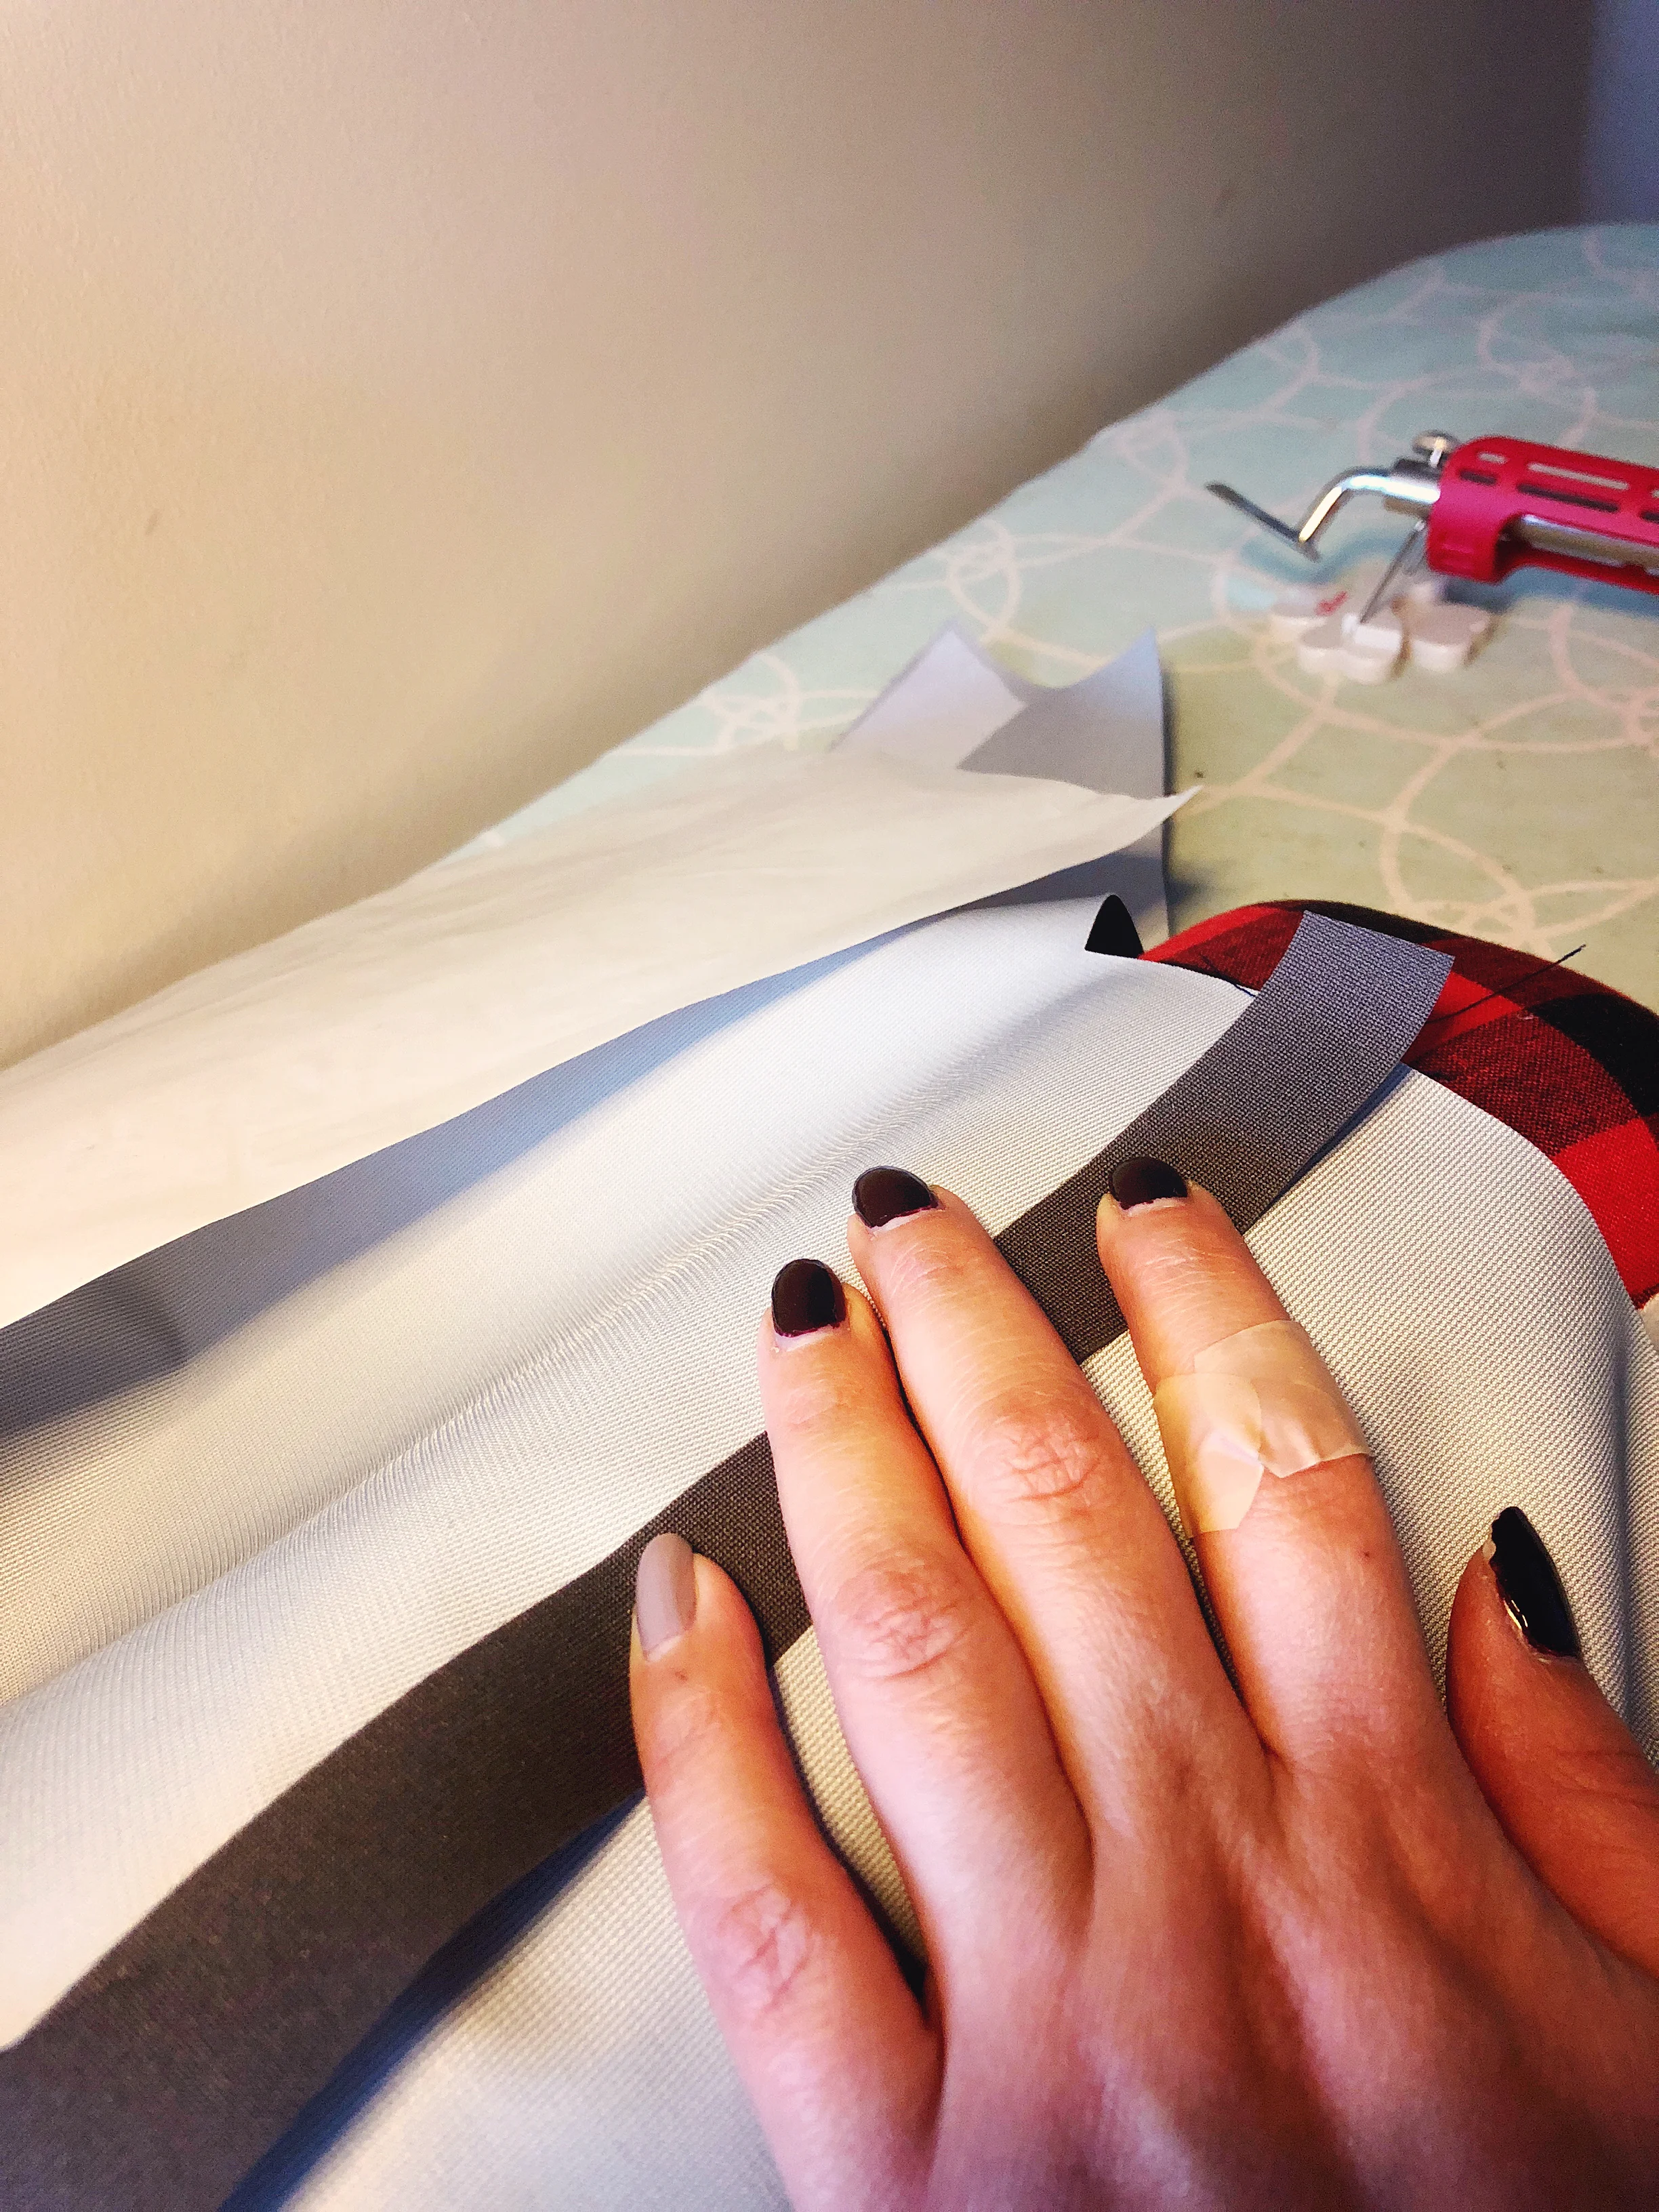
Compared to the 2ply, the 3ply fabric is much easier to deal with. As you can see there are very few ripples in the finished seam and I didn't have to add any tape to my foot, reduce the foot pressure or start my seam further in to accomplish this. This being said the outer side of the fabric is still quite slippery so when you are sewing with right sides facing it is important to put in plenty of pins. The pins I used are thin glass head pins, I use these for most of my sewing but I would highly recommend them here as, just like the sewing needle, they leave very tiny holes. As much as possible I tried to pin within the seam allowance however, as you'll see below, even if your pins are slightly outside of the allowance any holes you you create should be covered by the seam tape.
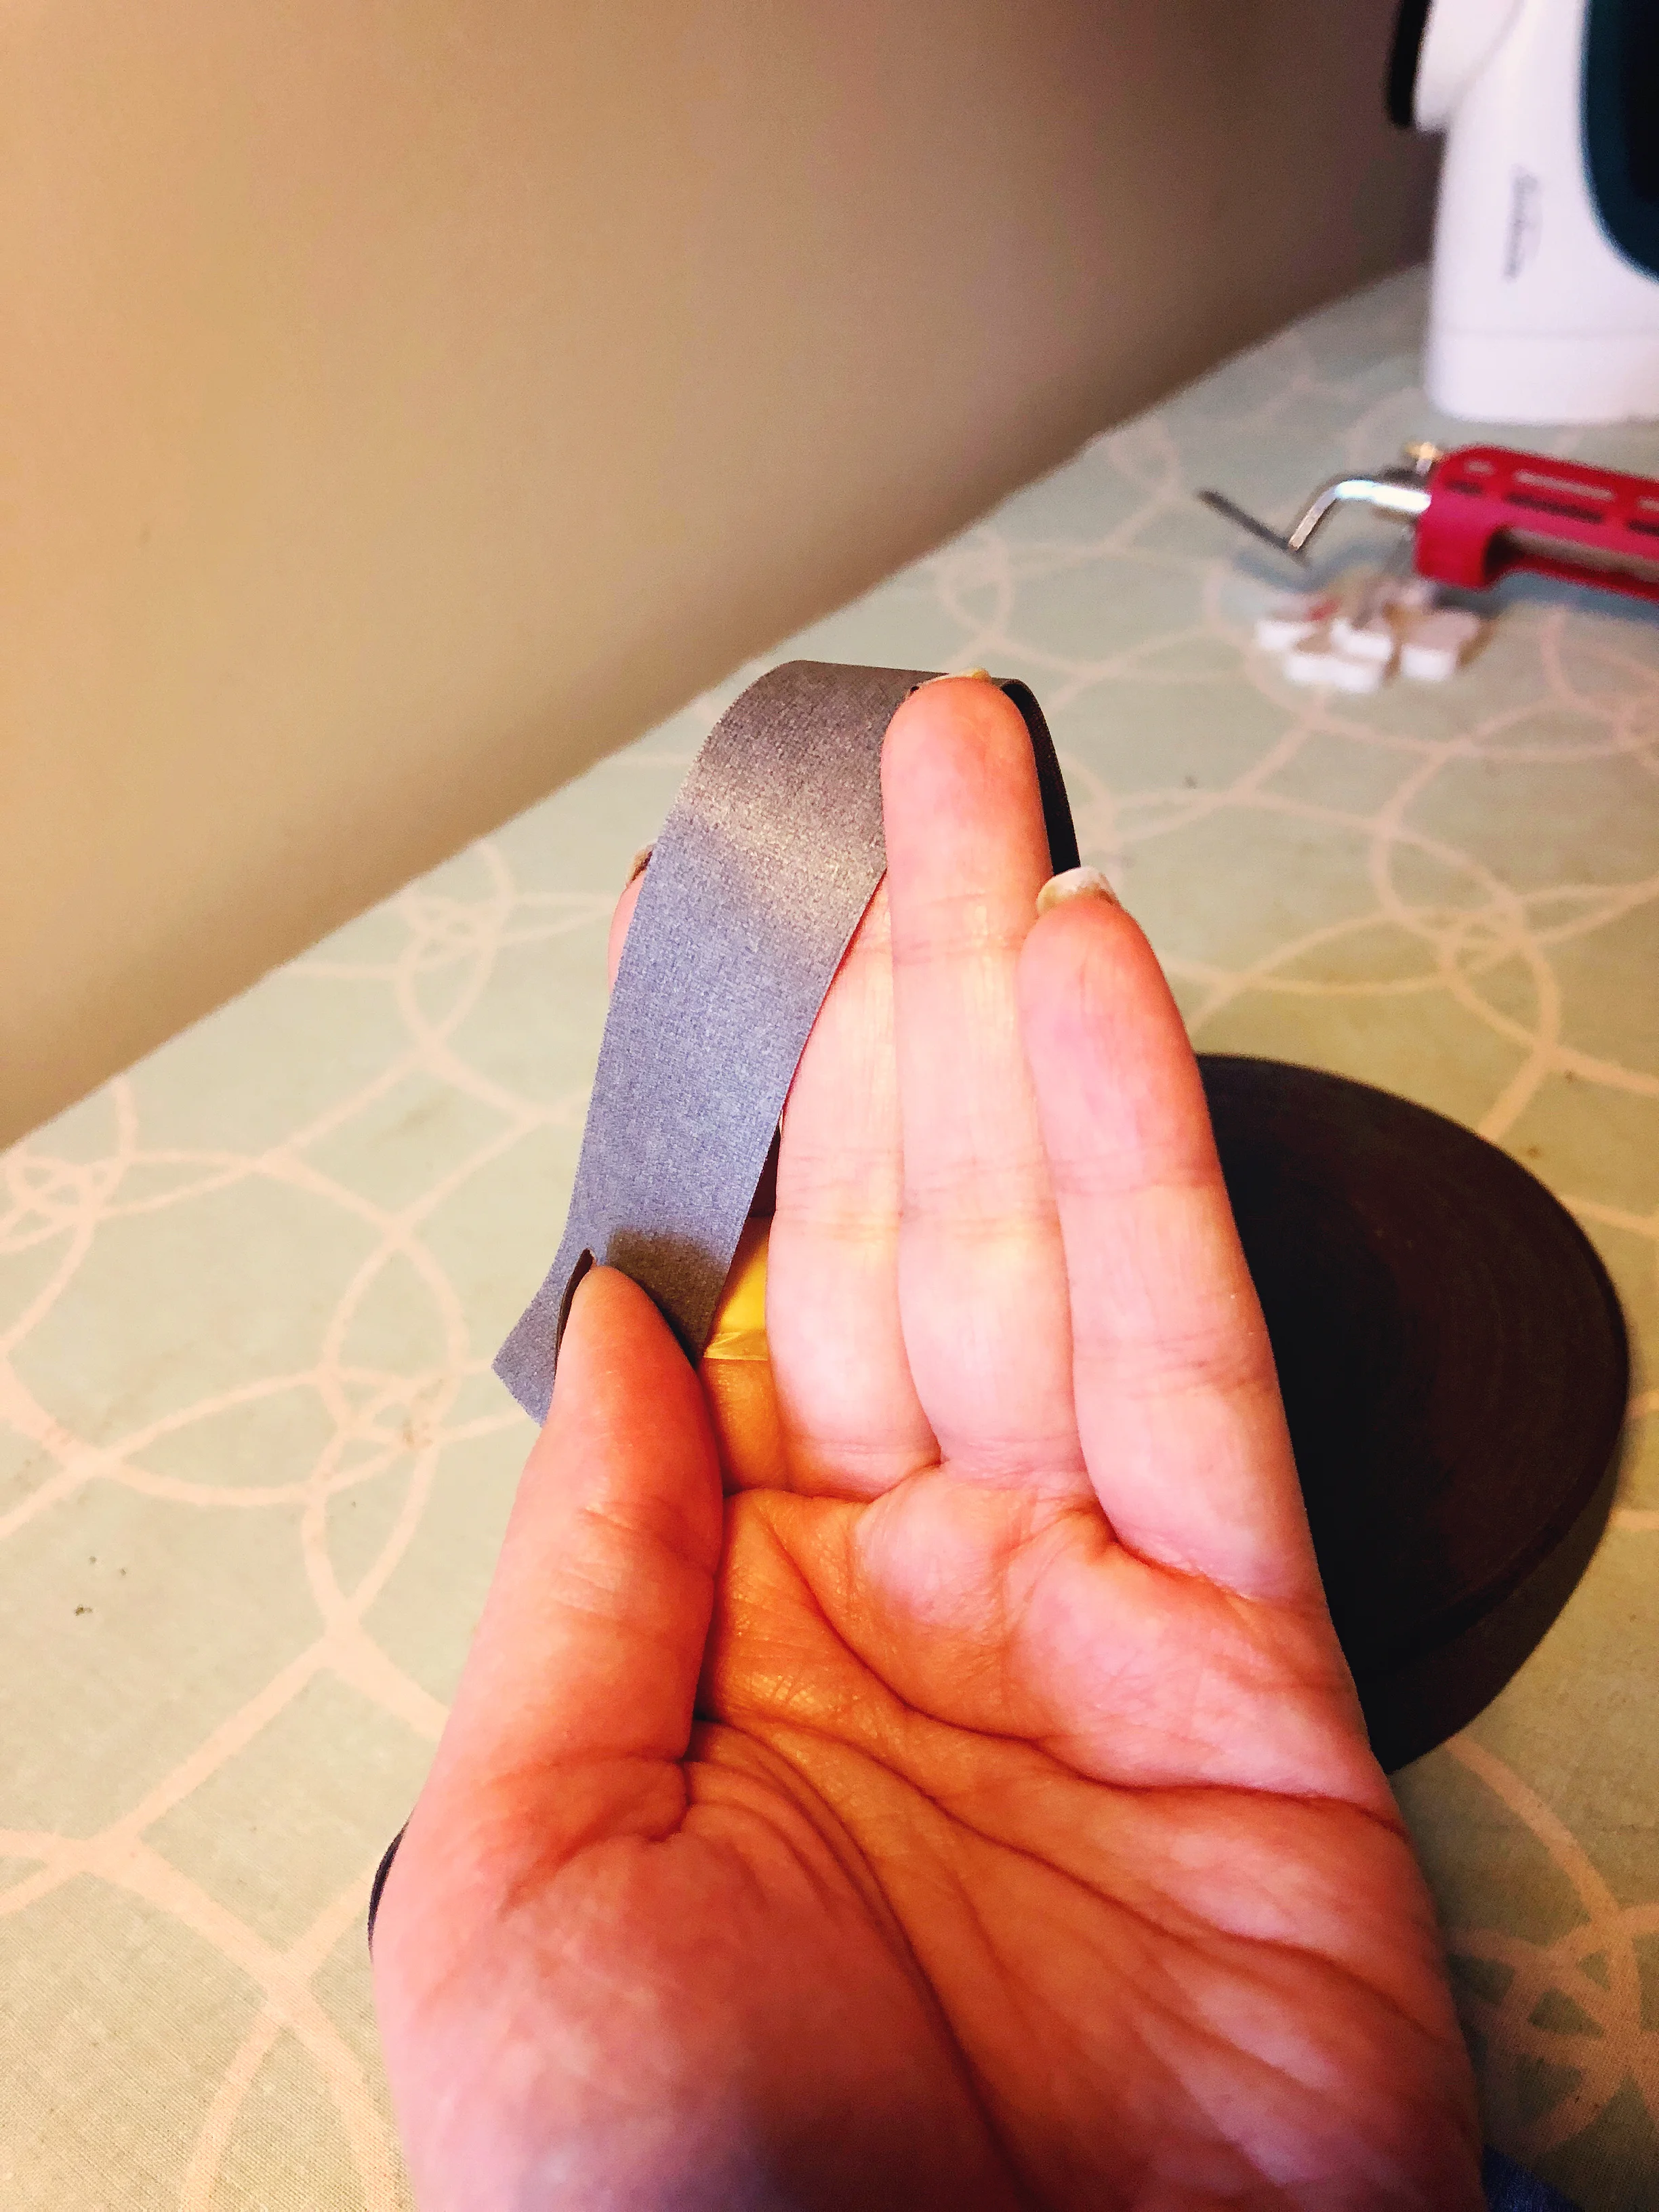
underside of tape where the glue is
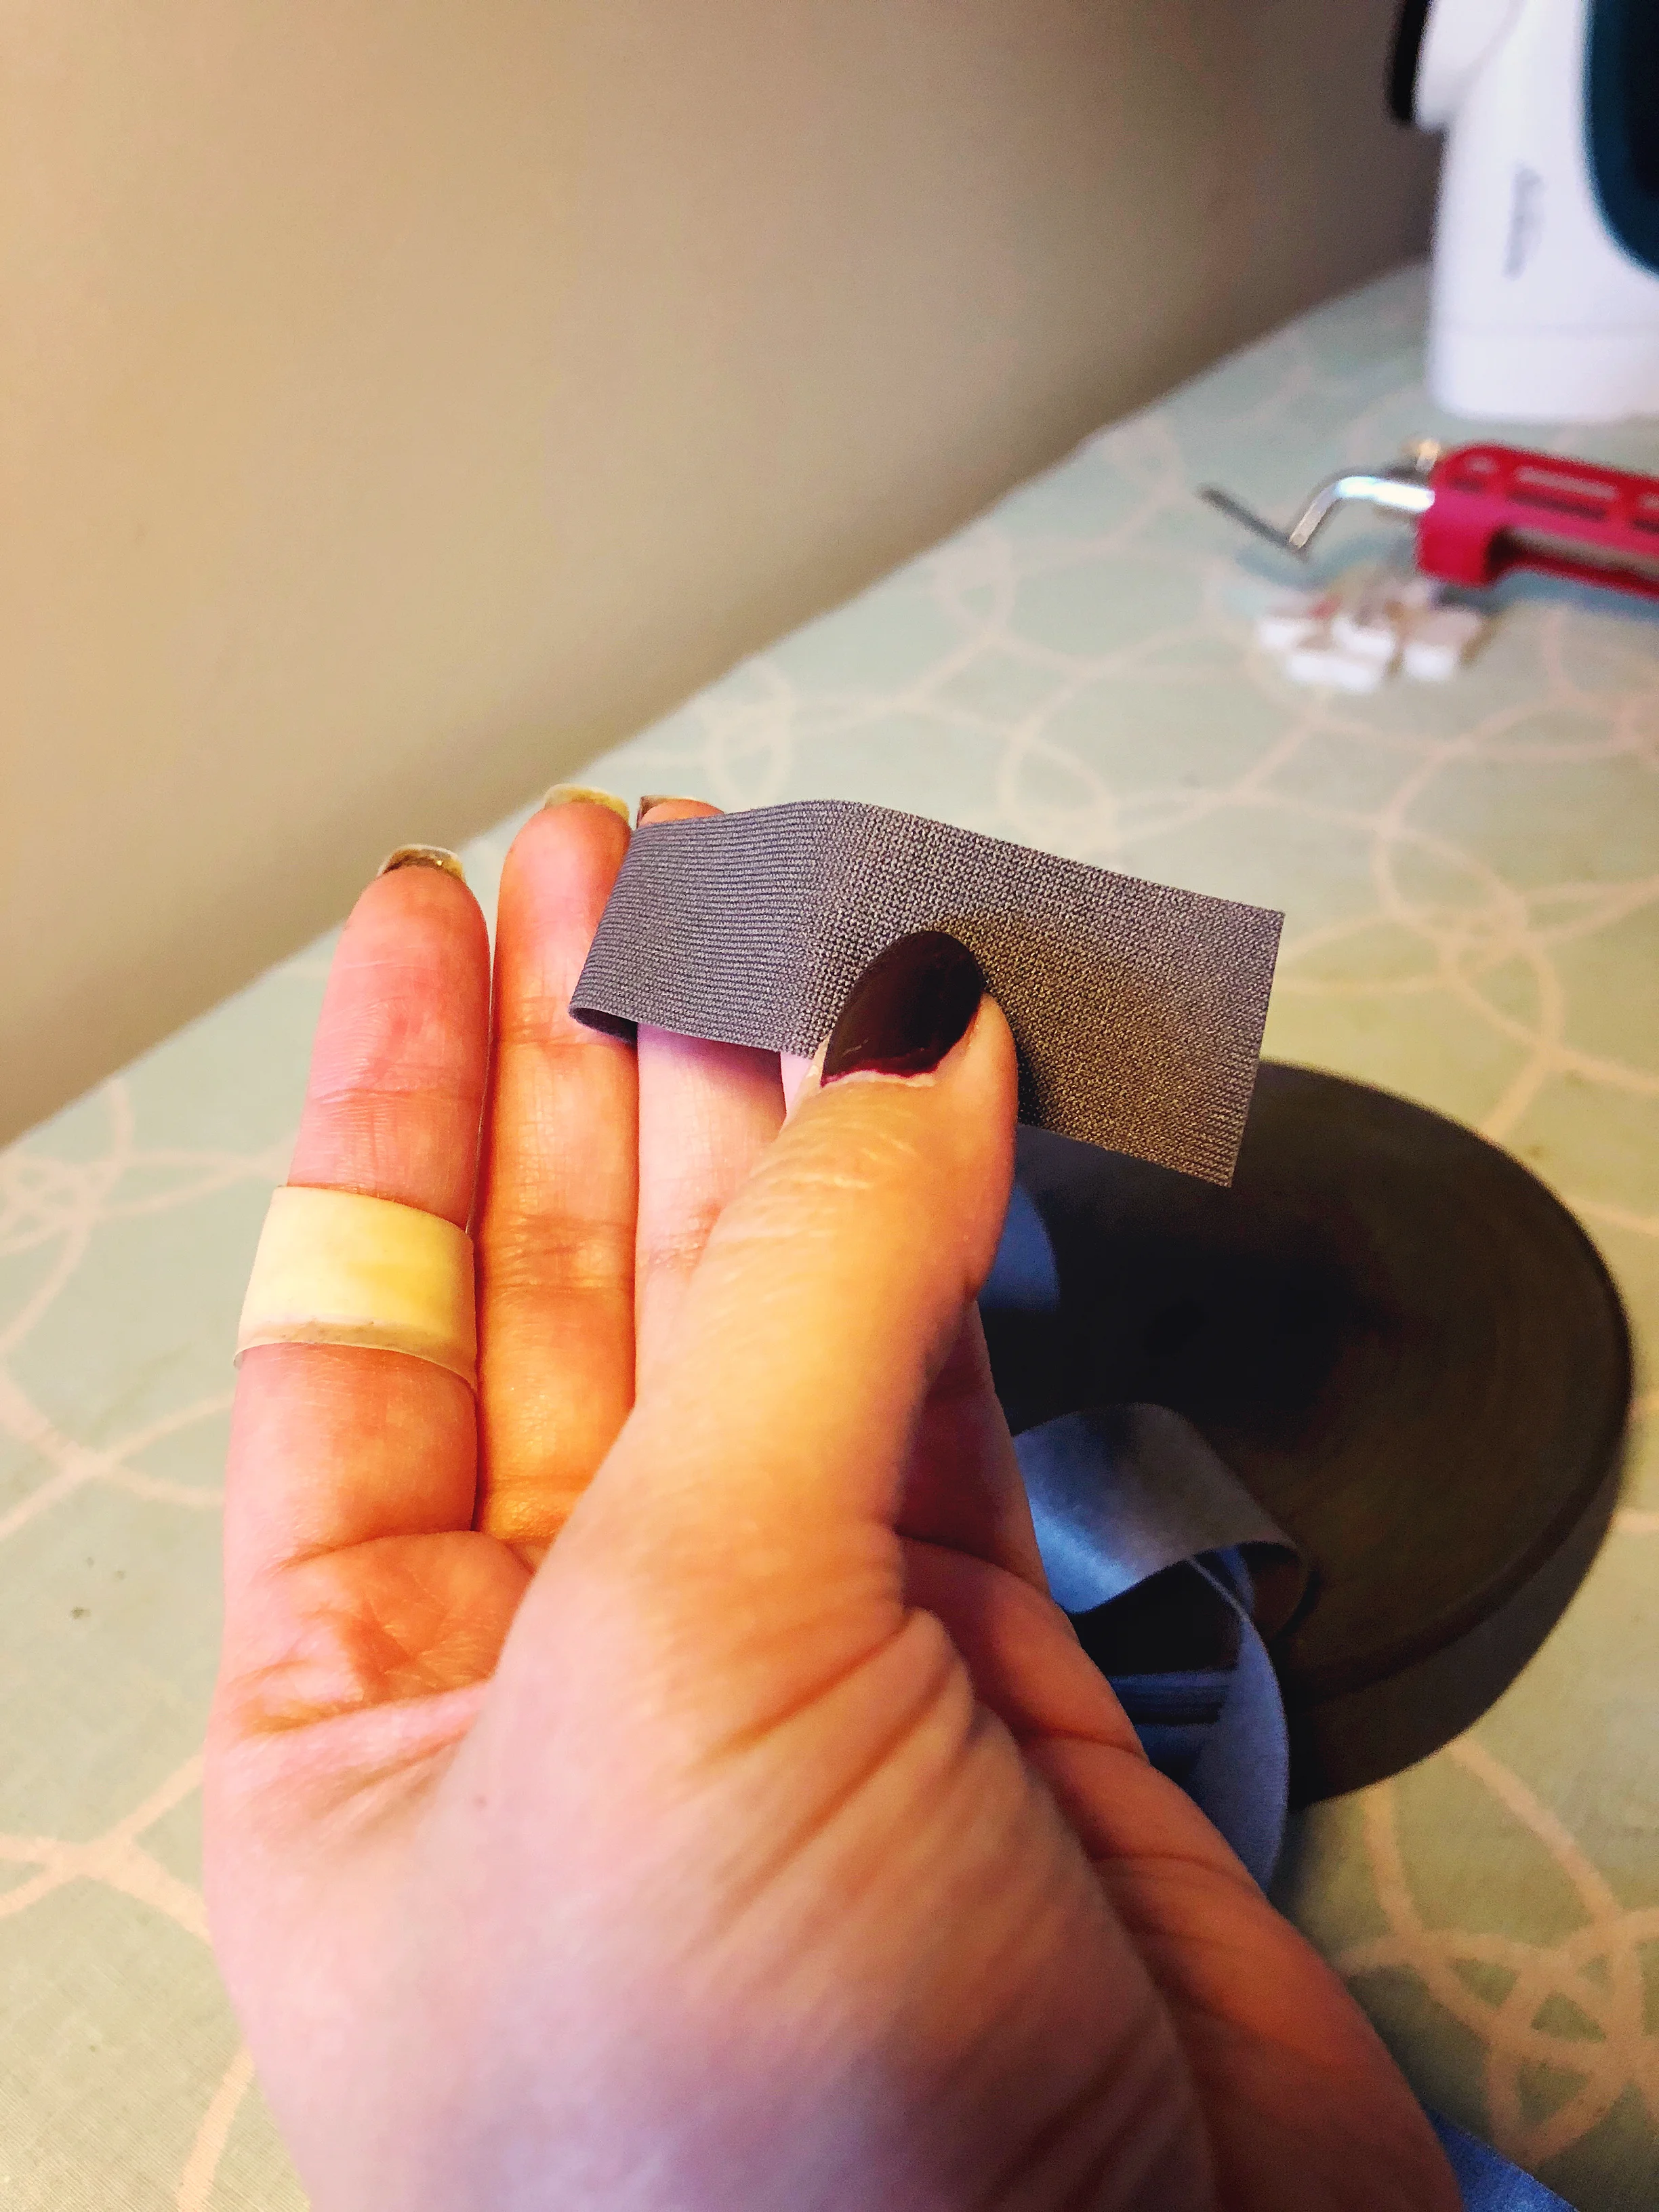
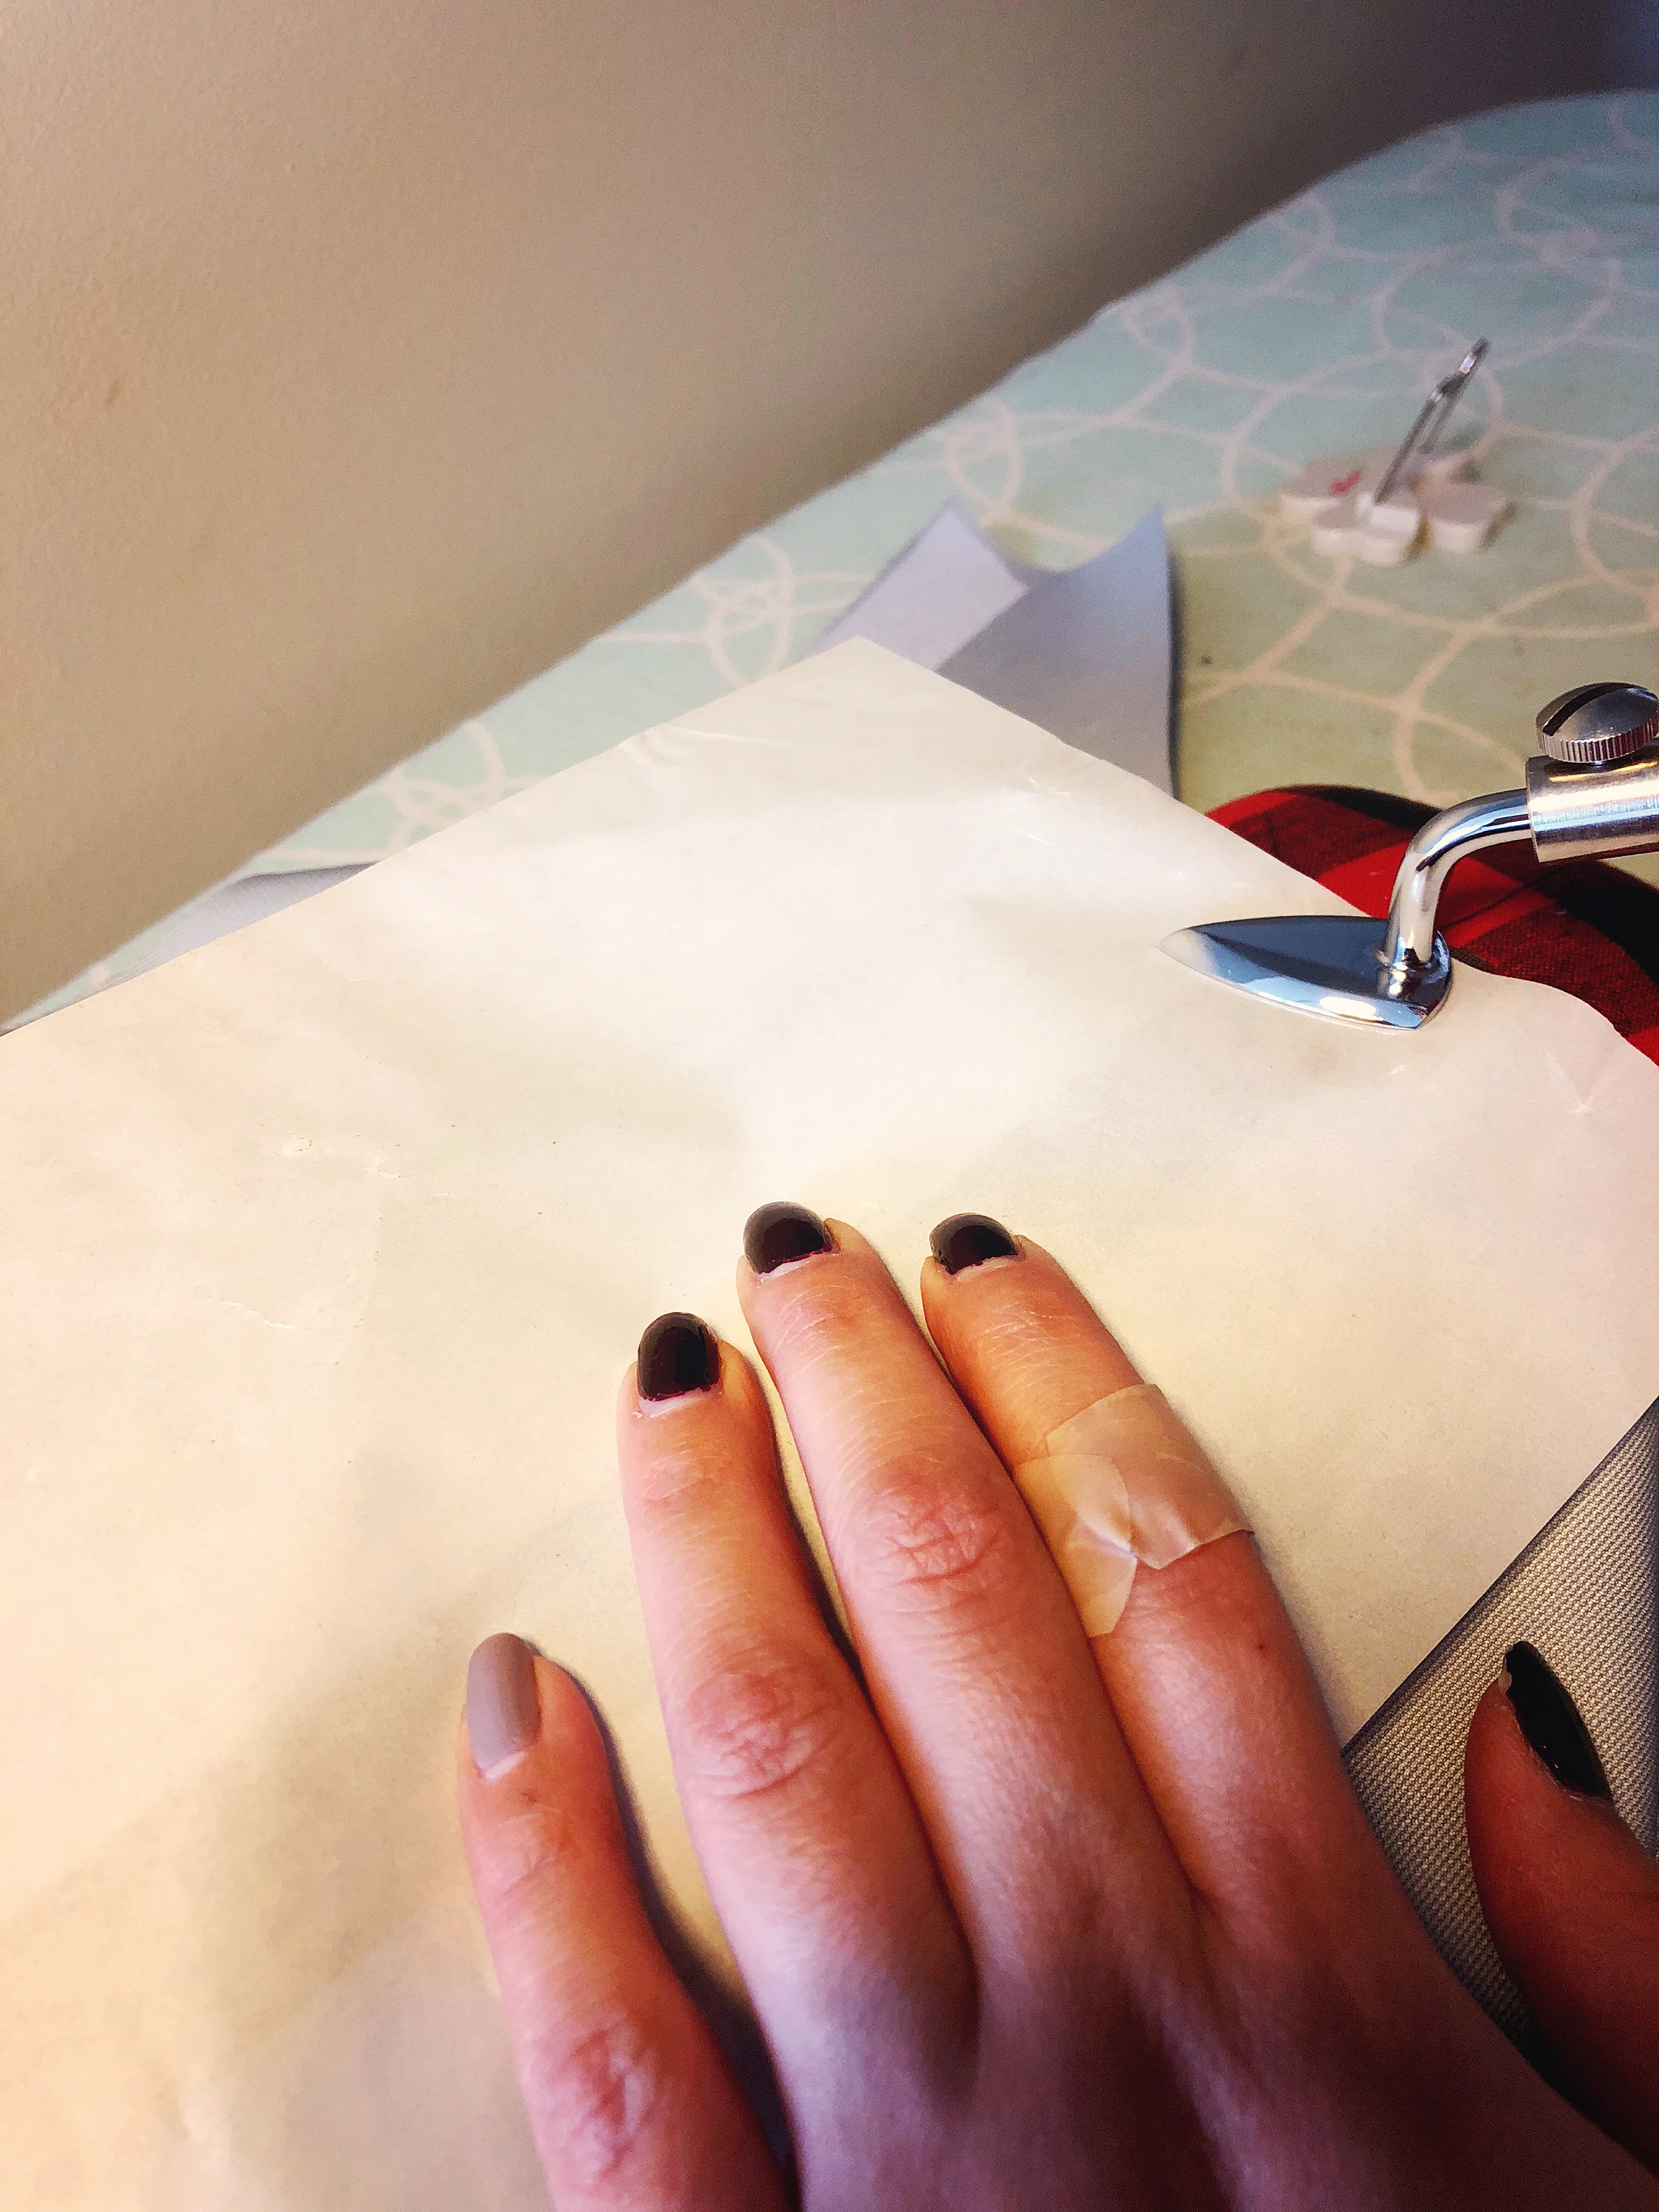
top of tape, also excuse my bandaged finger, I cut myself with a butter knife :S don't ask me how
Speaking of seam sealing tape this is what it looks like! I got my tape from Seattle Fabrics along with my farics. In the left hand photo is the underside, or glue side, of the tape and on the right is the side that you will see after ironing the tape in place. It is very easy to feel which side is which, the glue side is smooth and the non glue side has a texture to it. As I mentioned in my last post I did run out of tape on my jacket, I had bought 30m thinking this would be enough for all 3 of the jackets I was making, you don't realize how long your seams are until you start taping them! So buy more tape than you think you will need :)
Looks like my ironing board needs a clean :S
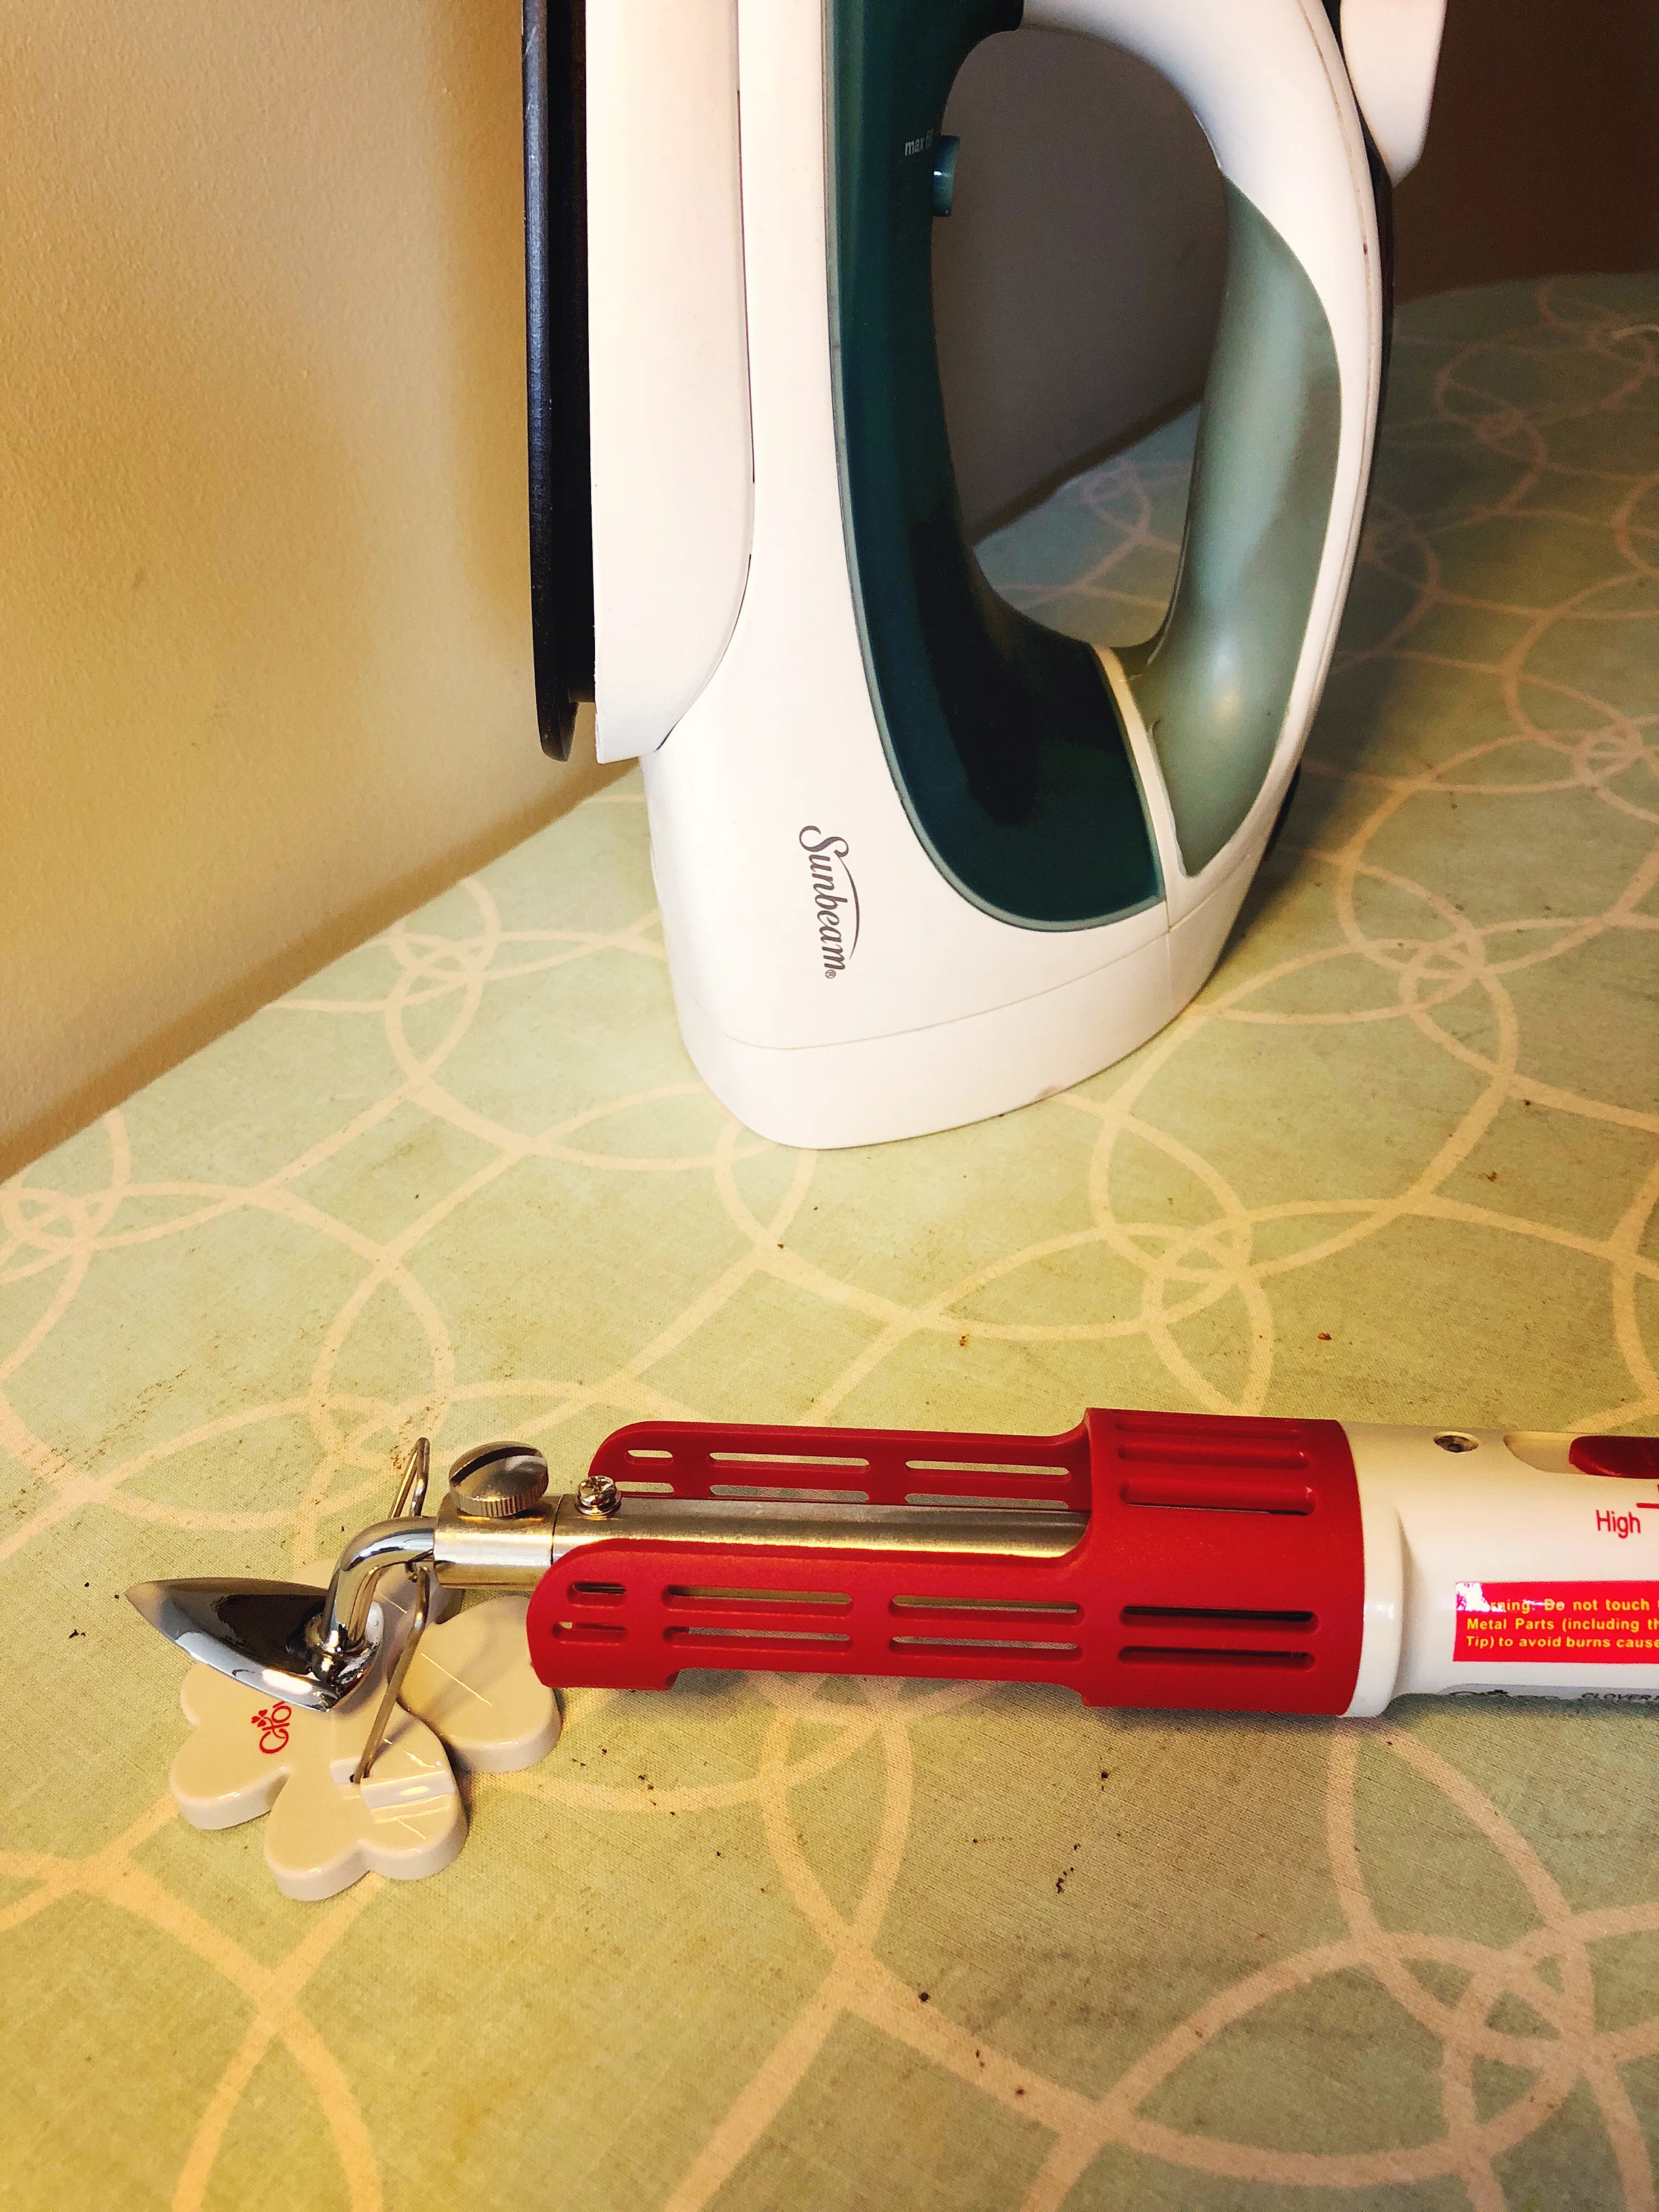
Now, what type of iron should you use to apply the sealing tape? For my jacket I exclusively used my home iron and while this worked there were some areas where having a smaller iron would have been super helpful. These were the curved sections of the jacket: the arm holes, the curve of the hood, the neckline. Again, I was able to use my home iron for my version but it was tricky and there were a few odd situations where I had the fabric wrapped around my sleeve ham and was trying to press the iron onto the corner, this was pretty dangerous as if my hand slipped I could have burned myself! I rationalized for the 2nd and 3rd jackets that I should just go ahead and buy a tiny iron (I was also able to justify the purchase since I have some heat transfer vinyls that I want to put on some mugs and things and doing that with a home iron would be kinda hard). I got this one from amazon. I chose it because it has variable temperature, a shield for the arm portion, and a stand to rest upon when it's not in use. So far this tiny iron has been awesome at seam sealing curved seams as I show below, but you still need to be careful with it as I'll explain at the end.
Once you've sewed your seam you need to trim it to about 1/4" (left hand image) as well as top stitch in place if necessary. Here I'm seaming the hood of the jacket so I've placed everything on my sleeve ham due to the curves involved. At this point you can press the seam to the side or open but since you'll be ironing in small sections anyways I finder it easier to push the seam allowance to wear I need it to be and then place the seam tape on top, making sure to cover the seam and the seam allowance (middle photo). I never cut the seam tape prior to attaching it since it does take a bit of wrangling so I liked having it still attached to the roll that way the other end can't inadvertently get glued in the wrong place. Keeping the tape on the roll also means that I don't have to worry about accidentally cutting the tape too short. Finally, and most importantly, before you use your iron you need to protect everything from the heat by using either a paper/plastic or fabric pressing sheet (right image). In these pictures I was using the plastic/paper sheet that came with the seam tape but I reverted to using a piece of muslin fabric because I didn't feel like I was getting sufficient heat transfer though the sheet to properly adhere the tape and at one point I accidentally melted the plastic :S Using a fabric pressing sheet works much better in my opinion.
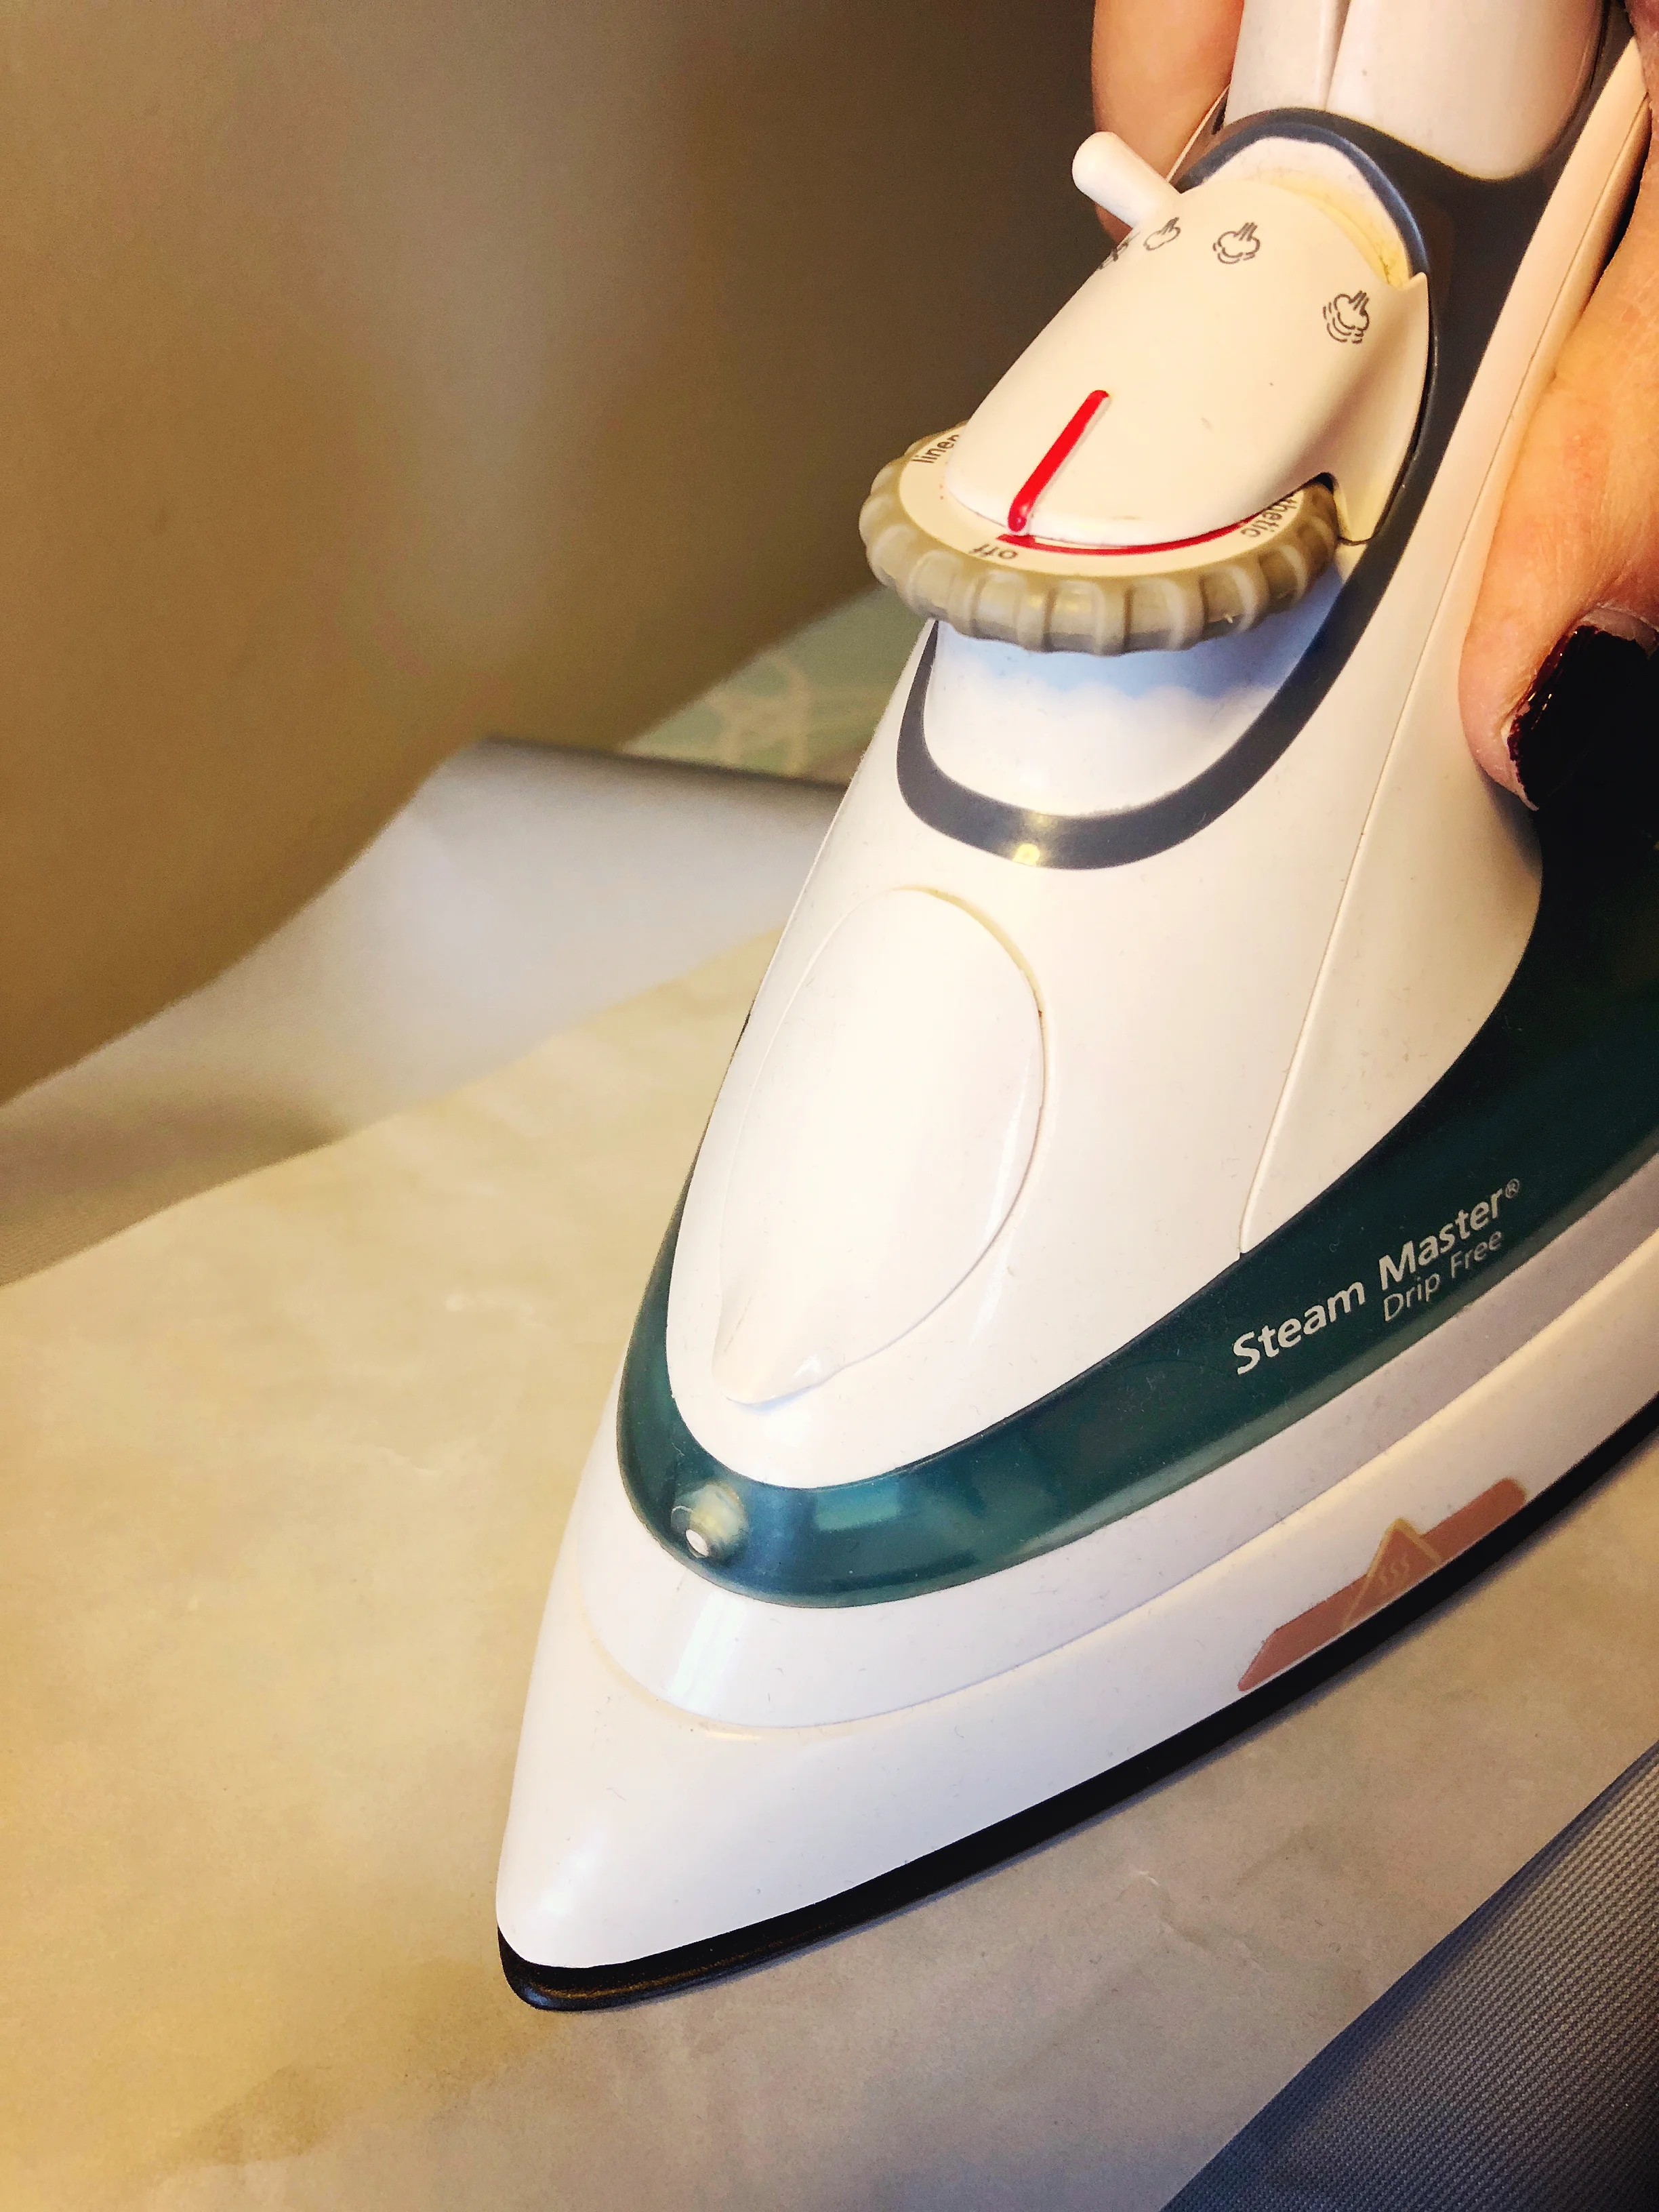
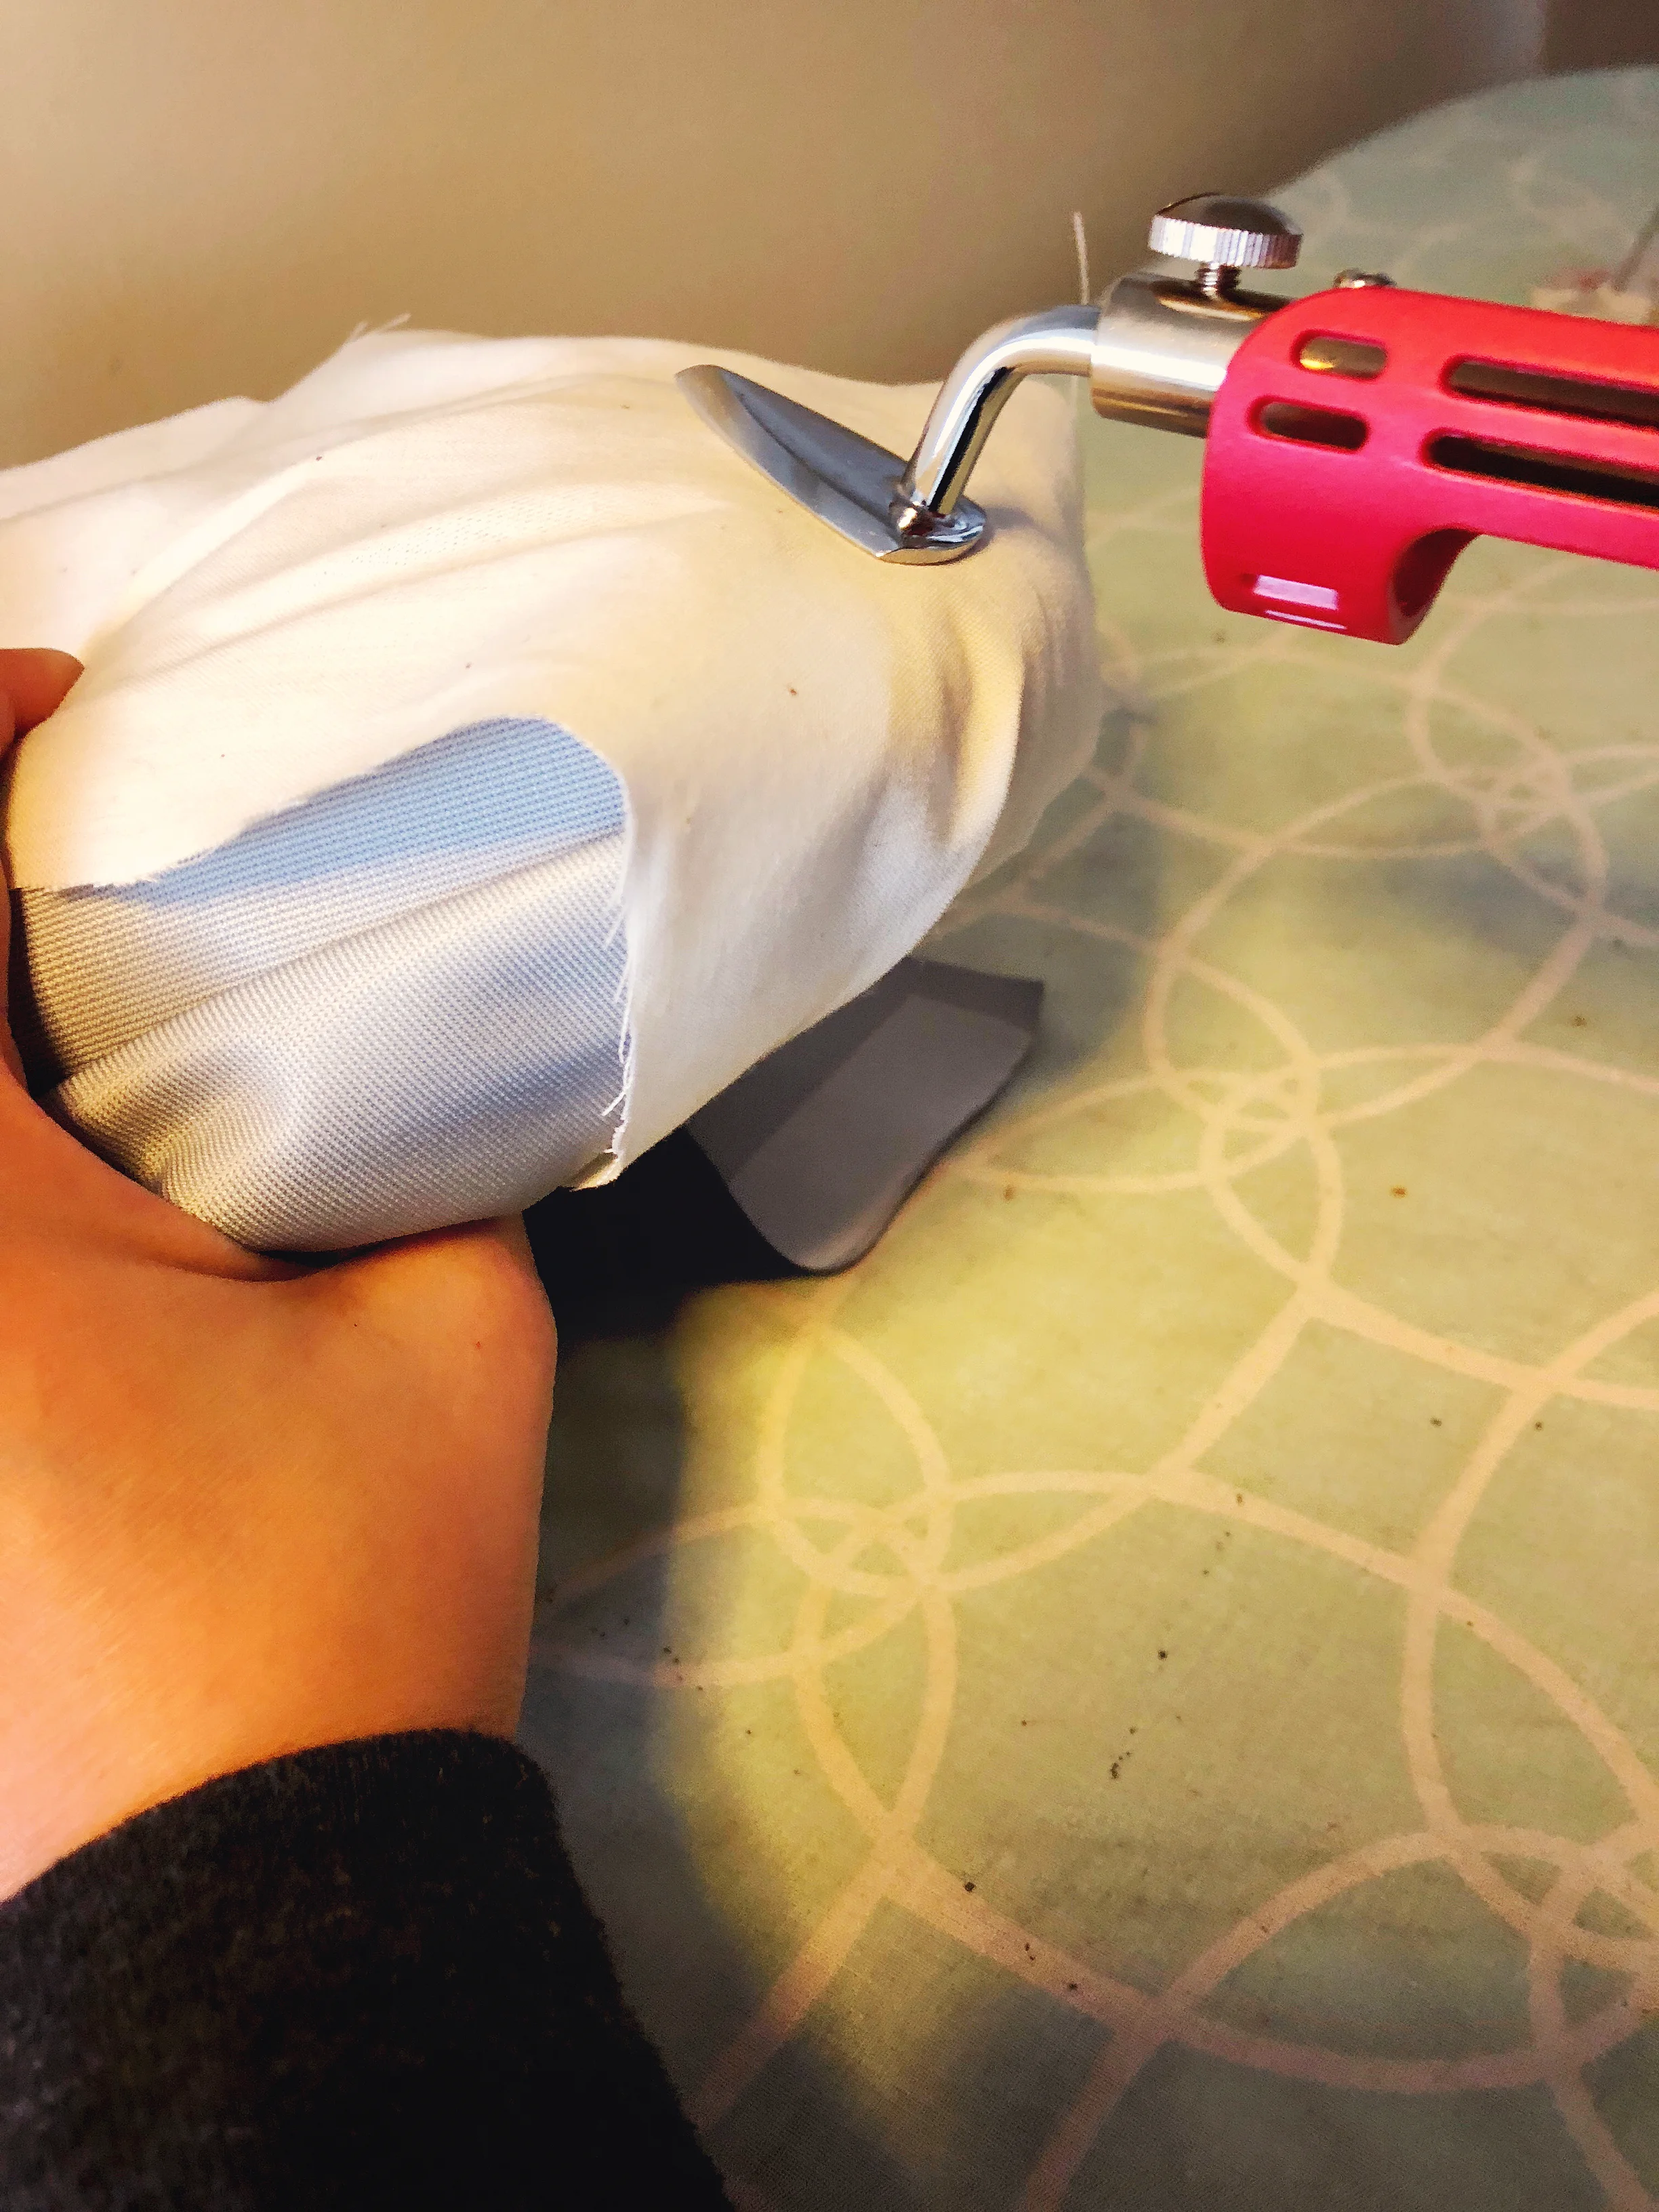
Once you have everything sandwiched together (seam, seam tape, and pressing sheet) you can use your iron of choice to press the seam. In the left hand picture I'm using my regular iron, this is by far the fastest way to adhere the tape when you have a long straight section but is very tricky for curved portions. For my home iron the wool setting worked best, providing enough heat to melt the glue but not too much to damage the fabric. In the middle photo I'm using the mini iron, you can see that it would take much longer to seal the tape this way but it is ideal for curved sections as you can see in the right hand photo. For this portion of the hood it is not possible to lay the seam flat since it's the back of hood and very curved, so I've wrapped the hood, tape, and pressing sheet around my sleeve ham allowing me to use the small iron to press the seam with more safety than with my larger home iron. Again you certainly do not need the tiny iron to do this project but it really does help. For the small iron I used the medium heat setting (low took forever and left a lot of unglued sections while the high was much too hot!). Regardless of iron that you use you'll need to press down with some force for about 10 seconds before moving to the next section. The process is fairly slow, even with the larger iron, so put on a good podcast or TV show :D After pressing you do have a small window of opportunity to peel back the seam if things are miss-aligned, but I woudn't rely on it to work every time, basically check twice, press once :)


Once you are done pressing go back and check that all the edges of the seam have been adhered, you can see in the left photo that there are some portions that are not adhered. This is most common on the curved sections but can also happen on straight portions where you haven't pressed evenly. If you catch these spots while the tape is still warm you can sometimes press down with your finger to seal it, if it's cool simply re-position the pressing sheet and apply more pressure. You can see that in the right hand photo the gaps are now gone :) I'd advise running your finger nail along the edge of the tape to find any non-adhered spots before continuning on sewing as it will usually be easier to fix spots now than later.
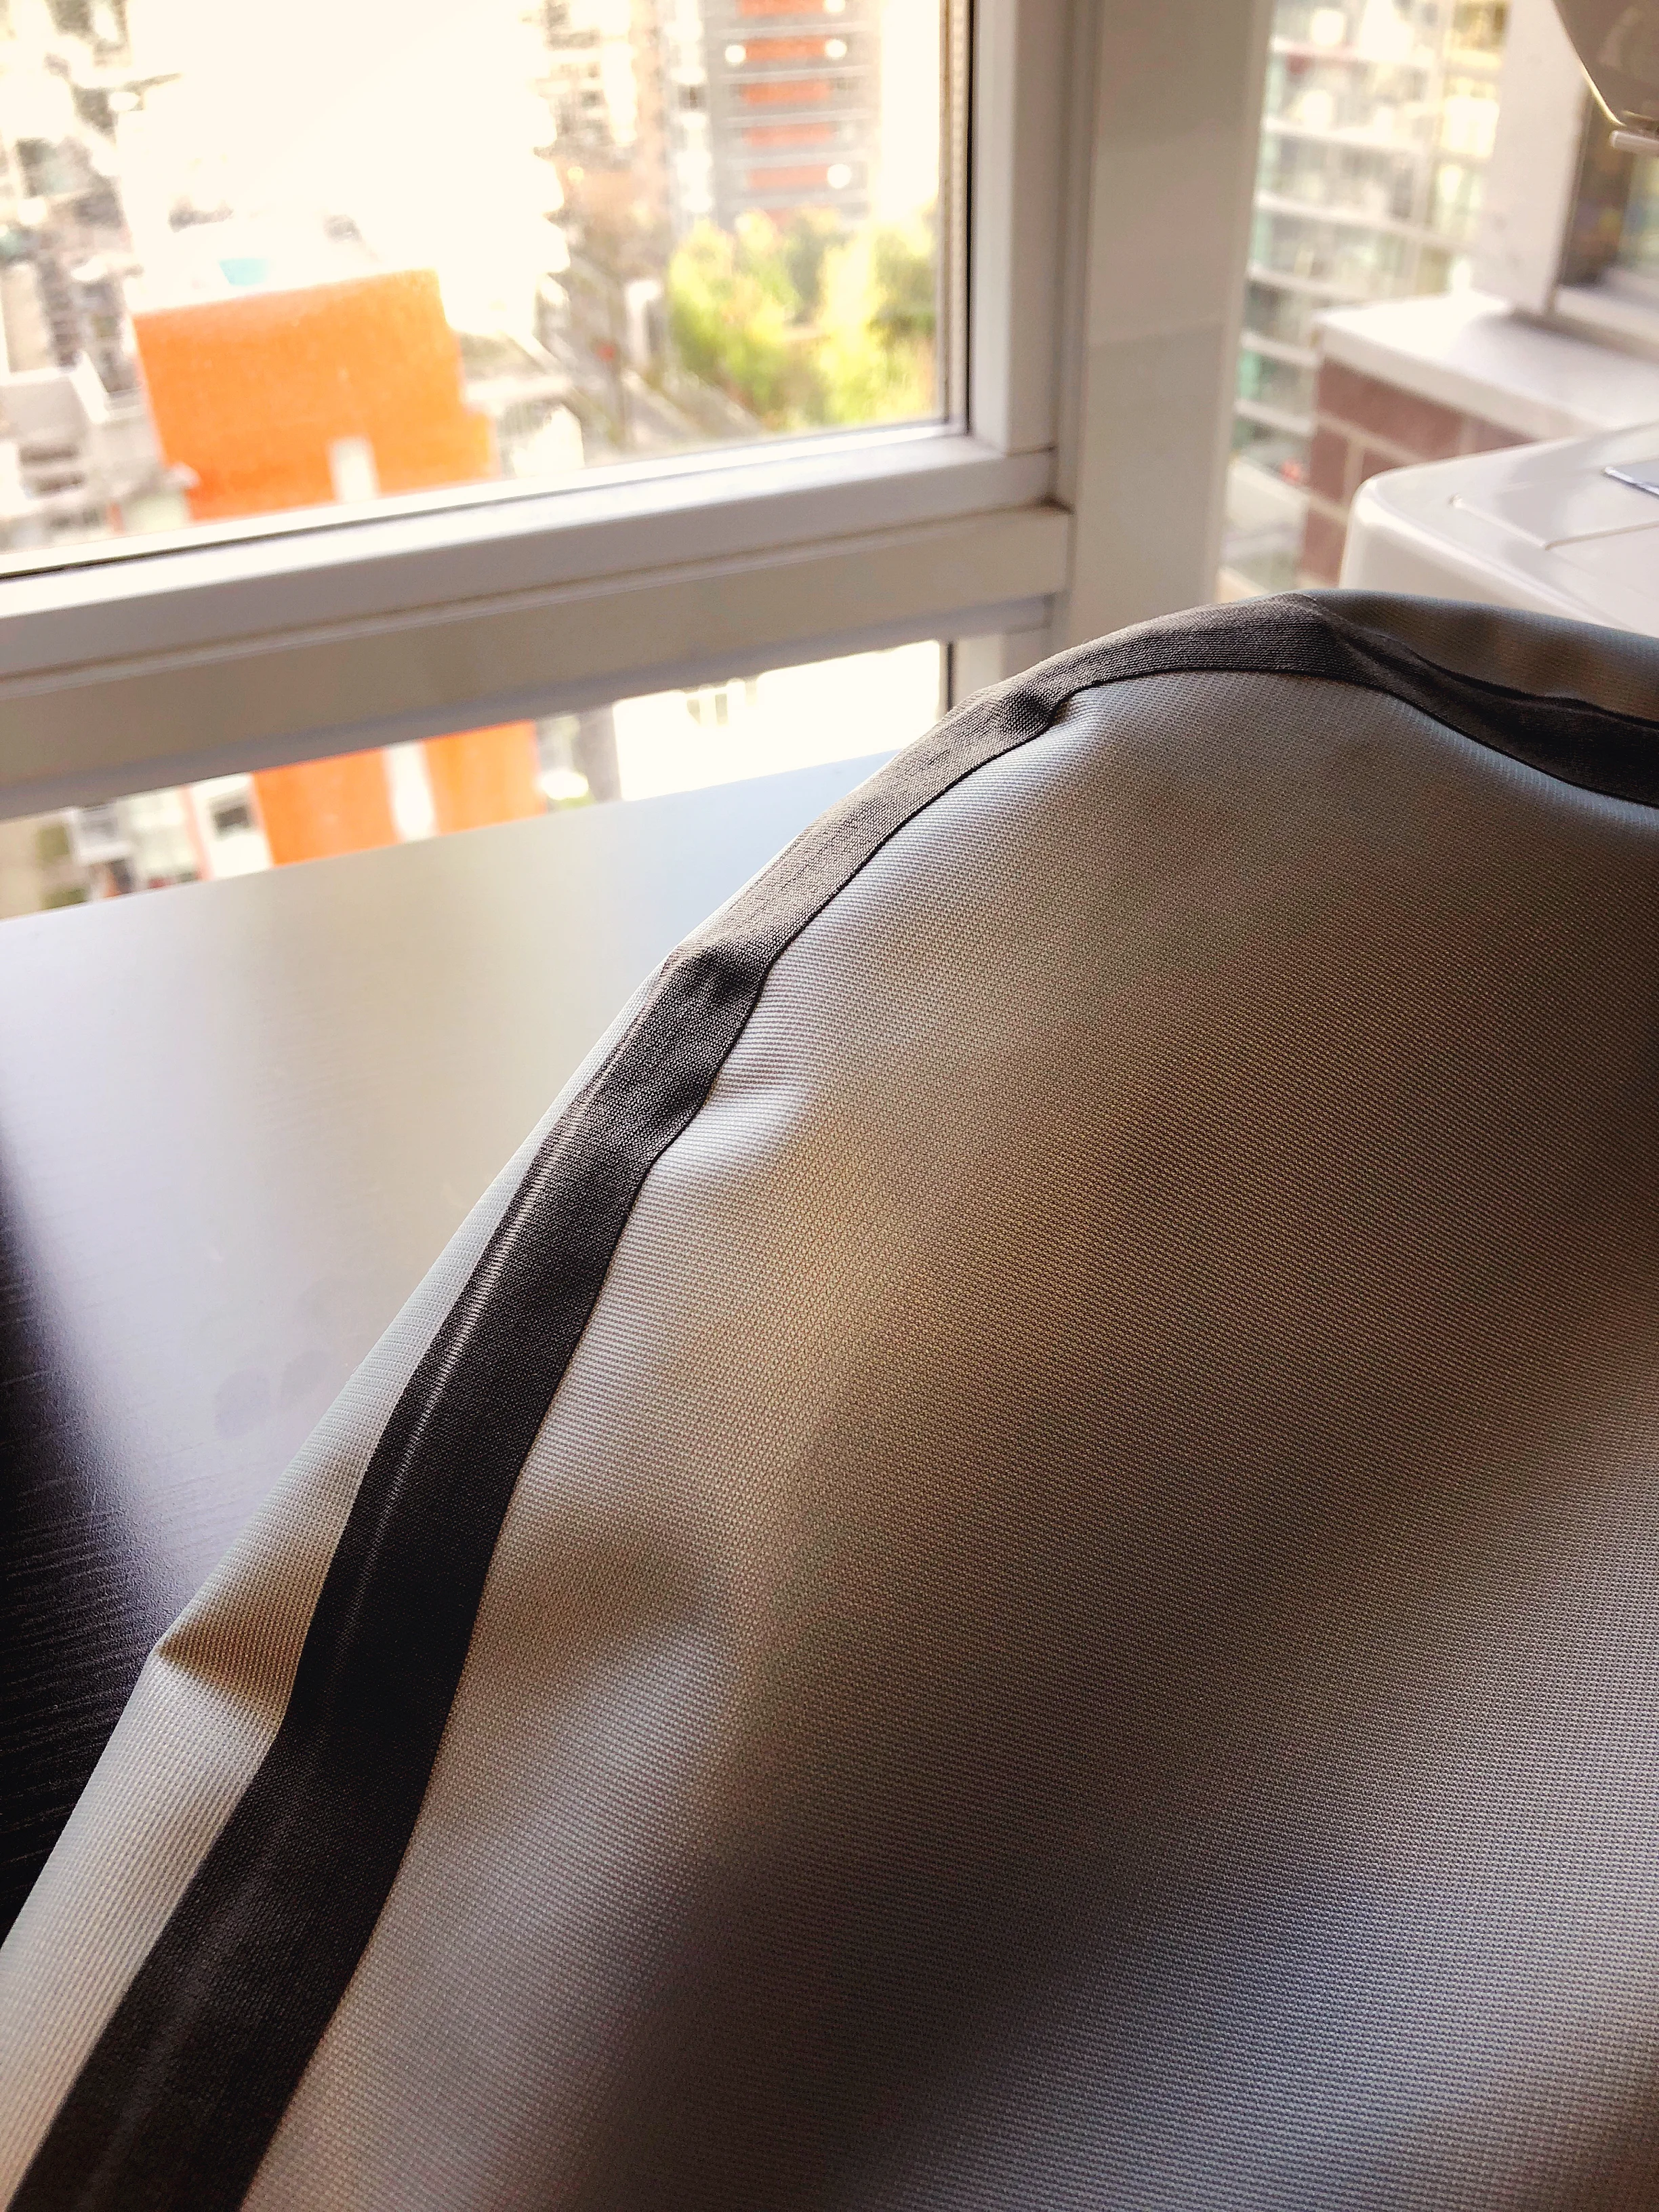
Finished sealed seam!
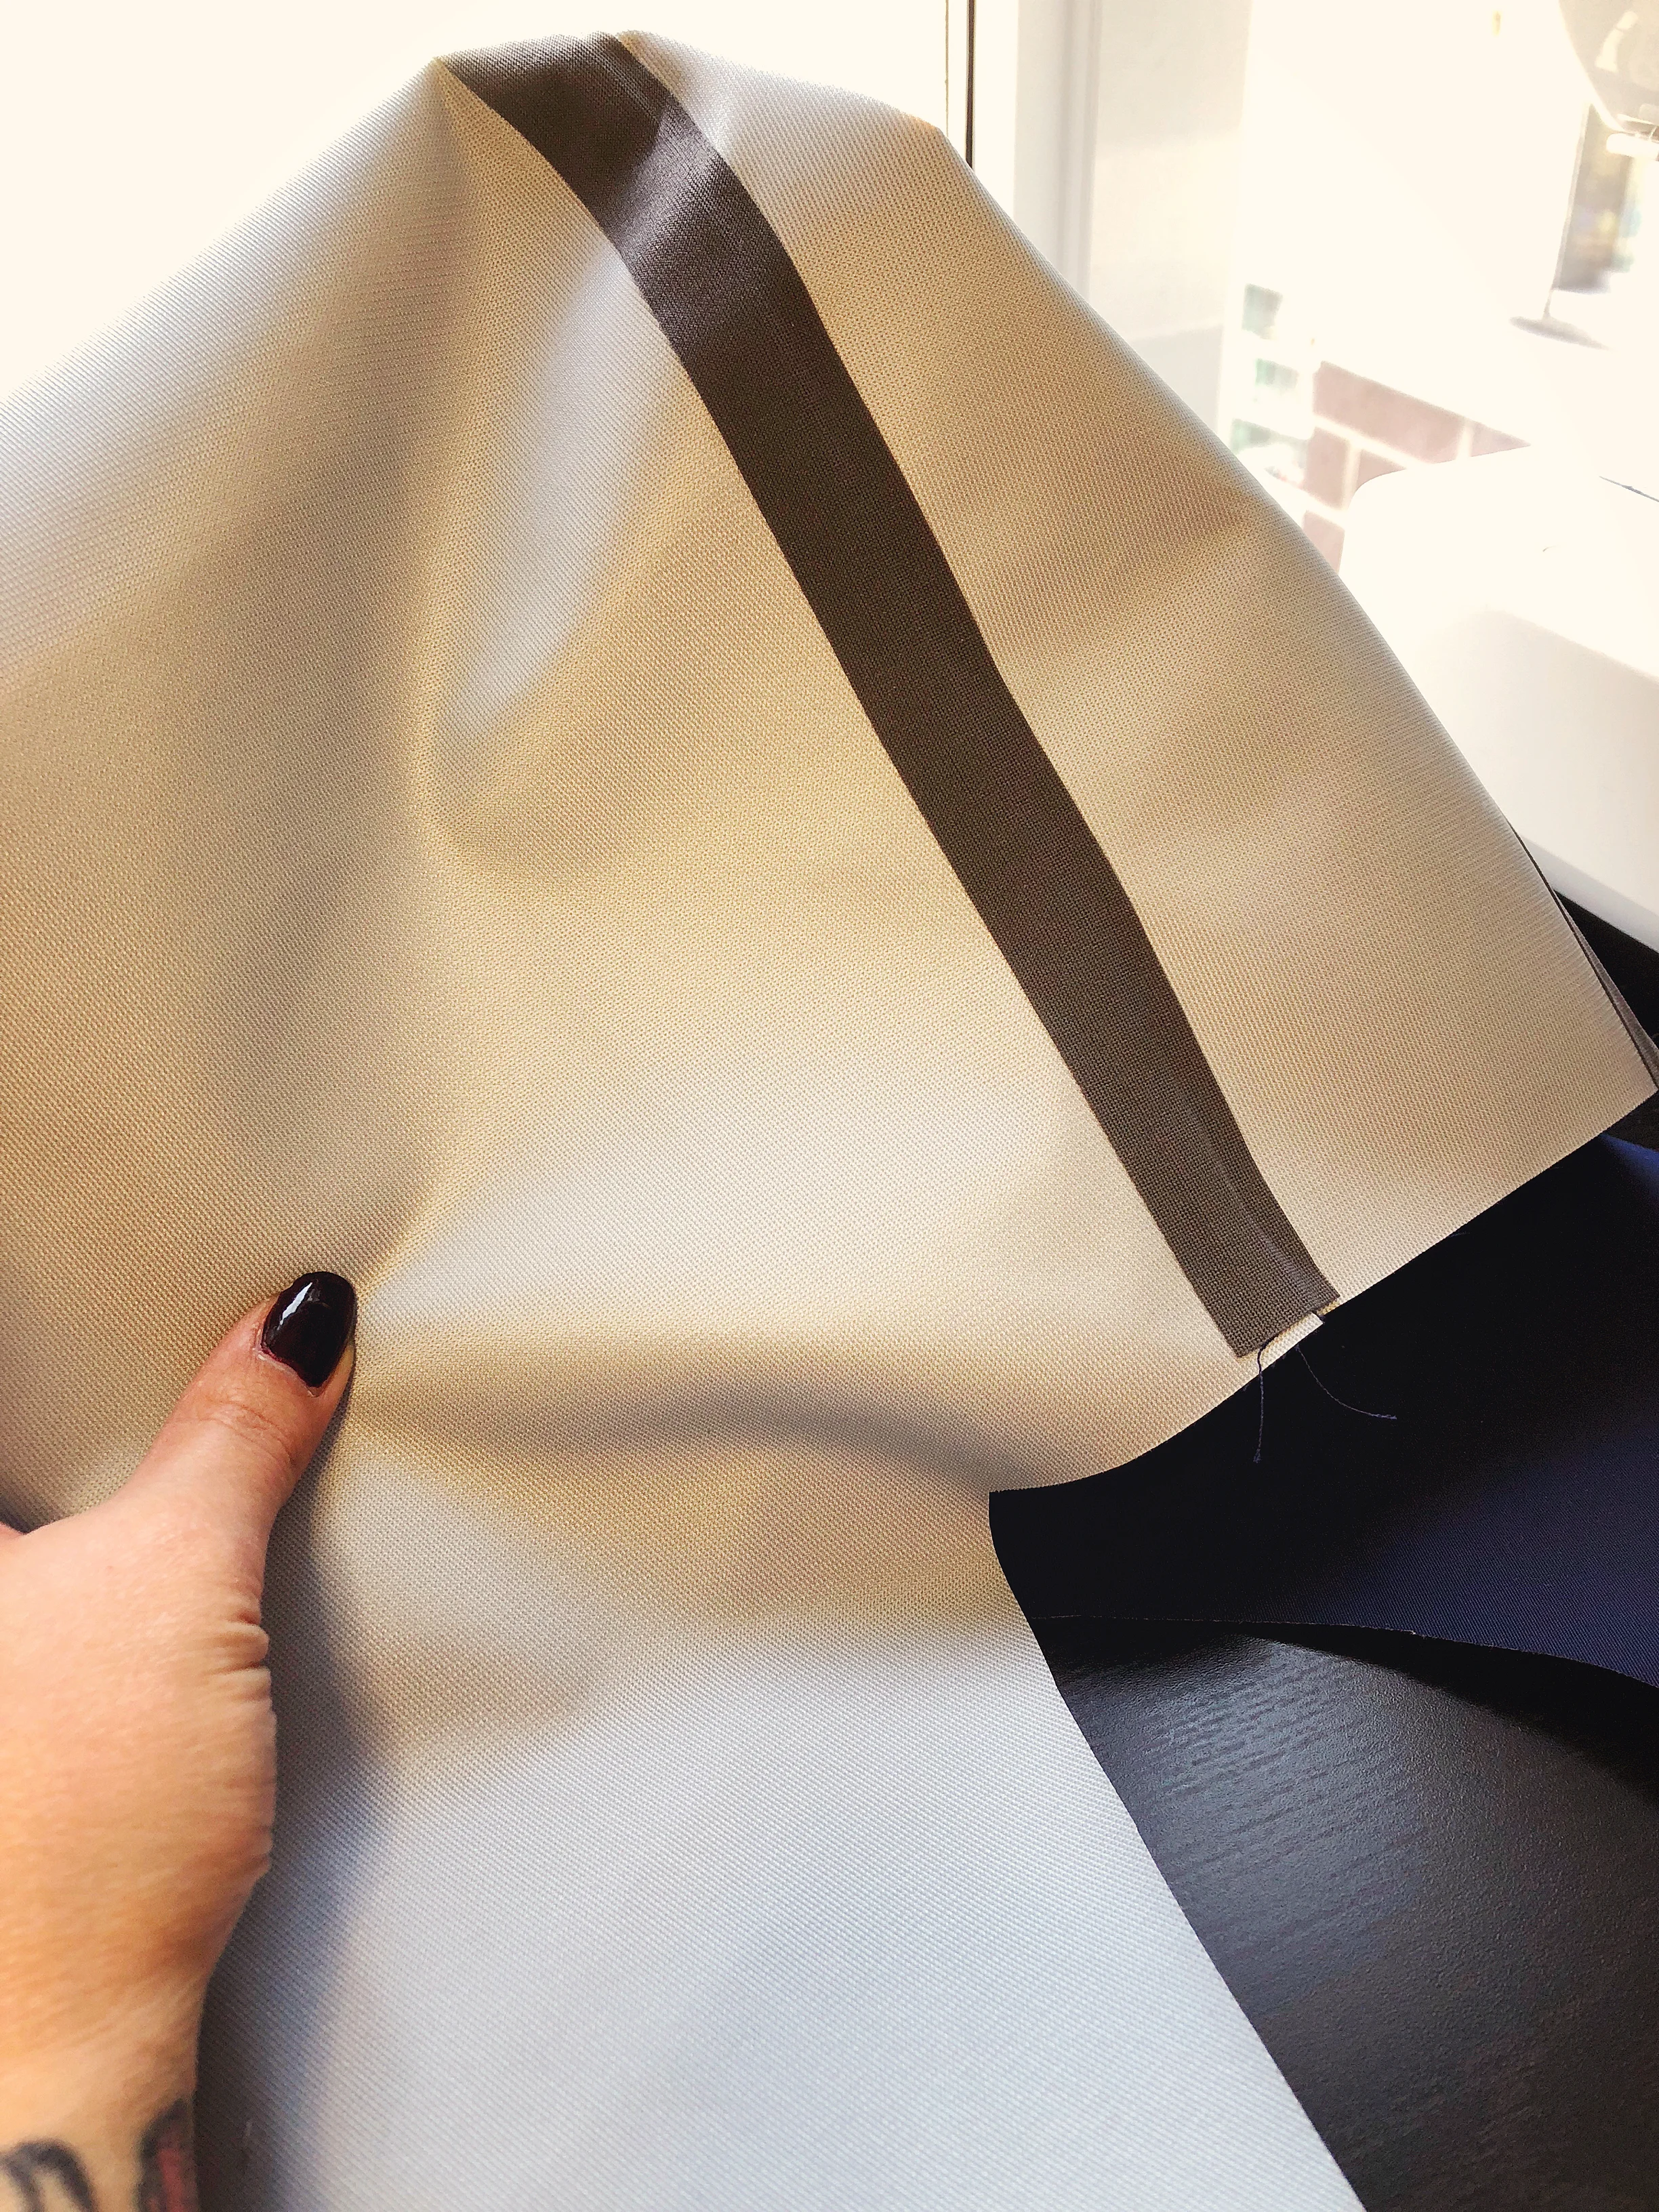

Yay! you've attached seaming tape to a seam! now just repeat that for all the seams of your coat hahaha! You'll notice some ripples in the fabric both on the inside and outside, this is normal as I've seen similar results on RTW gortex jackets. Of course the more time and patience you have the smoother you can get the seams but I wouldn't worry too much about getting a completely smooth seam line as I don't think it's even remotely possible unless you have an industrial press!
And now for a note of caution! I accidentally had the small iron on the highest setting while using the plastic/paper pressing sheet that came with the seam tape and it melted the plastic :O lucky for me it's at the back and bottom of the hood and there's only a tiny visible mark on the outside of the hood (you can see it the right hand side of the right photo). After consulting with the Fluffy Blonde Monster he agreed that he could live with the small mark instead of having to re-cut the hood, #TrueLove! So be careful with those irons guys! don't burn your hard work :D
I hope that this post has been helpful for you guys and that you try sewing your own waterproof jackets! Let me know if you have any questions below! And I'll be posting about the Fluffy Blonde Monster's jacket soon! :D