Hello Internet Friends!
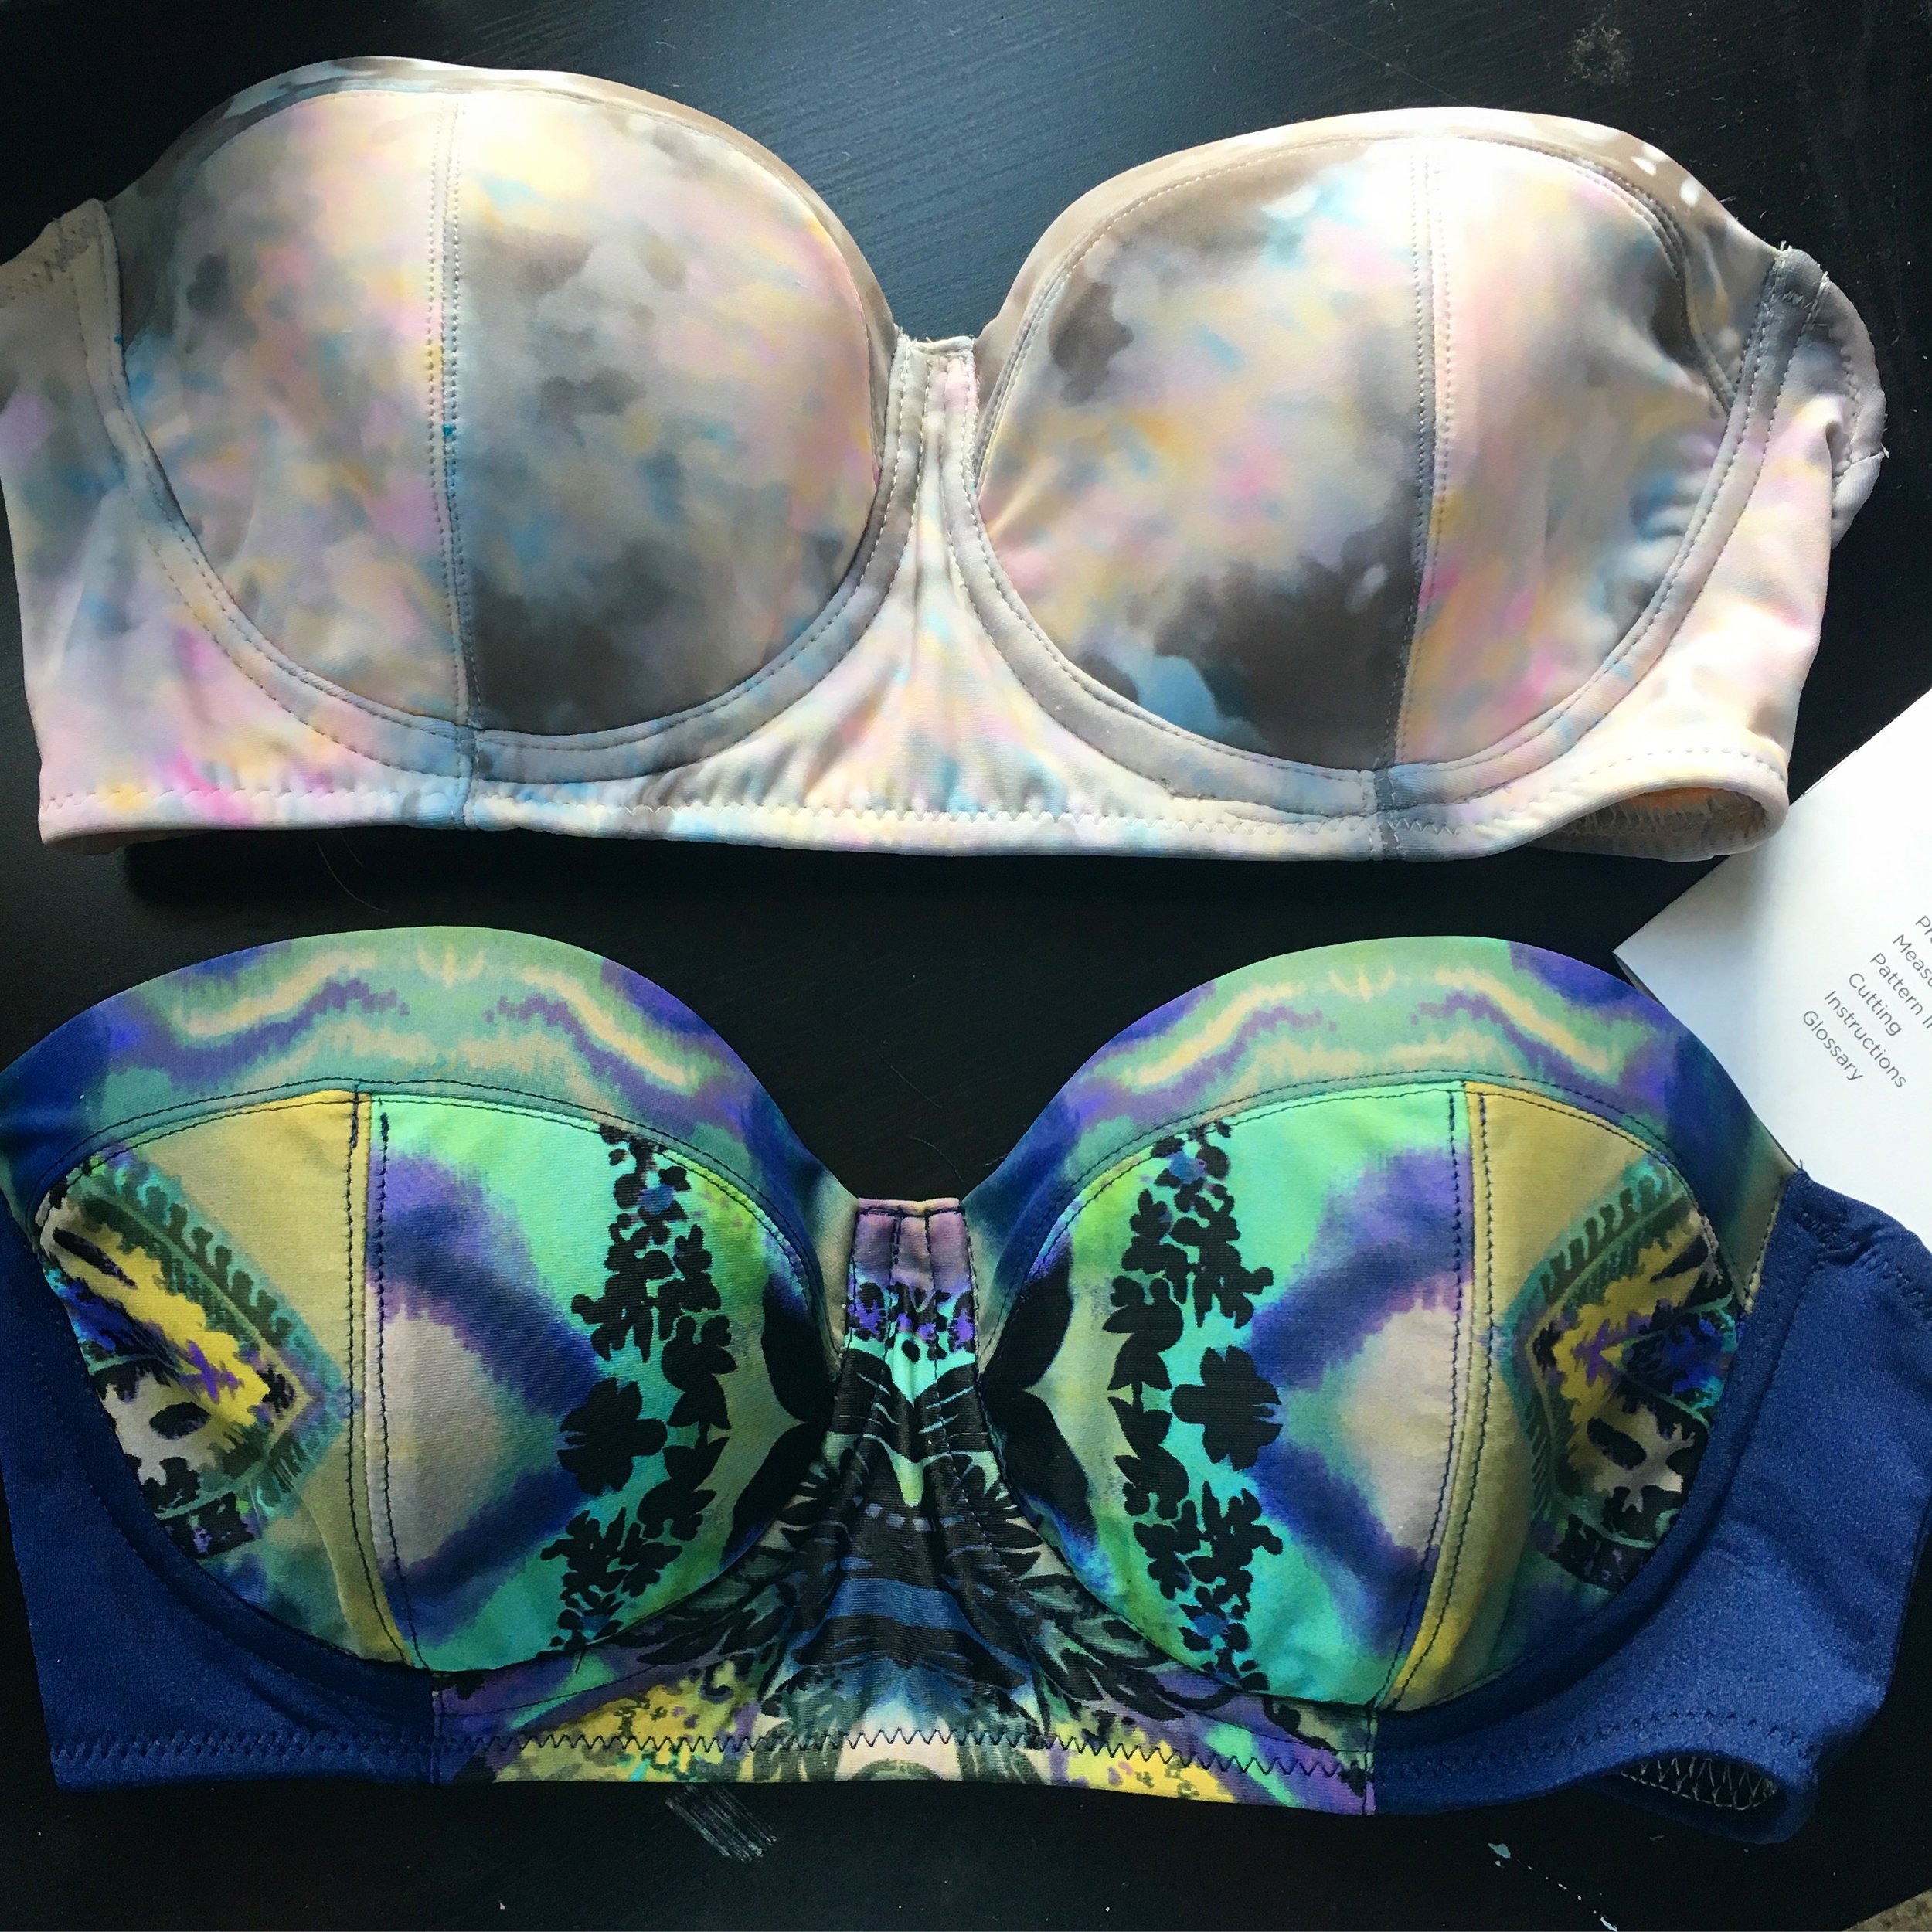
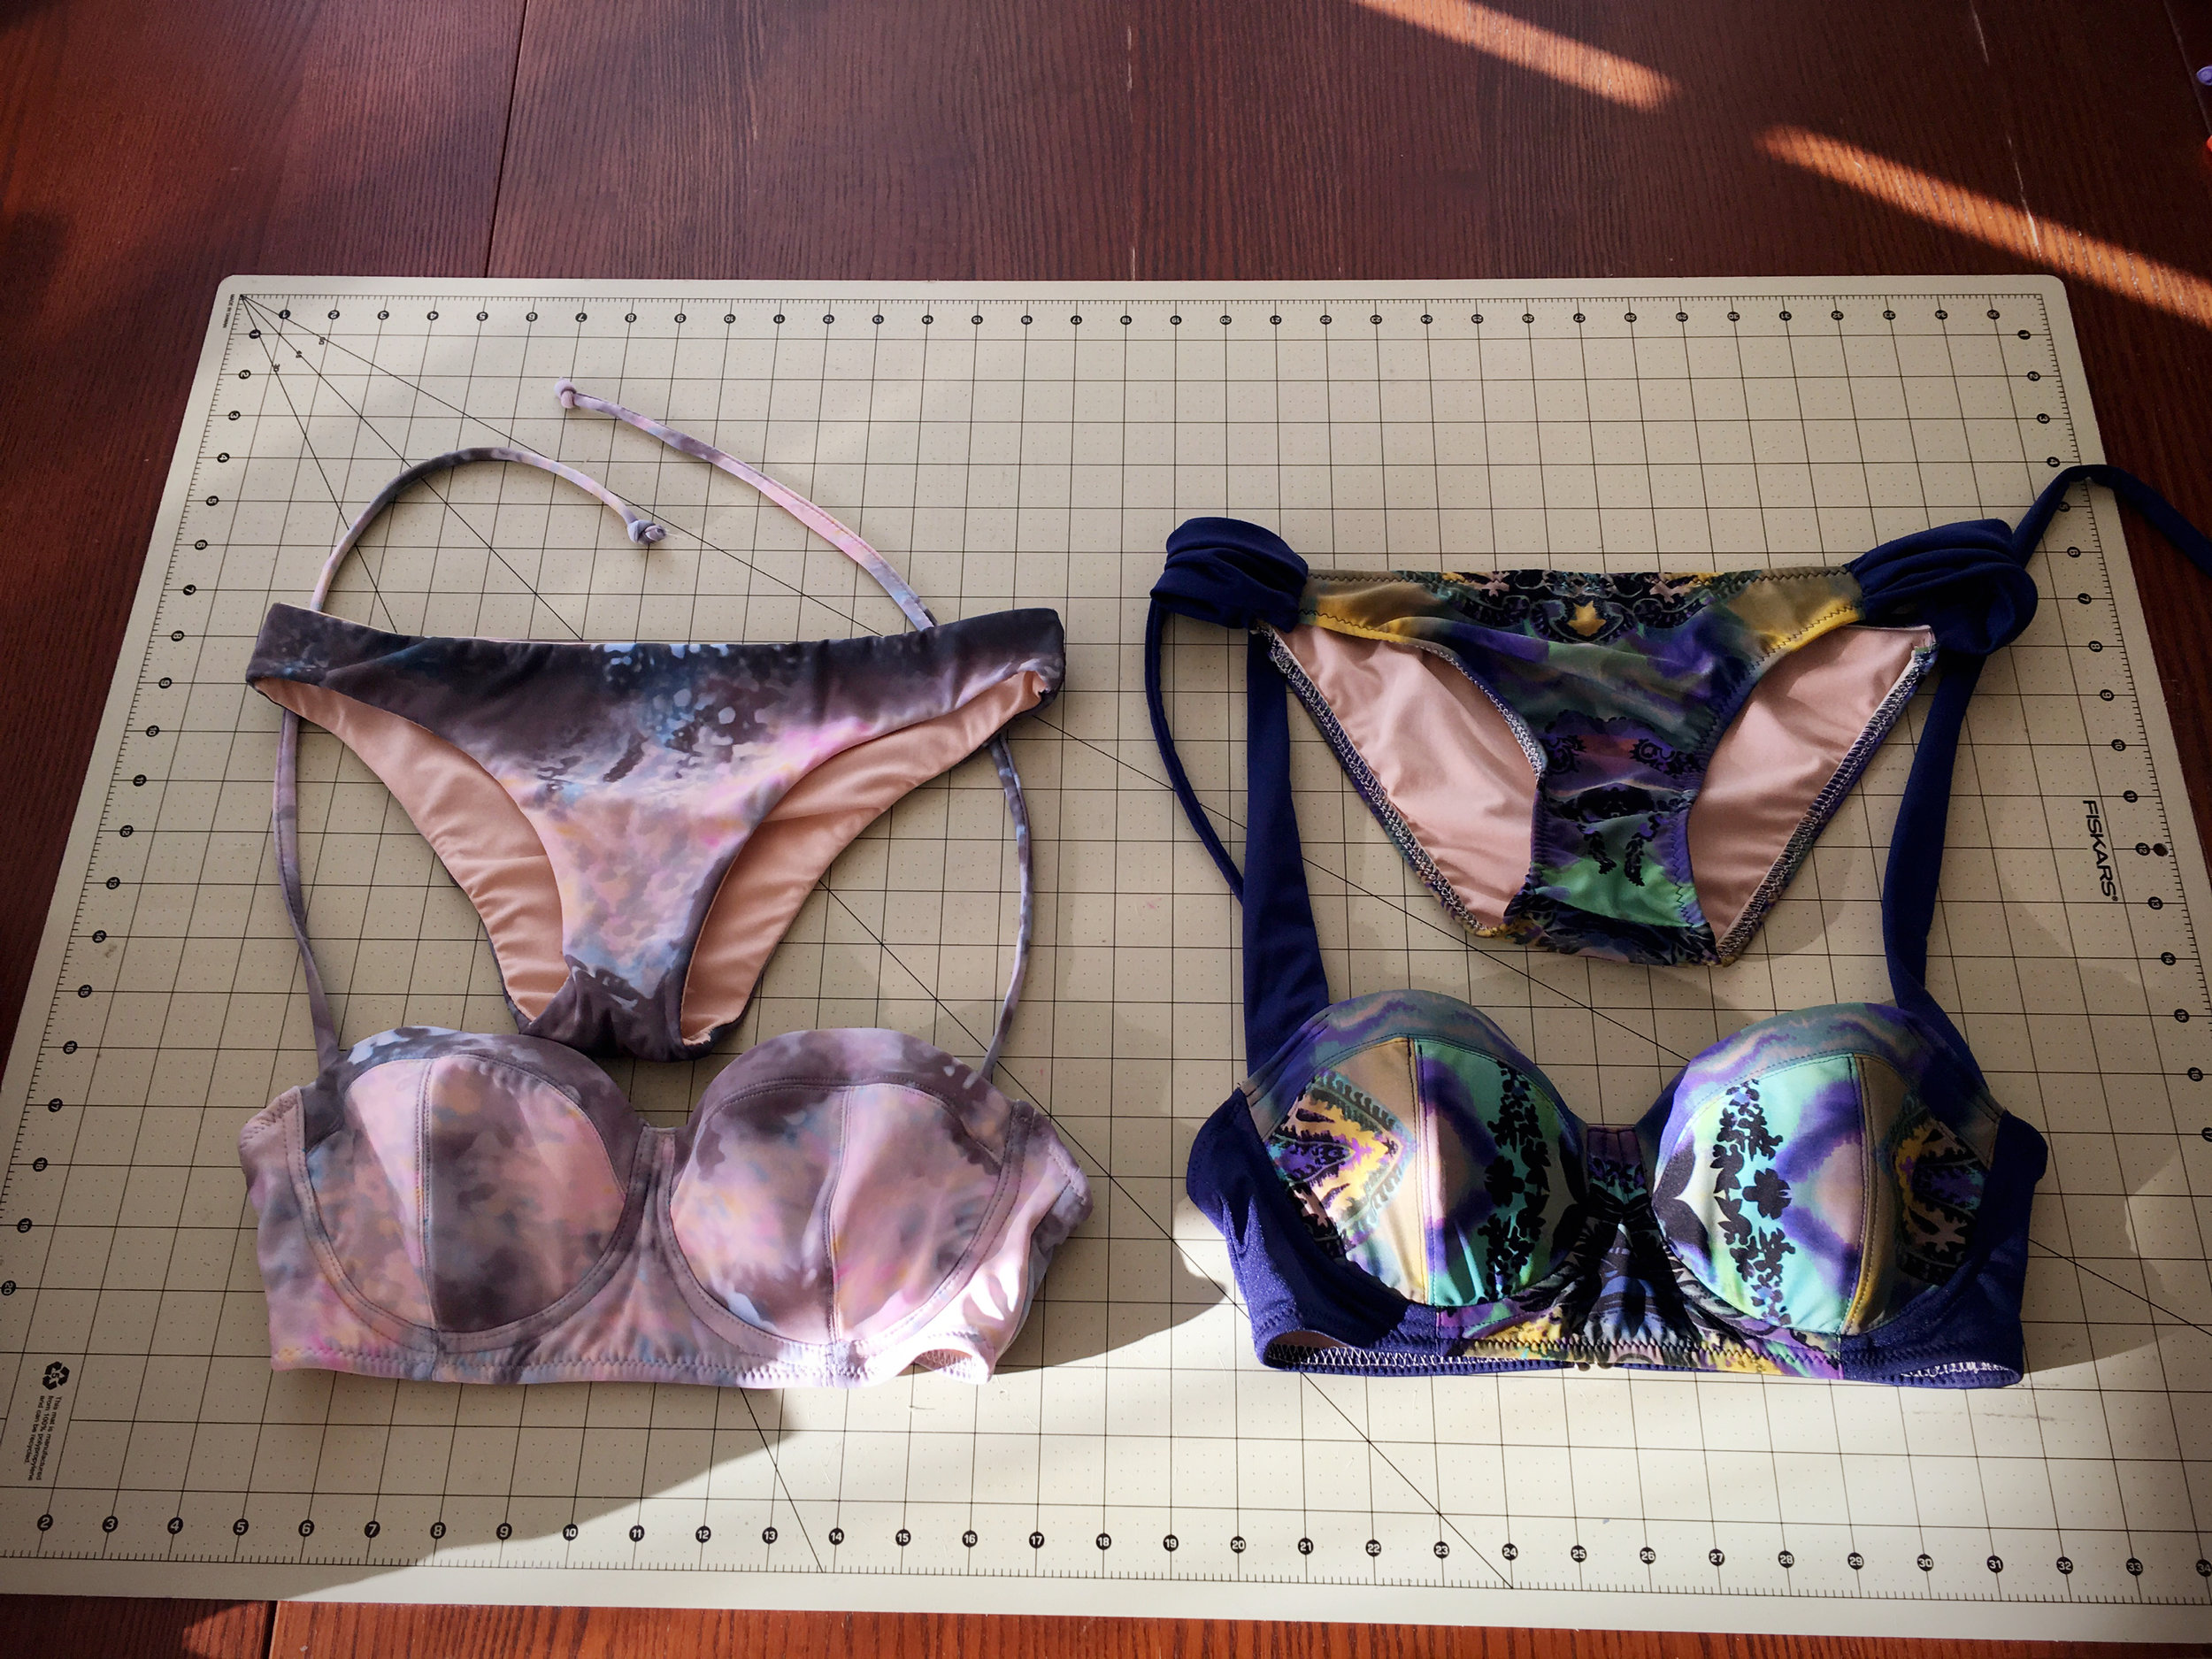
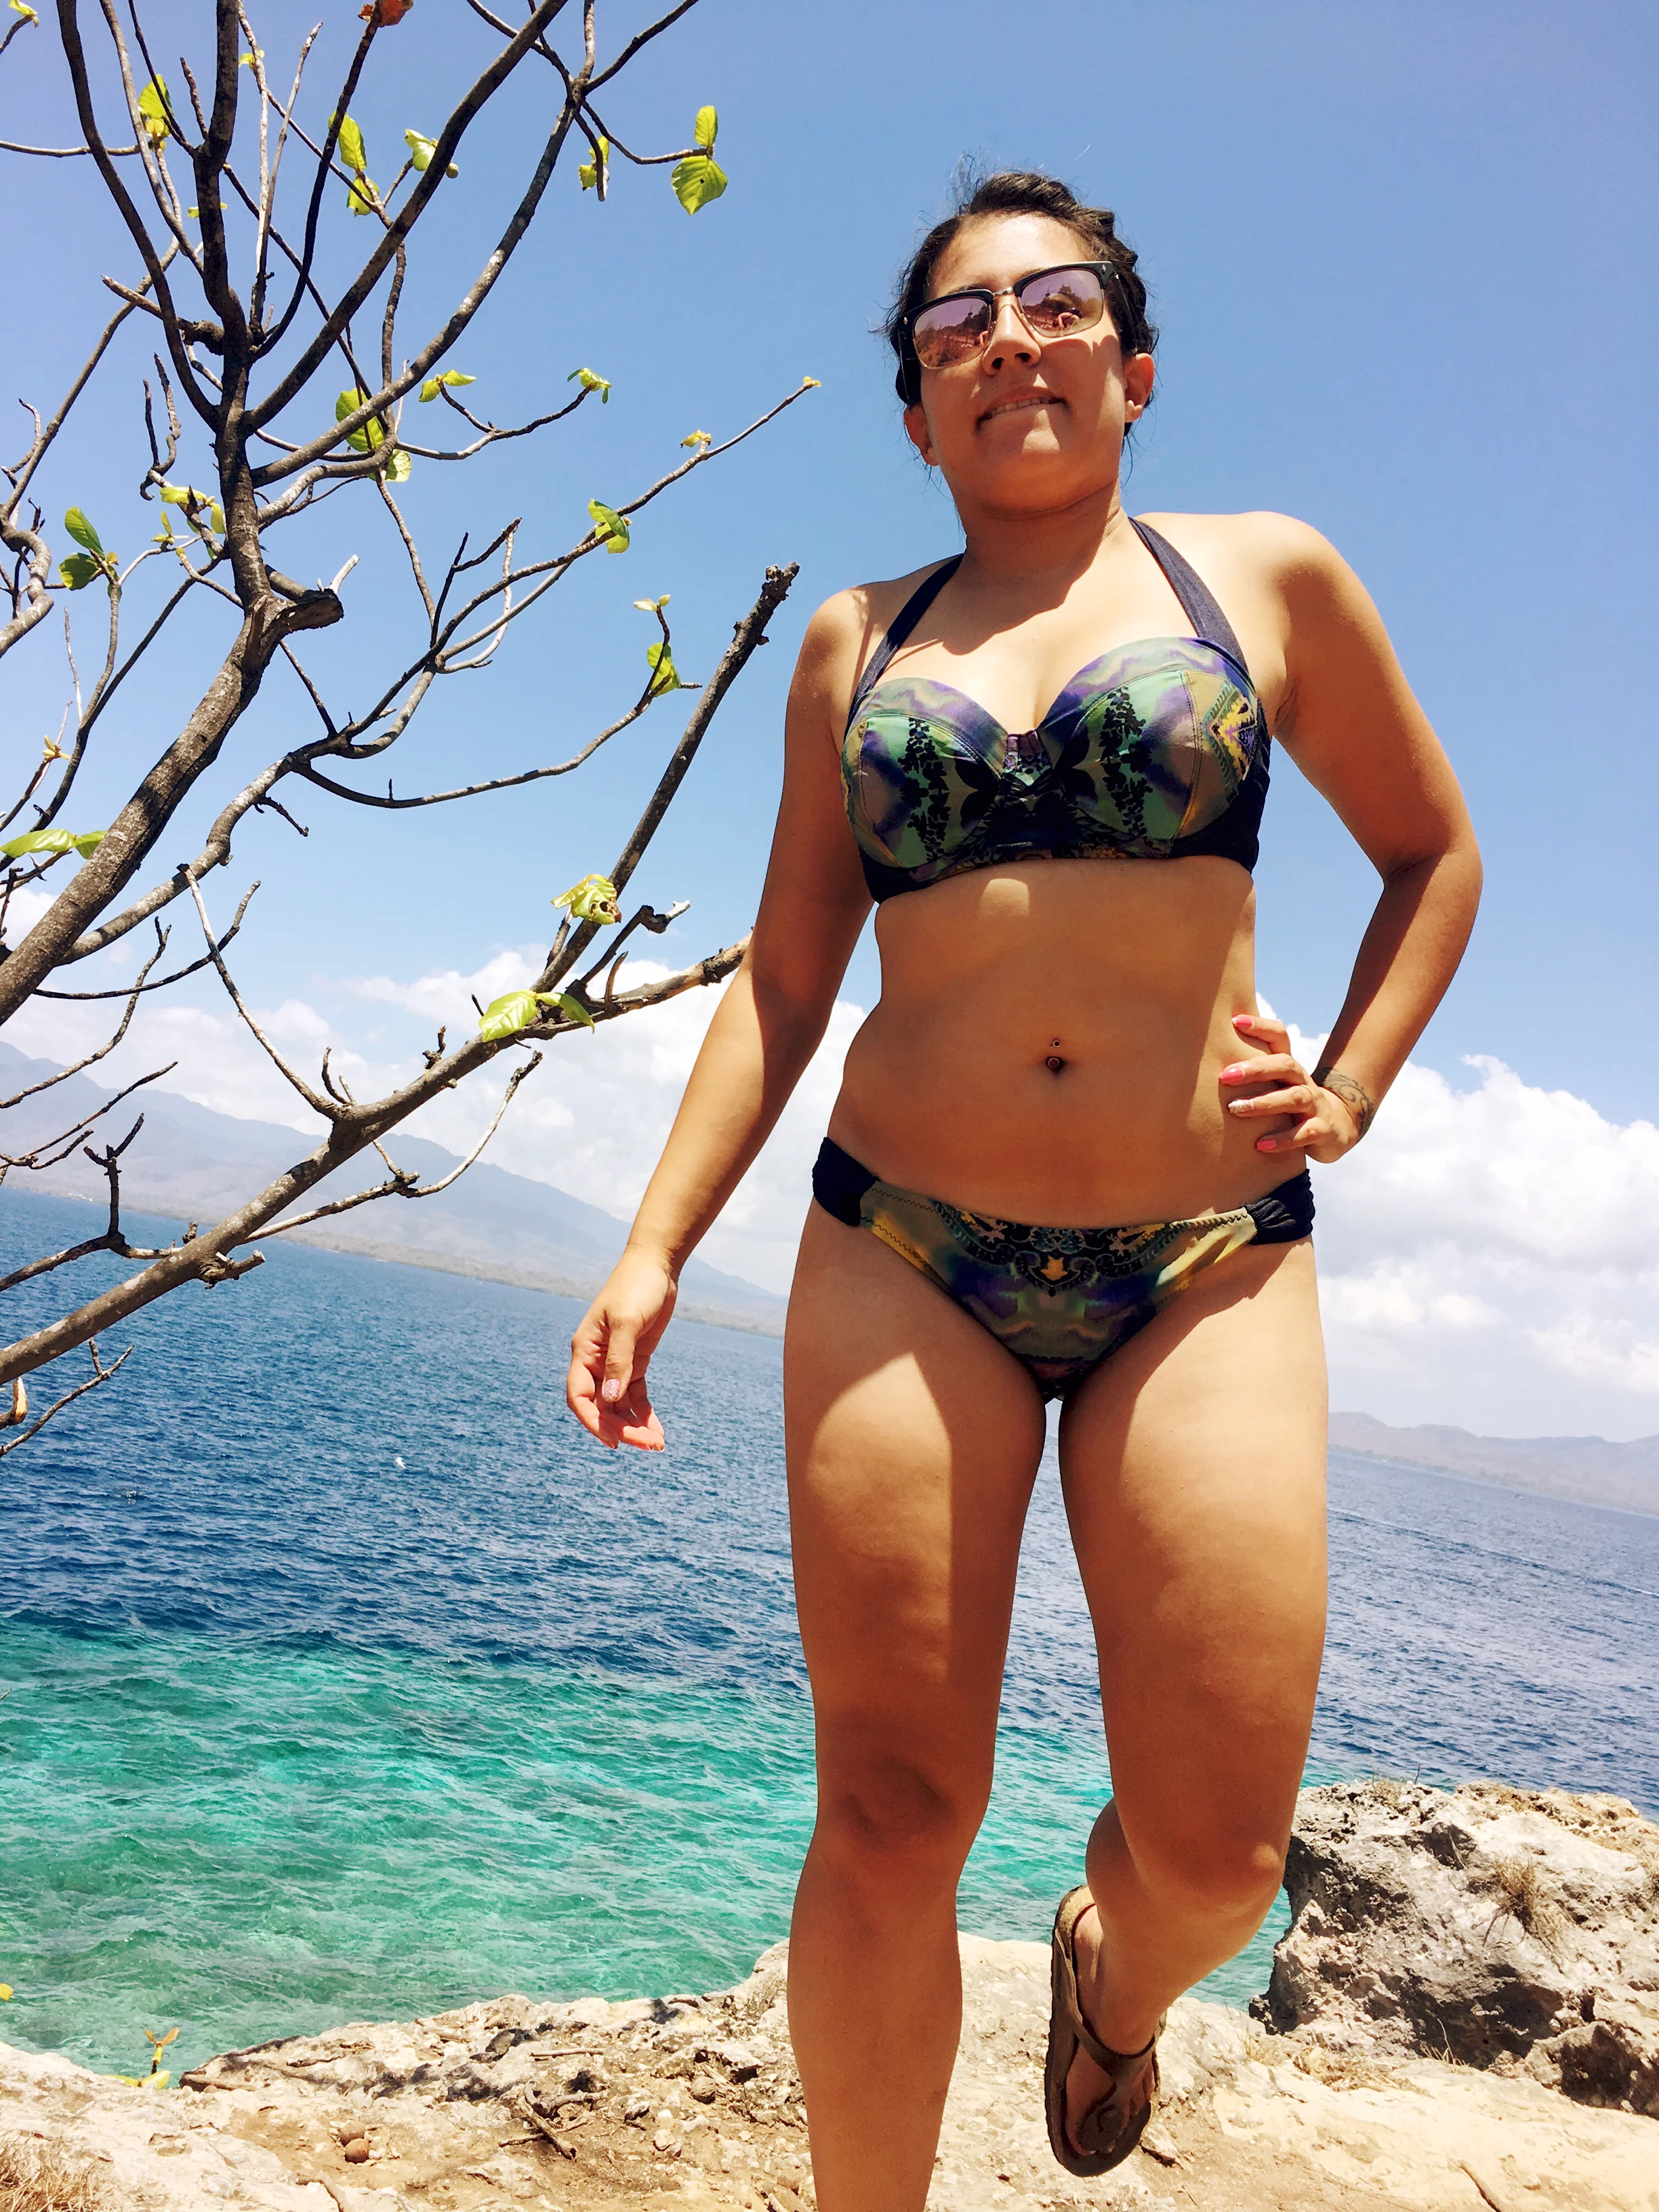
For the last post of 2019 I wanted to give an update on #operationbradrawer that I started earlier in the year. With that post I showcased the first bra that I’ve ever sewn, a mint and pink Berkley bra! Not only was it the first bra I ever sewed but also my first all lace bra that I’ve ever owned. I was unsure at first if I would like using a lace bra but I was quickly converted when I realized I was constantly reaching for it out of the laundry basket rejecting all of my old RTW bras. I was worried that I would quickly wear it out so I made a second navy version but then never got a chance to blog about it since it was either in rotation or in the washing machine. To start the new year off right (and to stop myself from continuously saying, it’s not that dirty just one more day then I’ll wash it) I decided to whip up 3 more bras during my winter break which I’ll be sharing with you today! At then end I’ll show case two more bras that I made this year that while functional aren’t my faves. So in total that means I’ve made 7 bras this year!!! 2019, the year of the bras!
Read moreHey Internet! Long time no blog post......
I know....for a while there I seriously lost my sewing mo-jo....I was still doing crafty things and knitting all the time but work and life just started to get the best of me and I found I wasn't enjoying any of it anymore....and it made me sad :( It's not that I no longer loved doing crafty things I just wasn't getting the joy and satisfaction out of it anymore. So I took a step back, and just allowed myself to chill and remove the 'pressure' I had put on myself to continuously do creative things at every spare moment... When I wanted to sew, I sewed, and when I wanted to knit I knit, and when I wanted to be a vegetable on the couch or go to spin class, or play HOURS of Zelda (breath of the wild what have you done to my life?!) then I just did those things and tried not to be mad at myself for not doing #AllTheThings all the time. And that really, really helped...just letting myself be myself without beating myself up for not doing every single thing on my massive 'I want to do all the things' list. I also started a bullet journla which also really helped because it let me write down all the ideas I have in my head for all the projects I either wanted to start or have started and create realistic goals for when I can get those projects done (I also got to deep dive into bullet journals on Pinterest which is highly satisfying) :)
Read more